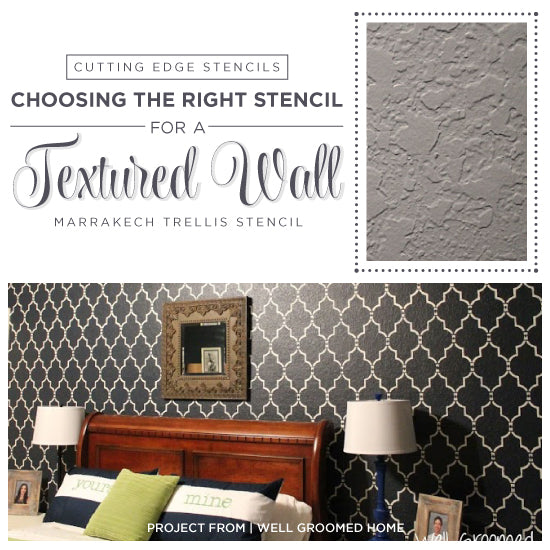
Stenciling A Textured Wall~ Yes, It's Possible!
Cutting Edge Stencils Shares Tips For Stenciling a Textured Wall
Good morning, my little DIY darlings! Today,
Cutting Edge Stencils wants to talk about a design trend that took over in the 70s/80s, and we've been recovering ever since! Drumroll, please... textured walls!
 Textured wall in all its fabulousness! Image found on Jenni Brown Writes.
Does this sound like a familiar scenario? You decide to update your space and spend hours pinning your favorite home decor ideas. After weeks of planning, you finally have that ah-ha moment and decide stenciling is the perfect DIY solution. You pick out your favorite stencil pattern, choose your paint colors, and get ready to kick off the paint task. Just then you notice your walls has a light bumpy texture. Before you whip out your sledge hammer or hang a condemned sign on this project-to-be, we want you to know that stenciling on a textured wall is possible! Just take a deep breath and prepare to be patient. Today we're going to show you an awesome example and share some stenciling tips to ease your fears!

It has been done before...
We'd like you to meet Jenni, the blogger behind
Jenni Brown Writes. She has been making updates to her home via Box of Design, an interior design package that provides you with everything you need to make your dream home a reality. Jenni was in the final stages of her living room redesign and one of the projects she to complete was a geometric accent wall. She had fallen in love with the idea of adding a pretty pattern around her fireplace, but she realized she had textured walls. Her initial reaction was to stop the project because it would be a drippy disaster. But rather than give up, Jenni did a little investigative work. She said, "I realized that while a bit more labor intensive than plain walls, texture doesn’t have to mean the death of your design dreams. So I ordered my stencil, and got painting." We think it turned out awesome!

Here are some tips and tricks when stenciling a light to medium textured wall...
1. Put as little paint on the
stencil brush as possible. Paint bleed is more common on textured walls, so it is best to offload excess paint onto a paper towel. Then use a light stippling or circular rubbing motion when painting the pattern.
2. If you choose to use a
dense foam roller to paint the stencil, make sure to remove excess paint on a paper towel and apply the paint very lightly.
3. Typically we recommend using painter's tape to secure the stencil to the wall. However with a textured wall, we find using a spray adhesive, like
Elmer's repositionable spray adhesive, to be very helpful in securing the stencil and reducing paint bleed.
4. Consider using low contrast colors because imperfections are less noticeable. Higher contrast colors are less forgiving.
5. Keep baby wipes on hand to help clean up any small mistakes. Start by stenciling a small portion of your wall and then lift the stencil before the paint dries to examine your work.
 So tell us what you think, have you considered stenciling a textured wall? Leave us your thoughts in the comments below!
Haven't had enough stencil fun?
Thanks for reading and happy stenciling!
Michelle and the Cutting Edge Stencils Crew
 Textured wall in all its fabulousness! Image found on Jenni Brown Writes.
Does this sound like a familiar scenario? You decide to update your space and spend hours pinning your favorite home decor ideas. After weeks of planning, you finally have that ah-ha moment and decide stenciling is the perfect DIY solution. You pick out your favorite stencil pattern, choose your paint colors, and get ready to kick off the paint task. Just then you notice your walls has a light bumpy texture. Before you whip out your sledge hammer or hang a condemned sign on this project-to-be, we want you to know that stenciling on a textured wall is possible! Just take a deep breath and prepare to be patient. Today we're going to show you an awesome example and share some stenciling tips to ease your fears!


 So tell us what you think, have you considered stenciling a textured wall? Leave us your thoughts in the comments below!
Haven't had enough stencil fun?


