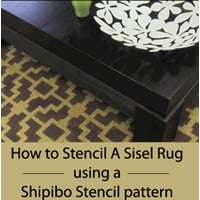
Painting a Geometric Stenciled Floor with Cutting Edge Stencils
A Shipibo Stenciled Floor That'll Make You Strut Your Stuff!

Trust me, you want to know what we're buzzing about today! Our bestie, Jessica, the blogger responsible for
The Eagle's Nest, has revealed her
Shipibo Stenciled floor! I'm not sure you understand how amazing this floor is! Do not underestimate the power of a perfectly stenciled walking platform! It can transform a space into your very own catwalk, and potentially be the most gratifying
DIY project you've ever accomplished in your life! Honestly, this floor has had us girls in the
Cutting Edge Stencils' office giddy with glee all morning, and we're just itching to strut across that floor-- totally ten times better than a red carpet!
How DID She Do it?
To start the project, Jessica first stained her original floor color (Sherwin Williams' "Anew Grey") to be a charcoal gray color which added a rustic finish and helped the stencil design pop! She scrubbed on two coats of a half paint (Benjamin Moore's "Kendall Charcoal"), half glaze mixture to create a linoleum look, which appears cleaner than her previous soft gray color. Here's the floor before and after the glaze was added:

The next step was to paint our
Shipibo stencil onto the floor! Jessica chose to start at the furthermost end of the room in the center. She used a dense foam roller with little pressure to apply the paint, and worked vertically down the room (in columns). Her paint of choice:
Benjamin Moore's "China White." The goal was to achieve a tarnished look, so Jessica wasn't worried about even coverage of the paint in the stencil design. When she got to the corners of the room, after having stenciled the entire center portion, Jessica had some trouble with bleeding because of unwanted paint build-up on the stencil. What we suggest is that as soon as you notice unwelcomed seepage compromising to your design, it might be time to
clean your stencil! I might have suggested started stenciling in the top leftmost section of the room, working from left to right. However, sometimes the best looking sections are those that you complete first, so Jessica was pleased that her center (most obvious) section of the floor came out the cleanest! To reach those complicated crevices, Jessica bent the stencil and used a brush to apply paint in those difficult areas.

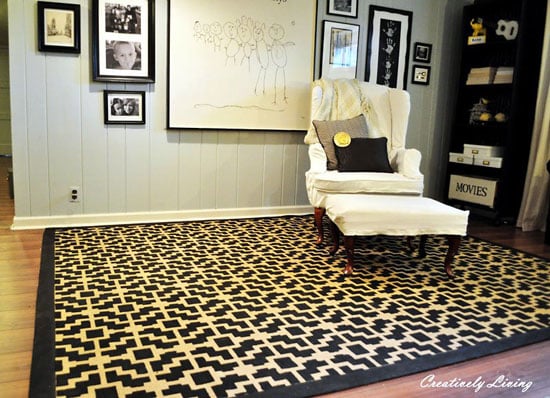
Then Jessica got a little nutty (in a good way!) and created her own stencil (out of a filing folder) to fill in charcoal squares within the negative space of her Shipibo design. Jessica used the extra, undiluted paint from her glaze mixture to color those crazy squares with a stencil brush, which took about an hour and a half to complete!
To finish it off, Jessica painted the entire floor with two coats of polyurethane to seal the design and give the beautiful floor a shiny sheen! So in the end, after I'm sure a lot of blood, sweat, and tears, Jessica's floor came out on top (figuratively)! She was more than pleased with the results and super happy to have saved a boat load of money mimicking ceramic tiles instead of buying them!

Love this stenciled floor?:
Thanks for reading, and happy stenciling!
Melissa and the Cutting Edge Stencils Crew