Stenciling Concrete Floors: A How To Guide
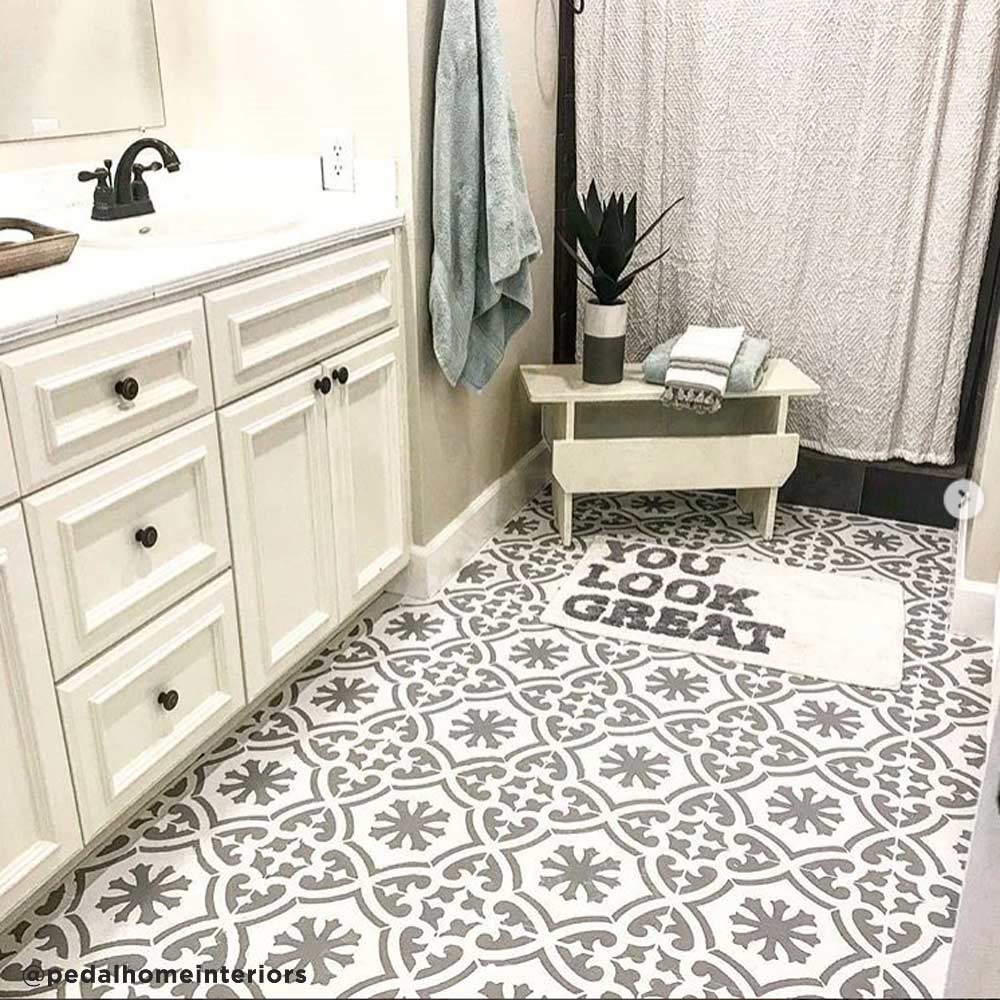
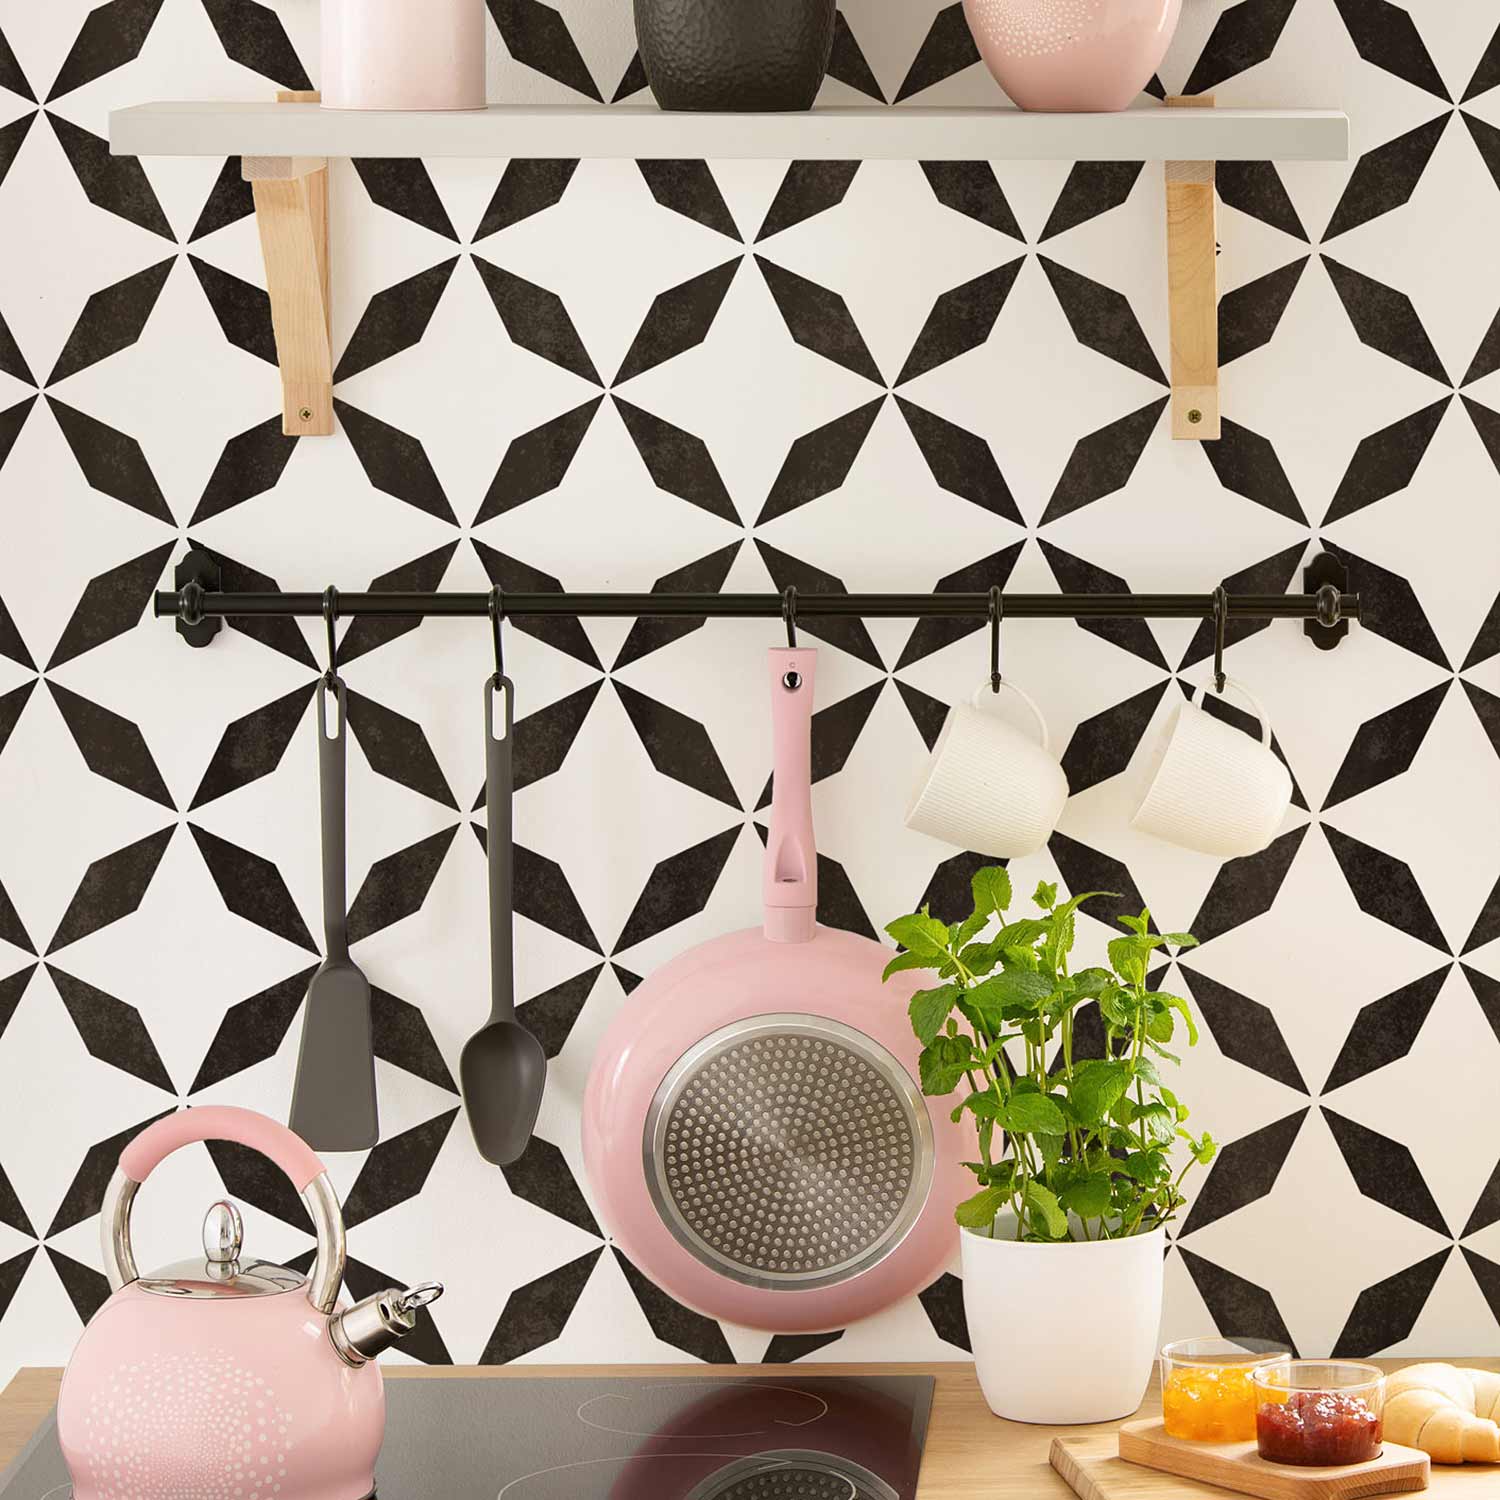
Welcome back! Cutting Edge Stencils would like to gush about how stenciling concrete floors can make a huge impact in your space. Our wide range of tile stencils are not only gorgeously designed, but also budget friendly and super easy to use.
Replacing the floor in any space can be a costly expense; and let's not even mention what it would cost to remove and re-pour a new cement patio. That’s where we step in! With endless styles to choose from, our tile stencils are a great solution for refreshing your space without doing a full blown renovation.

Stenciling concrete: the basics
Stenciling concrete can feel pretty intimidating. Let’s review a few basic steps to help you start stenciling tiles.

-
Prep is key! Be sure to thoroughly clean the cement surface before starting. Clear excess dust and debris. Follow up with a driveway cleaner and some water.
-
Painting a proper base coat is next. Be sure to use an exterior paint with a flat sheen. Use a ½” nap roller to ensure better coverage on that textured surface.
-
Secure your stencil. Use either blue painter’s tape, a repositionable spray adhesive, or a combination of both to adhere your stencil to the concrete surface to keep it in place while stenciling.
- Sealing the surface is the best way to ensure the longevity of your project. We want to preserve all of your hard work! We recommend that you apply two or more coats of water based Spar Urethane by Varathane to protect your outdoor stencil project.
Now, these are just some staple must-dos when stenciling concrete. For a more detailed tutorial we recommend that you read our Outdoor Patio Tutorial. Here, our owner Greg, brings new life to a dated backyard.
The key to clean lines on a textured surface
Stenciling a textured surface can be tricky. We’ve got a few tips to help you along the way.
-
Secure your stencil. While blue painter’s tape is a great way to secure your stencil in place, using a repostionable spray adhesive on the back of your stencil can help eliminate bleed. We recommend adding this to your cart.
-
Build up your paint coverage. Whether you are using a stencil roller or a stencil brush to paint your space, we always recommend using as little paint as possible and building paint coverage as you go. Then, once you coat your roller or brush, offload some of that excess paint onto a paper towel. Too much paint will bleed under the stencil.
-
Choose a forgiving stencil design. If achieving crisp, clean lines are going to drive you crazy, opt for selecting a stencil with more organic design features. Designs with super straight, geometric shapes are going to be tougher on a textured surface.
- Clean your stencil. After a few passes you will notice that paint will start to build up on your stencil. We recommend that you clean your stencil throughout the course of your project to ensure the best results. Purchasing two or more stencils, depending on the size of the space, is also another option that will help your project move along faster.

Stenciled Concrete success stories!
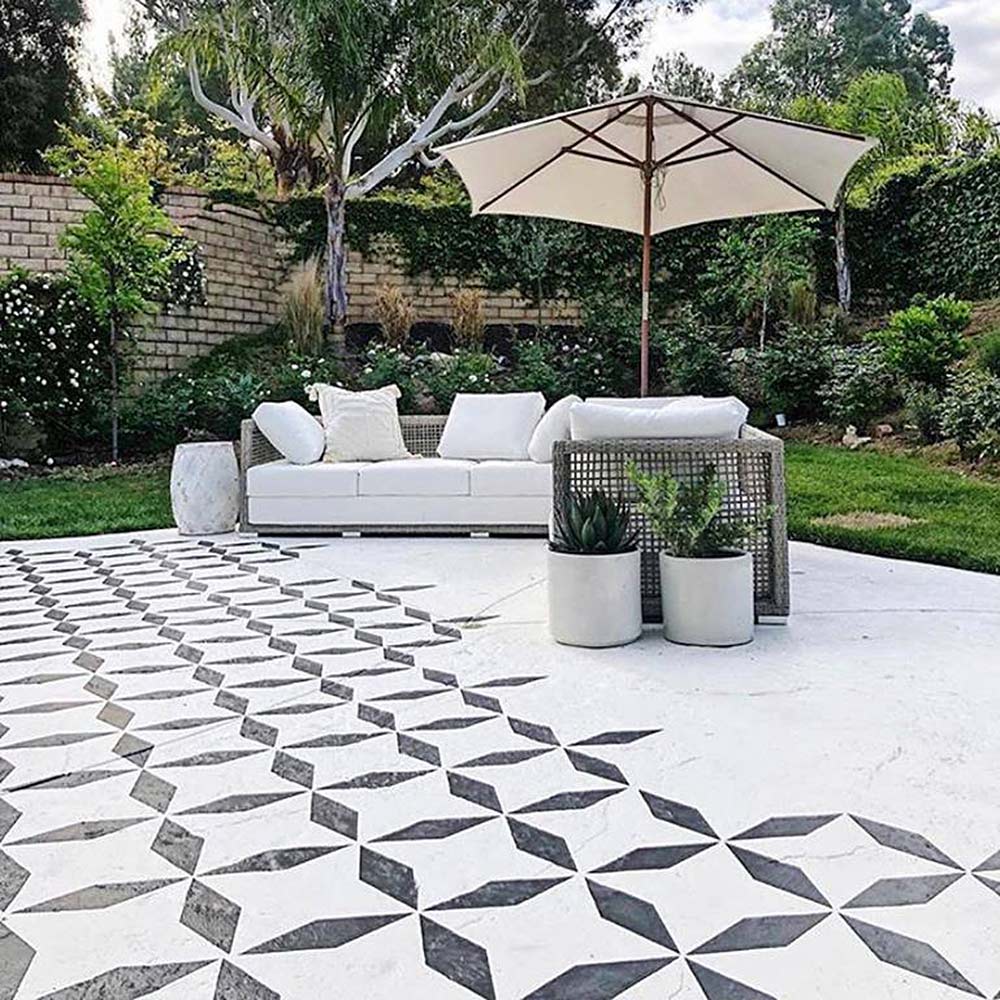
We would love to introduce you to a wonderful partner of ours, Kelsea, the creative mind behind the account @realwholesomelife. Kelsea decided her backyard patio needed a refresh and used our Marlen Tile Stencil. The results are amazing! Head over to her blog to read her full tutorial and some helpful tips she learned along the way.

We love seeing how our customers use our stencils to transform their spaces. You keep us inspired and show us there is no limit to what you can do with our stencils.
Can’t get enough of Cutting Edge Stencils:
- Check out our Facebook to see beautiful customer photos and interact with the people who created them!
- Buy our Tile Stencils or Wall Stencils for your next stencil project, and browse our other wonderful NEW stencil collections!
- Follow us on Instagram and Pinterest and share your designs using #CuttingEdgeStencils. We love seeing your projects!
- Feeling inspired? Check out our other Blog posts for more inspo and stencil designs!
Thanks for reading and happy stenciling!
Share this page!Share this page!


