learn to stencil from the pros with tutorials learn to stencil from the pros with tutorials

Stenciling Instructions: Learn How To Stencil from the Pros

Our stenciling instructions and techniques have been developed by professional decorative artists Janna Makaeva and Greg Swisher with 20+ years of painting and stenciling experience. We are happy to share our stencil expertise and knowledge, as we want your stencil project to be a complete success! Stencils can be used for many DIY decorating projects: accent wall stenciling, floor tile stenciling and furniture painting. You can even create your own custom stenciled textiles. Please follow these illustrated instructions and watch our stencil videos and watch our stencil videos.

Basic One Color Stenciling

1

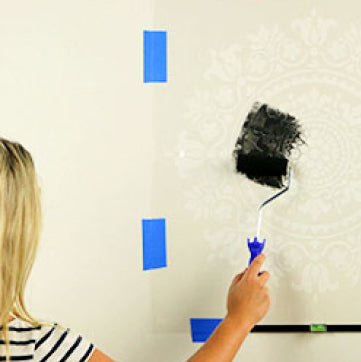
Place and level your stencil

2

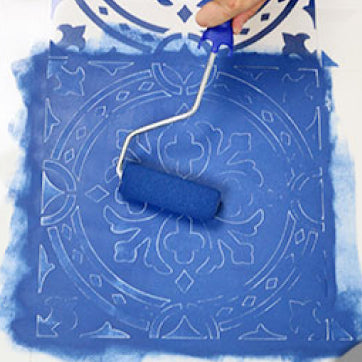
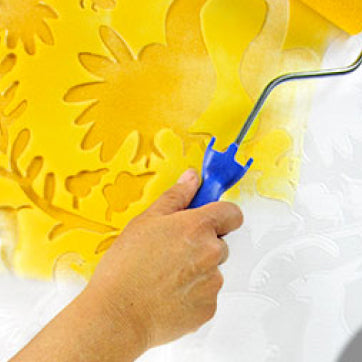
Simply roll on your color of choice

3

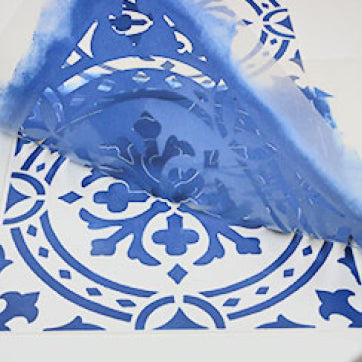
Remove your stencil

4

Enjoy your creation!

Multi color stenciling

1

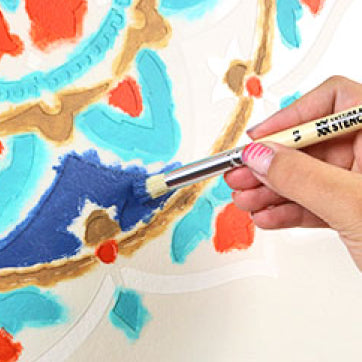
Use a small stencil brush for the smaller openings

2

Use a larger brush for larger openings

3

After you have stenciled all the openings, remove the stencil

4

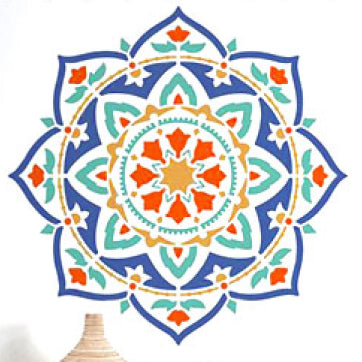
Multi Color Stenciling adds interest and dimension to your artwork

Allover wall stenciling

1

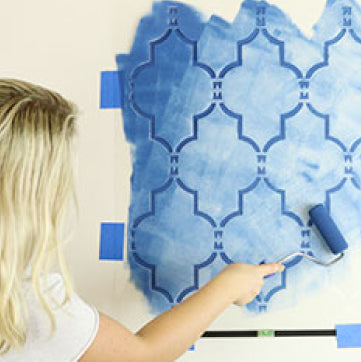
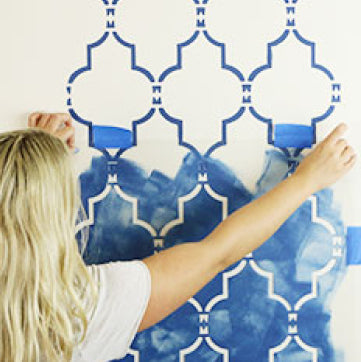
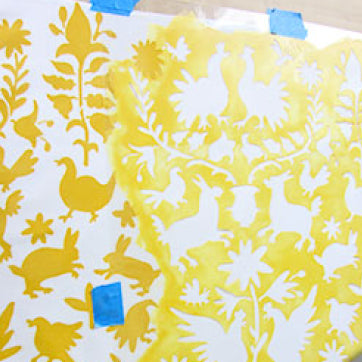
Position, level and roll!

2

Remove your stencil

3

The stencil easily aligns with itself, just continue to build your pattern

4

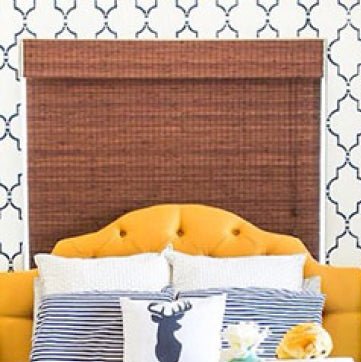
Wow! Looks just like wallpaper!

Floor tile stenciling

1

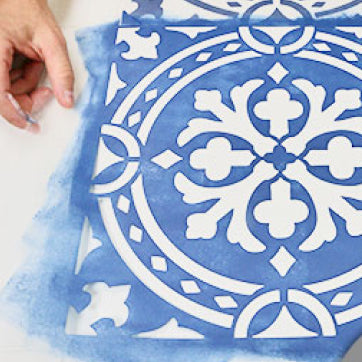
Position your tile stencil on a floor or old tile (primed and painted)

2

Roll on your stencil paint (latex, chalk paint or acrylics)

3

Remove your stencil

4

Beautiful, durable and easy!

Furniture stenciling

1

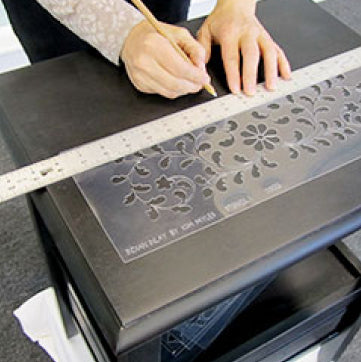
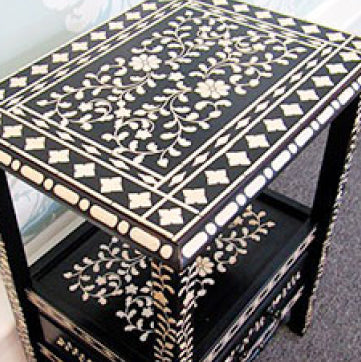
Paint your furniture a desired color, then layout your design

2

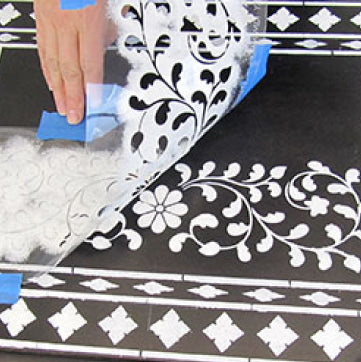
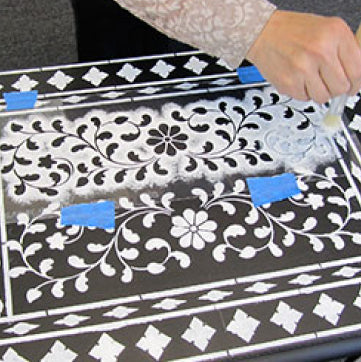
Fill in using different stencils

3

Stencil with a foam roller or stencil brush with acrylic or chalk paint

4

From Trash to Trendy!

Fabric stenciling

1

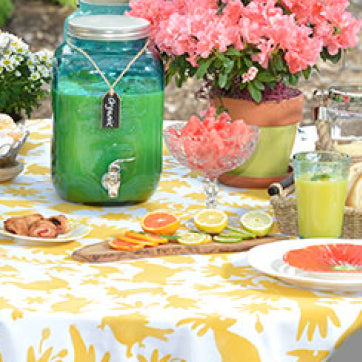
Layout your design and get rolling! Use fabric paint or acrylics

2

Remove your stencil to reveal the stencil pattern

3

Align the stencil for the next repeat

4

Breakfast is served :)