Simple Rhyme Stencil Tutorial

Stenciling Really is That Simple!
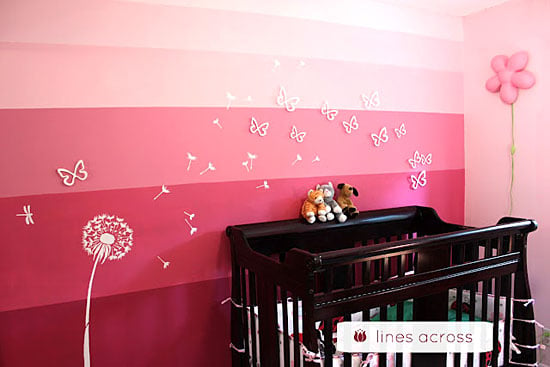
Cutting Edge Stencils' Simple Rhyme allover stencil is a beautiful and versatile pattern. Not only is it great for a nursery room, but it also looks great in a bathroom, bedroom or hallway. If you are looking to update a room or even prepare a nursery for your child, using a stencil is a really great alternative to wallpaper and stencils are super easy to use!
Stencils Mean Less Commitment
As children grow bigger, they also outgrow the decor in their rooms, so all you need to do is paint over your stenciled wall and update with a new stencil! You don't have to worry about a huge commitment and messy clean up with stencils. If you are as entranced with the Simple Rhyme stencil as we are, then you will enjoy this quick tutorial on how to use it:
Stencil Supplies: What You'll Need
- Cutting Edge Stencils' Simple Rhyme Allover stencil
- Benjamin Moore HC-15 Henderson Buff for the background and OC-96 Gentle Cream for the stencil
- Dense Foam Roller with the handle
- 5/8" stencil brush
- Styrofoam plate
- Paper towel
- Blue painters tape

Getting Started
Once you have gathered your supplies, place your Simple Rhyme stencil in the top left corner of your wall using a few pieces of blue painters tape. Before completely pressing down the tape, make sure that your stencil is level using your handy Clip-on Level. This is how your level should look. The bubble should be between the two black lines. Note: make sure that the level us pressed firmly against the bottom edge of the stencil when you slide it on. If one end of the level it touching the edge of the stencil and the other side is not, this will give you an inaccurate reading.
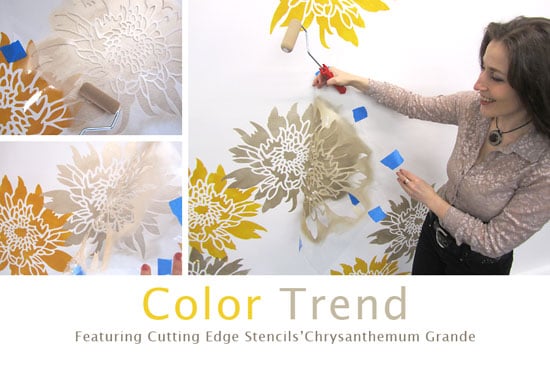
 Now that your stencil us placed correctly, load your roller. You don't want to drench your roller in paint. The best way to control the amount of paint on your roller is to only roll into the paint on the edge of your "puddle". You don't want to place your roller in the middle of the puddle because you won't have as much control of the amount of paint going on it.
 Another step that is a MUST to ensure you do not have too much paint on your roller is to offload any excess paint on a nearby paper towel. After a couple of applications, you will know exactly how much paint you want, but it is better to start off with too little paint then too much, right?

Stencil Allignment
You can see here where to line up your stencil with the previous applications on the wall. Just continue interlocking your stencil as you move down and over across your wall. Don't worry about the top and edges for now.
Stenciling Edges
When you reach the bottom of your wall, make sure that you have taped out your baseboard so that you don't get paint on it. You should really do this before you start your stenciling so that you don't have to worry about getting paint on your ceiling or baseboard.
Stencil Top Part
We designed top parts for many of our designs to make this step as easy as possible. Simply take your top part stencil, use the registrations marks to line it up with the top of the stencil on the wall, and fill it in. For smaller areas like this, it is easiest to use our handy 5/8" stencil brush.
Simple Rhyme Stenciled Feature Wall
Voila! Isn't it beautiful? Stenciling is super fun and easy, not to mention gratifying. Walking into a room and being able to say, "I did that!" and in a matter of hours on top of it is really priceless. To see more on how Janna created her gorgeous feature wall, check out our video: Want to take the plunge into DIY-land? Here are some helpful places you should check out for tutorials and inspiration.- Cutting Edge Stencils Facebook page
- Shop Cutting Edge Stencils for hundreds of stencil options
- Watch our how-to stencil videos
- Browse our Pinterest page for even more inspiration
Thanks for stopping by!
Sincerely,
~Gabi and the Cutting Edge Stencils Crew


