Tips and Tricks for Stenciling on a Chalkboard
Cutting Edge Stencils Gives Simple Steps To Stencil on Chalkboard Wall
Is today feeling like a terrific Tuesday, my little
DIY darlings? School has probably let out or it's just about too in your area. While most kidlets are abandoning items that represent school, we're pretty sure you're going to be embrace what
Cutting Edge Stencils has for you today! We want you to consider using our
stencils on a chalkboard surface!

We first stumbled upon this idea though Shannon, the crafty DIYer and blogger behind
Fox Hollow Cottage. Shannon got this idea that her open style kitchen cabinets would look stunning if she painted the cabinet backs in La Craie-Wrought Iron. She knew that since La Craie is a calcium carbonate based paint that it would act as a chalkboard paint. After she had her chalkboard, she could then stencil her
Anna Damask design in chalk. Shannon says, "I am crushing on the impact the new look offers, while still really gelling with the rest of my home." We're crushing on the uniqueness of her stenciled project!

Then we came across Megan, the clever DIYer from
Renter Decorating. Megan has a chalkboard wall in her dining area. She also loves to experiment with design however the family's decor funds are limited. Lucky for her, chalk is pretty inexpensive and our stencils are reusable. Shannon said, "being able to change up a wall with just my kid’s extra chalk is the bomb." And recently that's exactly what she did! She grabbed some chalk and her
Rabat Allover Stencil to make this...

Pretty cool, huh? We think so!
So does all this talk about stenciling on a chalkboard surface have you wondering just how to do it? Well, you're in luck because we have some tips and tricks on how-to stencil on chalkboard...
Tips and Tricks for Stenciling with Chalk

1. Make sure you 'Season' your chalkboard surface to prevent ghosting. To season, get a stick of chalk and hold it sideways, rub the entire surface from top to bottom & side to side with the chalk. After you’ve seasoned, wipe all that chalk off with a soft, dry cloth (not paper towels).
2. Now it's time for the stenciling part! Secure your stencil with some painters tape and use our handy dandy
stencil level to make sure it's straight. Then start stenciling from the top. That way, any fine dust will fall into an area you have not already worked on.
3. Time to chalk in your stencil! First Outline each small stencil shape and fill in as you go.
4. Once your stencil design is complete, use either an air compressor, canned air, or craft brush to dust away excess chalk.
Would you stencil with chalk on a chalkboard surface? We want to hear what you think! Leave us a comment below.
Can’t get enough stenciling fun?
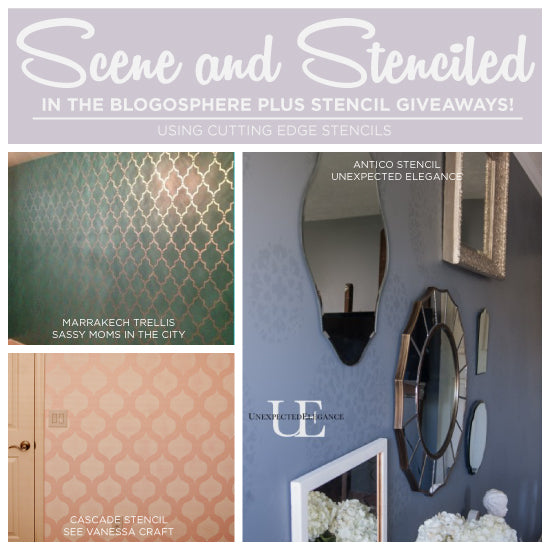
- Enter the $50 Cutting Edge Stencils giveaway on our blog friend Unexpected Elegance!
- Shop our stencils and find the perfect one for your chalkboard project!
- Follow us on Pinterest to see awesome inspirational photos!
- Have you completed a stencil project? Come share it on Facebook!
Thanks for reading, and happy stenciling!
Michelle and the Cutting Edge Stencils Crew
 We first stumbled upon this idea though Shannon, the crafty DIYer and blogger behind Fox Hollow Cottage. Shannon got this idea that her open style kitchen cabinets would look stunning if she painted the cabinet backs in La Craie-Wrought Iron. She knew that since La Craie is a calcium carbonate based paint that it would act as a chalkboard paint. After she had her chalkboard, she could then stencil her Anna Damask design in chalk. Shannon says, "I am crushing on the impact the new look offers, while still really gelling with the rest of my home." We're crushing on the uniqueness of her stenciled project!
 Then we came across Megan, the clever DIYer from Renter Decorating. Megan has a chalkboard wall in her dining area. She also loves to experiment with design however the family's decor funds are limited. Lucky for her, chalk is pretty inexpensive and our stencils are reusable. Shannon said, "being able to change up a wall with just my kid’s extra chalk is the bomb." And recently that's exactly what she did! She grabbed some chalk and her Rabat Allover Stencil to make this...
 Pretty cool, huh? We think so!
So does all this talk about stenciling on a chalkboard surface have you wondering just how to do it? Well, you're in luck because we have some tips and tricks on how-to stencil on chalkboard...
 1. Make sure you 'Season' your chalkboard surface to prevent ghosting. To season, get a stick of chalk and hold it sideways, rub the entire surface from top to bottom & side to side with the chalk. After you’ve seasoned, wipe all that chalk off with a soft, dry cloth (not paper towels).
2. Now it's time for the stenciling part! Secure your stencil with some painters tape and use our handy dandy stencil level to make sure it's straight. Then start stenciling from the top. That way, any fine dust will fall into an area you have not already worked on.
3. Time to chalk in your stencil! First Outline each small stencil shape and fill in as you go.
4. Once your stencil design is complete, use either an air compressor, canned air, or craft brush to dust away excess chalk.


