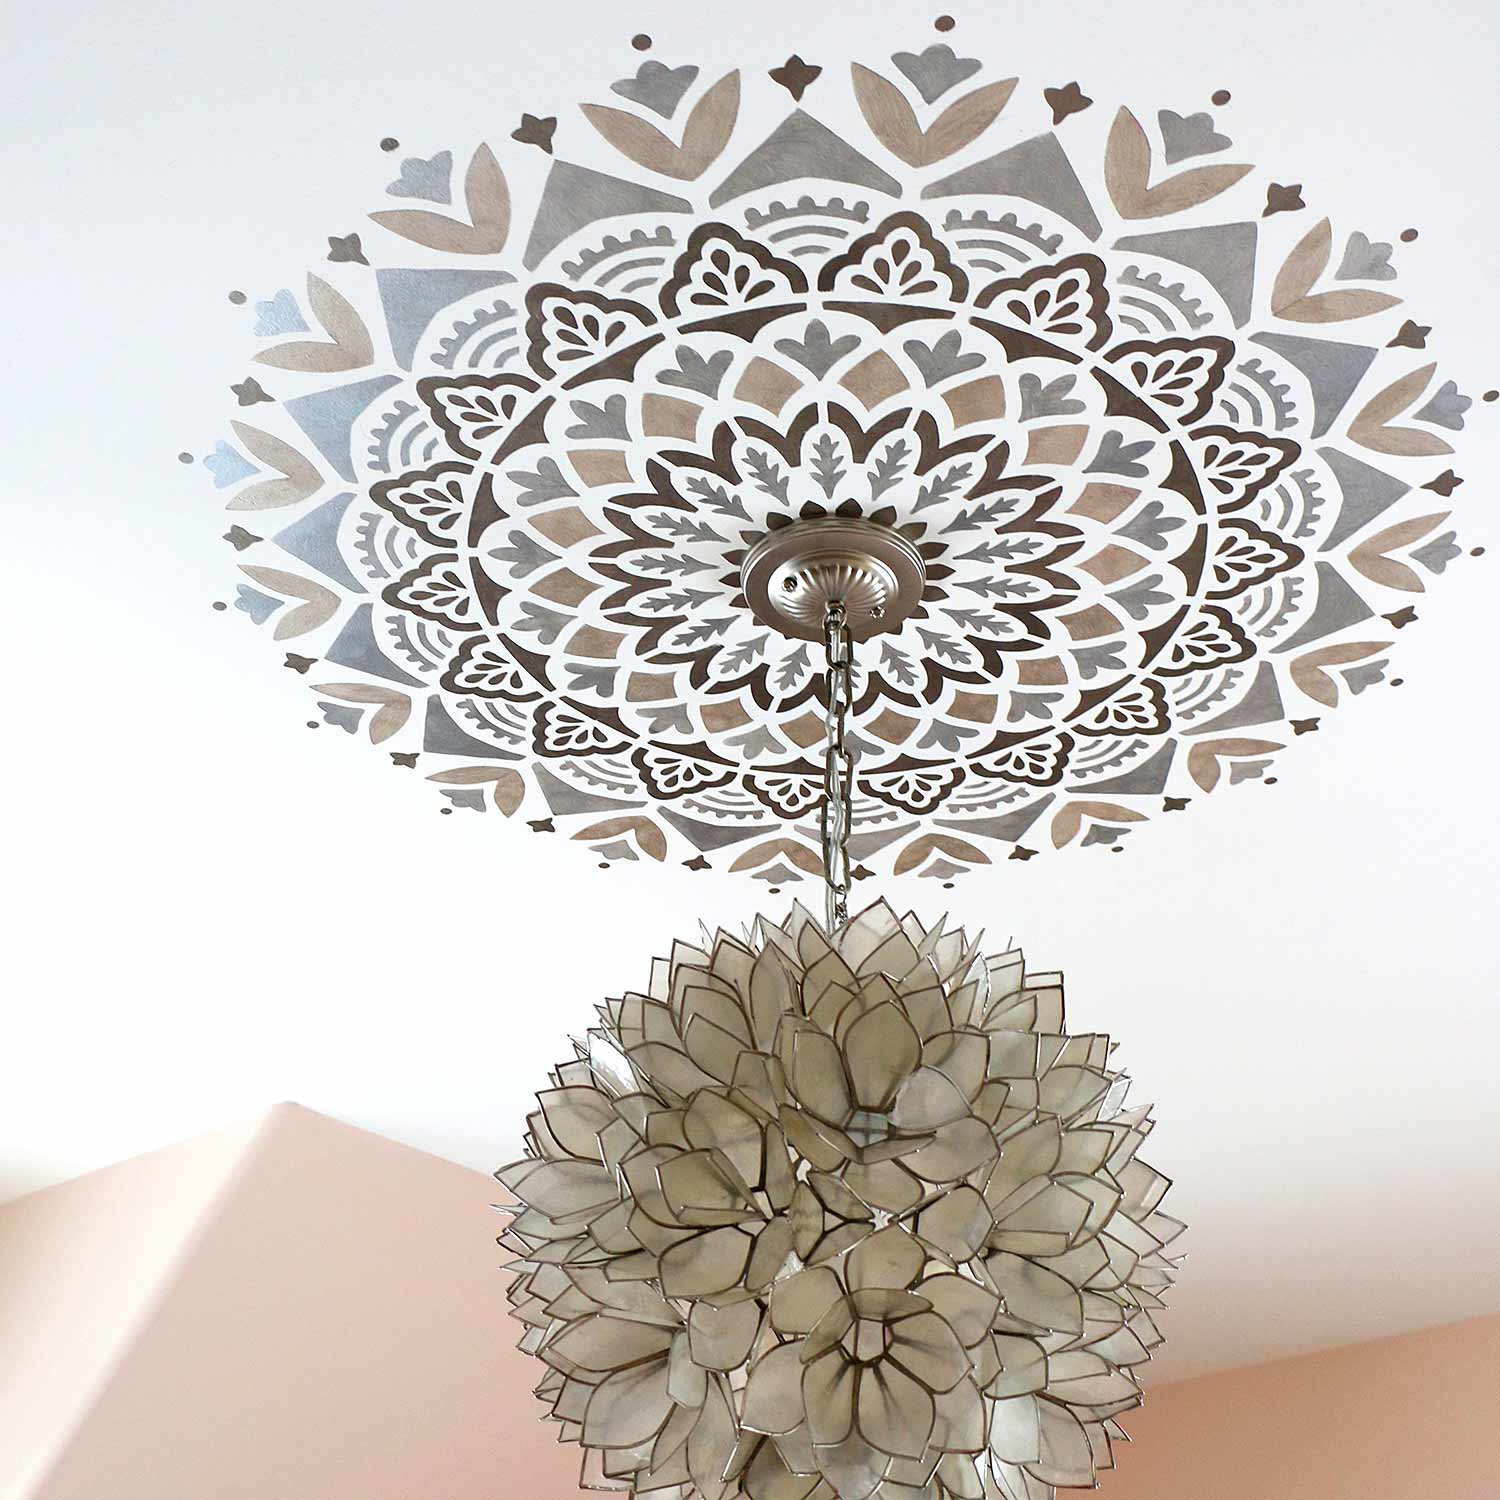
How to Create a Statement Ceiling using Mandala stencils
In the video below,
Cutting Edge Stencils will provide you with all the details you need to know about
how to stencil a
statement ceiling. Pinterest has shown us all the possibilities of what you can do to make your ceiling stand out from the others. You can make a statement with just one bold color or you can take your
statement ceiling to the next level with a
stencils for painting! Statement ceilings range from
geometric,
tropical,
floral,
mural,
tile etc. In this specific video, we are going to show you how to stencil a multicolor
mandala around a light fixture in under an hour!
Let's get stenciling!

Before you stencil your
mandala statement ceiling, measure the area you are going to stencil to determine the size that will look best.

You can take a tape measurer or a ruler and tape off where the mandala ends.

This way you get a a good idea of what the mandala size will be before you fully commit.

Next, detach your sconce plate and push it to the side.

Apply spray adhesive to the back of your stencil to reduce chances of bleed.

Take your professional stencil brush and dip the tip into your paint. Swirl it around your plate, working the paint into the bristles. Then offload any excess paint onto a paper towel.

Add blue painter's tape to the edge of your mandala stencil and apply it to the ceiling. Rolling a dry dense foam roller over your stencil will make it stick to the ceiling and ensure that it's completely flat.

Mandala stencils are filled with different shapes. When stenciling, we recommend using our 4 piece professional stencil brush kit. It comes with 4 different size paint brushes that are perfect for any size opening. For this project, we used our Kindness Mandala Stencil

Paint your mandala stencil any way you desire. You can let your creativity run free or choose colors that match your room!

Peel back the stencil to view your gorgeous stencil design that you created! Apply any touch ups if needed!

Align your stencil with the previously painted area and repeat! Make sure to take breaks if your neck or arms get tired!
(
Stencil Hack: To lessen the strain on your neck, take that comfortable airplane neck pillow out of storage and use it during your stenciling project!)

Peel it back once again and make sure you love the way it looks as much as we did!

For the final step, you can now attach your sconce plate to complete the look!

WOW! We are in love. This statement ceiling is super trendy thanks to our Kindness Mandala Stencil!


Can’t get enough of Cutting Edge Stencils:
Thanks for reading and happy stenciling!
Karli & The Cutting Edge Stencils Crew
 Before you stencil your mandala statement ceiling, measure the area you are going to stencil to determine the size that will look best.
 You can take a tape measurer or a ruler and tape off where the mandala ends.
 This way you get a a good idea of what the mandala size will be before you fully commit.
 Next, detach your sconce plate and push it to the side.
 Apply spray adhesive to the back of your stencil to reduce chances of bleed.
 Take your professional stencil brush and dip the tip into your paint. Swirl it around your plate, working the paint into the bristles. Then offload any excess paint onto a paper towel.
 Add blue painter's tape to the edge of your mandala stencil and apply it to the ceiling. Rolling a dry dense foam roller over your stencil will make it stick to the ceiling and ensure that it's completely flat.
 Mandala stencils are filled with different shapes. When stenciling, we recommend using our 4 piece professional stencil brush kit. It comes with 4 different size paint brushes that are perfect for any size opening. For this project, we used our Kindness Mandala Stencil
 Paint your mandala stencil any way you desire. You can let your creativity run free or choose colors that match your room!
 Peel back the stencil to view your gorgeous stencil design that you created! Apply any touch ups if needed!
 Align your stencil with the previously painted area and repeat! Make sure to take breaks if your neck or arms get tired!
(Stencil Hack: To lessen the strain on your neck, take that comfortable airplane neck pillow out of storage and use it during your stenciling project!)
 Peel it back once again and make sure you love the way it looks as much as we did!
 For the final step, you can now attach your sconce plate to complete the look!
 WOW! We are in love. This statement ceiling is super trendy thanks to our Kindness Mandala Stencil!
 Can’t get enough of Cutting Edge Stencils:


