Stenciling Tiles Easily Transforms Your Outdoor Patio!
Stencil Faux Tiles On Your Patio For A Chic New Look!
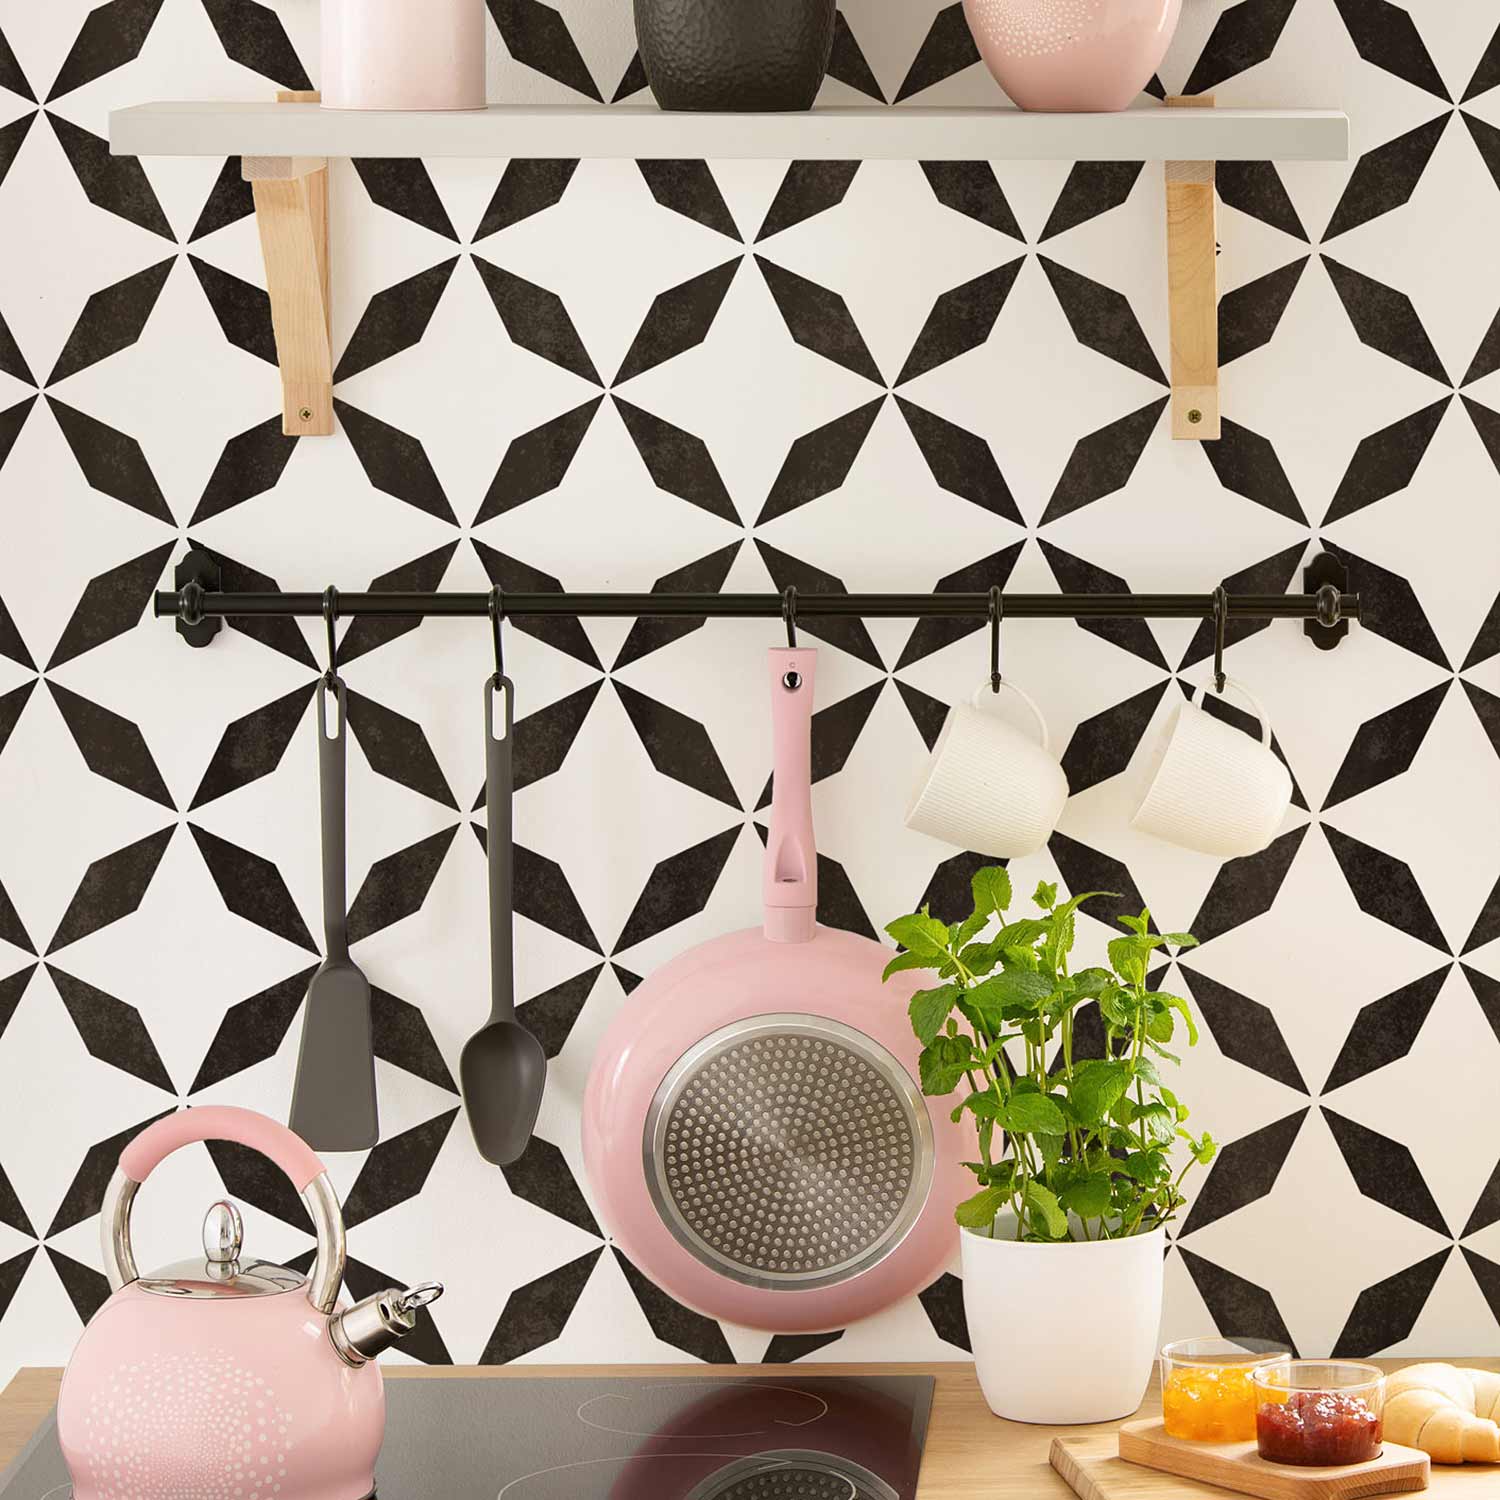
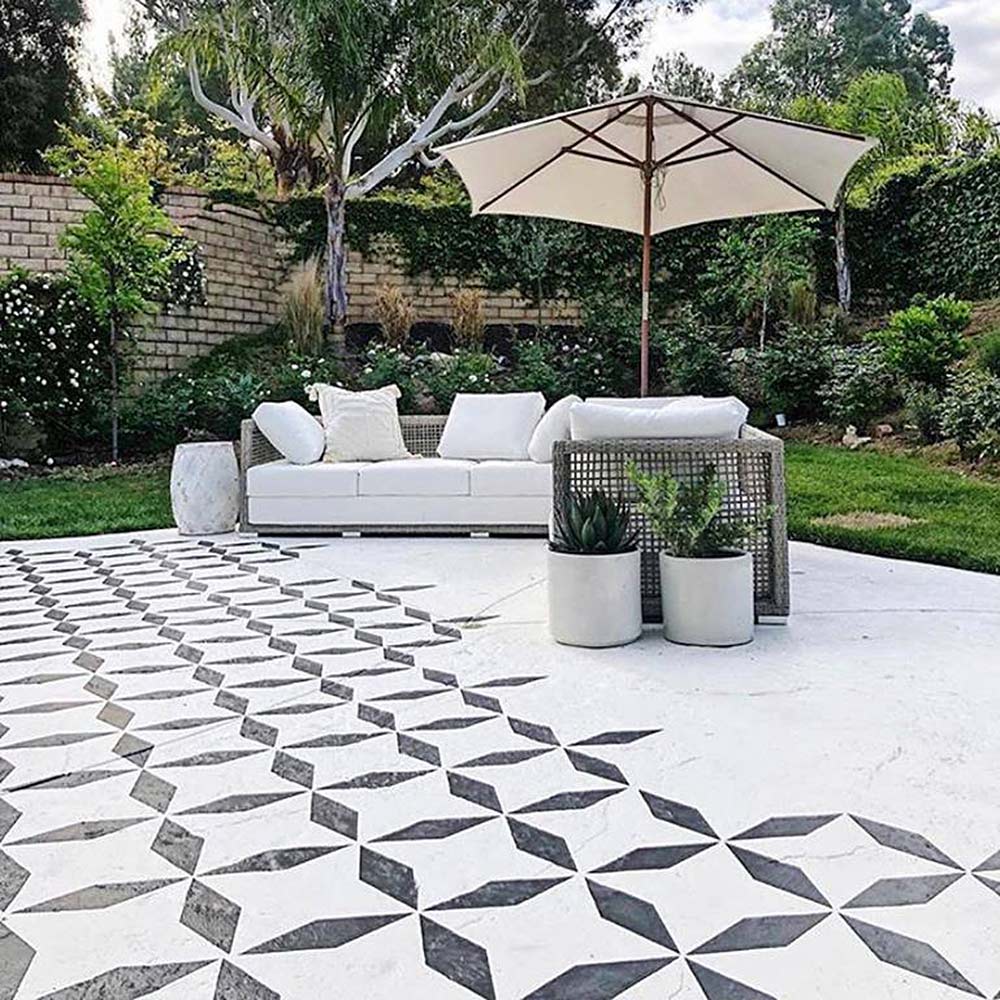
Welcome! Cutting Edge Stencils wants to show you how stenciling tiles can easily transform your outdoor cement patio from shabby to chic! Tile stencils are an affordable decorating tool that can replicate designer tiles for less than half the price. It This DIY home improvement project only takes a weekend to complete and lasts for years! Let's begin!
How To Prepare Your Patio Before Stenciling Tiles

Preparing your surface before painting and stenciling faux tiles is the most important part of this process! Dirt and foliage that is left on the surface before stenciling your cement patio will not allow the exterior paint to stick to the surface properly. We used household items like a leaf blower and broom to get rid excess dust.
 Washing your cement patio after getting rid of dust is another great way to ensure that your exterior paint will stick to the surface before stenciling tile. We followed the manufacturer’s instructions and diluted Zep Driveway and Concrete Cleaner in a bucket of water.
 Next we grabbed a standard scrub brush and thoroughly washed the surface. The soft yet sturdy bristles in this brush work perfectly over a porous surface for a deep clean. Make sure the surface is completely dry before beginning your next step.
How To Properly Base Coat A Patio
Add 2-inch blue painter’s tape on the walls of the perimeter of the patio. This will prevent any paint in unwanted areas. For your base you will want to get exterior paint because the surface is outdoors. The paint must be in a FLAT sheen. Paint in a flat sheen is very porous and will drink up your stencil paint. This will allow the paint over your tile stencil to dry more quickly!
 Don’t miss a spot! Cut into all the hard to reach corners and edges first with a 2” brush. Painting the perimeter of your stenciled patio first will prevent your roller from over rolling paint on the wall.
 In order to fill all the texture on your cement patio with paint, we recommend using a ½” nap roller. The half inch refers to the thickness of hair/fur on the roller. The thicker the nap, the more texture you will get.
 Don’t break your back while painting your patio! Attach an extension poll to the bottom of your roller and paint while standing. Don’t have an extension poll? Use brush handle!
What You Should Know Before Stenciling Tiles
 STENCIL HACK: Tape over part of the tile stencil pattern you don’t want to use! As I’m sure you have seen, the Diamant Tile Stencil design can be stenciled in more than one way! You can choose to have the triangles on the inside of the diamond shapes or not. We taped over the triangle shapes for a simplified look!
 Apply repositionable spray adhesive to the back of your tile stencil to help it stay in place while stenciling. Patio surfaces normally have a rough texture that repositionable spray adhesive can only handle to a point. For this specific project, we want you to focus on the stenciling technique itself so you have little to no bleed while stenciling tiles outdoors!
 We recommend starting your first tile stencil pattern in the corners of the patio and work your way out. Instead of jamming the first tile stencil pattern in the tightest corner, we want you to save it for last! Begin by measuring the number of inches your tile stencil is off the edge of both walls. Make two marks with a pencil and line it up with your tile stencil. Then, start your first tile stencil pattern there!
How To Stencil Faux Tiles
 You can use an interior or exterior paint for this part of the DIY home improvement project. We are using Rock Gray by Benjamin Moore interior paint. We recommended using an exterior paint if you are using colors brighter colors like red or jewel tones. Those colors don’t have the same amount of UV protection as darker tones. Whether you are using interior or exterior paint, both types of paint do need to be in a flat sheen! Bend your tile stencil on the corner of the wall. Evenly load a 4” dense foam roller for stenciling and roll over your tile stencil with a light to medium pressure.
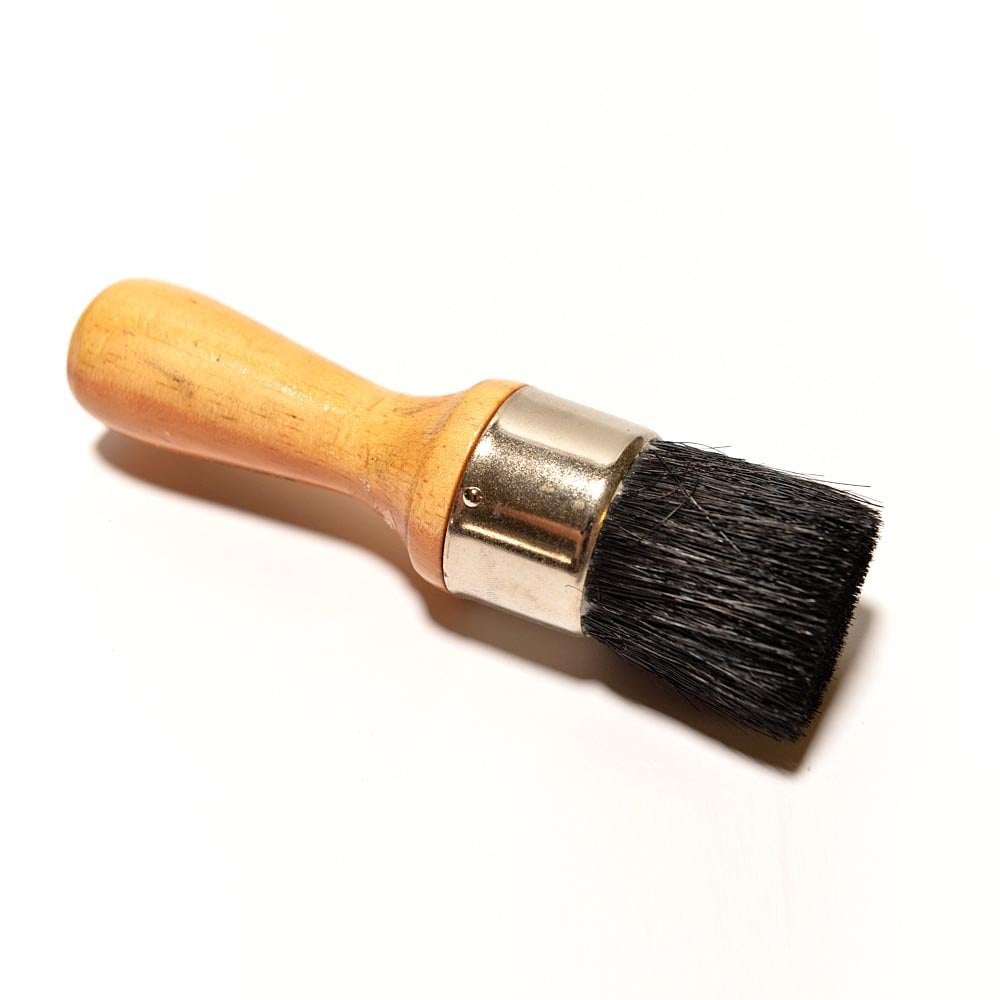
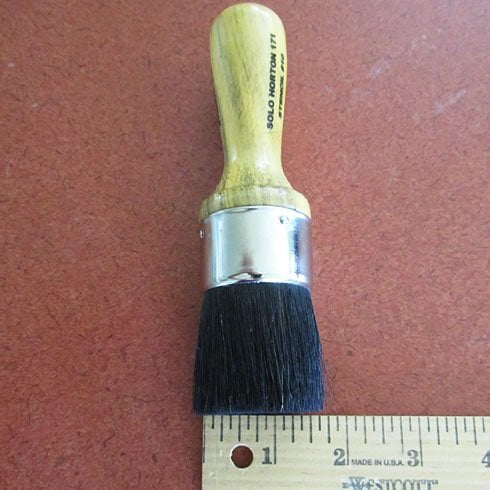
 Once your tile stencil is covered in paint, go in with a 1 1/2" brush for stenciling and pounce the brush over the tile stencil. Stencil brushes will get into the porous areas a roller cannot reach!
 All of our tile stencil patterns come with built-in registration marks! This allows you to re-align the tile stencil and continue stenciling tiles with ease!
 Stenciling tiles on an outdoor patio is a way to transform your home without breaking the bank! Grab a group of friends or family members and stencil your next favorite hangout spot. Or you can take a weekend for yourself, stencil your outdoor patio and accomplish a home improvement project on your own!
How To Touch Up & Protect Your Stenciled Tiles
 When working on a porous area with a ton of texture, there is bound to be bleed. We mentioned earlier that spray adhesive and certain stenciling techniques will reduce stencil bleed, but now we want to show you the easy fix if you do get some bleed. Lightly brush over the distorted tile stencil pattern with a fitch brush and your base coat color. Make all necessary touch ups before sealing your project.
 After all that hard work, you’re going to want to protect it! Take a ½ nap roller and attach it to an extension poll/broom stick like you did for the base coat. Then apply two (or more) coats of water based Spar Urethane. Spar refers to exterior which means better UV protection for your stenciled tiles!
 Once you have completed your outdoor stenciling project, enjoy your new oasis!
 Can’t get enough of Cutting Edge Stencils:
- Check out our Facebook to see beautiful customer photos and interact with the people who created them!
- Buy our stencils for your next stencil project, and browse our other wonderful NEW stencil collections!
- Follow us on Instagram and Pinterest and share your designs using #CuttingEdgeStencils. We love seeing your projects!
- Feeling inspired? Check out our other Blog posts for more inspo and stencil designs!


