Accessibility Statement
Our Commitment to Accessibility
We are committed to ensuring digital accessibility for people with disabilities. We are continually improving the user experience for everyone, and applying the relevant accessibility standards to help users with various disabilities access our website effectively.
Compliance Status
Our website strives to conform to the Web Content Accessibility Guidelines (WCAG) 2.1 Level AA standards. We also aim to be compliant with the Americans with Disabilities Act (ADA) and the European Accessibility Act requirements. These guidelines and regulations explain how to make web content more accessible to people with a wide range of disabilities. We acknowledge that some aspects of our website may not yet achieve full compliance, and we are actively working to address these areas.
Accessibility Features Available
Our website implements the Accessibly App, which provides a variety of tools to enhance website accessibility:
Visual Adjustments
- Bigger Text: Increase text size up to 3x for better readability (WCAG 2.1/1.4.4)
- Bigger Cursor: Enhanced cursor visibility for easier navigation
- Color Adjustments: Invert colors, adjust contrast, brightness, and saturation
- Grayscale Mode: Convert website to grayscale for users with visual impairments
- Hide Images: Reduce visual distractions for easier reading
Reading and Navigation Aids
- Reading Line: Adds a guide line to help follow text
- Reading Mask: Places a mask over text to isolate lines and enhance focus
- Readable Fonts: Converts to highly legible fonts for better comprehension
- Highlight Links: Makes links more prominent for easier navigation
- Dyslexic Fonts: Special typography for users with dyslexia
- Page Structure: Simplified layout options for easier navigation
Assistive Technologies
- Keyboard Navigation: Full website control using keyboard (Tab, Shift+Tab, Enter)
- Alt Text for Images: AI-generated image descriptions where manual ones aren't provided
- Read Page Aloud: Text-to-speech functionality
- Stop Animations: Pause motion content for users with vestibular disorders
Limitations and Feedback
Despite our best efforts to ensure accessibility, there may be some limitations. Content provided by third parties, user-generated content, or certain legacy pages may not be fully accessible. We are continuously working to improve our website's accessibility.
We welcome your feedback on the accessibility of our website. If you encounter any barriers or have suggestions for improvement, please contact us. We are committed to addressing these issues promptly.
Technical Information
The accessibility features on this website are provided through the Accessibly App, which utilizes several technologies including HTML, CSS, JavaScript, and various frameworks to enhance accessibility. Our implementation strives to be compatible with major screen readers and assistive technologies.
Legal Disclaimer
While we strive to adhere to WCAG 2.1 Level AA standards and provide accessible content, we cannot guarantee that our website will be accessible to all users under all circumstances. This website is provided 'as is' without any representations or warranties, express or implied.
In no event shall we be liable for any damages arising from or related to:
- Inability to access or use the website
- Any alleged non-compliance with accessibility laws or regulations
- Any disruption or errors in the functionality of accessibility features
By using this website, you agree to hold us harmless from any claims related to website accessibility issues. We are committed to addressing accessibility barriers in good faith but cannot guarantee immediate resolution in all cases.
Contact Us
If you have any questions about our accessibility efforts or encounter any barriers while using our website, please contact us.
 Prep your floors by taping your baseboards and rolling on two coats of STIX Primer. Then, stencil over your base coat color. To reduce your chances of bleed, apply spray adhesive to the back of the tile stencil. Place your stencil on your floors focal point or directly over your tile. Evenly load your 4-inch dense foam roller by rolling it into the paint and very gently, you do not want a lot of paint on your roller. So if there's any excess paint, offload it onto a paper towel.
 First Step: Cover your entire stencil with your lightest color.
 Second Step: Take your darker color and roll on random spots over the tile stencil.
 Third Step: Blend the colors together only in those areas.
 Once dry, align the tile stencil with the repeating registration mark.
 Stenciling works best with paint in a flat latex finish. For color washing techniques, it is best to choose two colors with little contrast.
 Continue the process until the entire floor is complete.
 For years of protection, apply two to three coats of water-based polyurethane using a 4-inch dense foam roller.
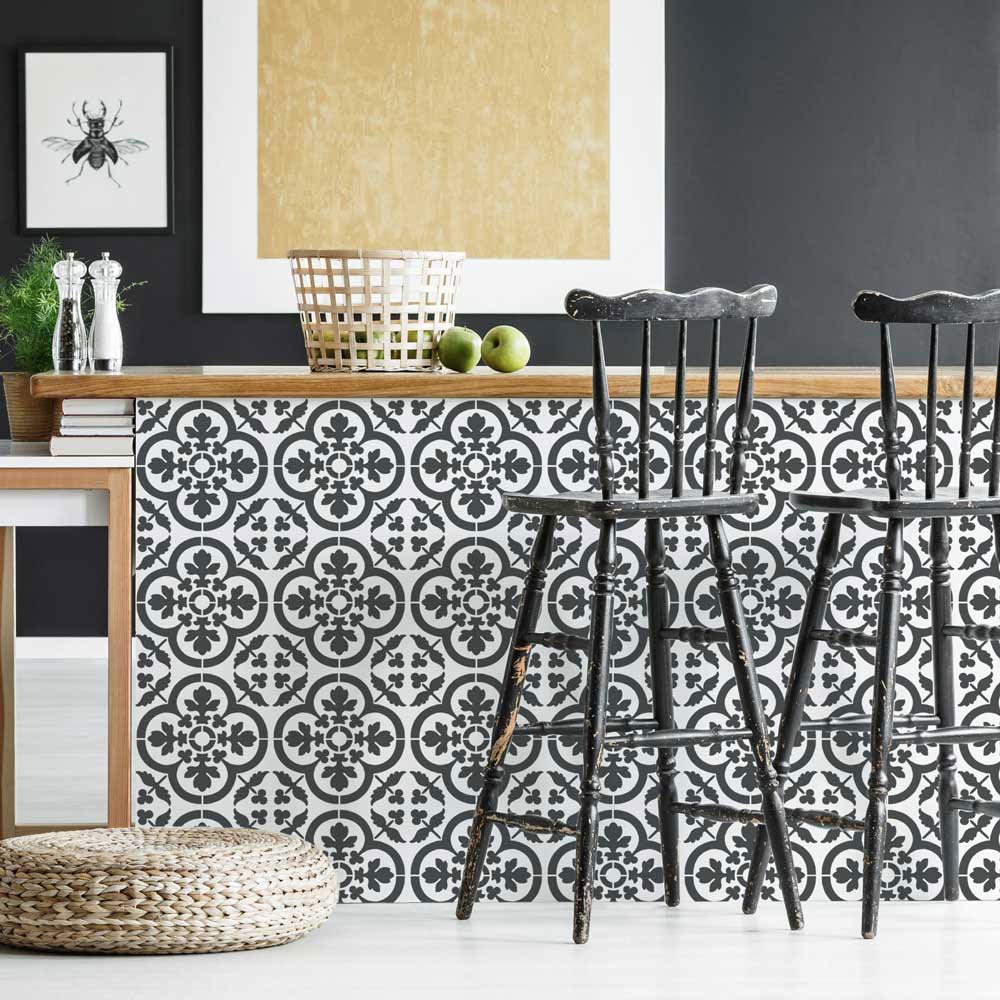
 Our Felicity Tile Stencil is a great choice for a trendy tile makeover! Based on a classic French tile design, this tile stencil is perfect for painting a gorgeous kitchen tile backsplash, stenciled staircase, table top or painted tile floor. We recommend getting 2 tile stencils for your project. Not only it will go faster, but you'll be able to get into tighter places and corners by cutting your spare tile stencil. You can certainly bend the whole stencil and still get all the spots, but you know what we're sayin' - it makes your life easier! :)
 Can’t get enough of Cutting Edge Stencils:


