Learn How To Stencil No Sew Roman Shades Using the Nadya Damask Stencil
Cutting Edge Stencils Provides Simple Steps To Paint No Sew Roman Shades Using Stencils
Perk on up my little
DIY home decor lovers because today is a totally T-riffic Tuesday! Wait, are you not feeling the
stencil spirit today? Well then keep on reading because I'm about to show you an awesome stenciled
home decor project that
is gonna knock your creative socks off! But before we get started, I want you to take a good look at those windows. Is something missing there? We're friends so we can be honest. Those windows are in need of some tender love and home decor care! The old curtains you hung up are just not cutting it anymore. Don't feel sad cause
Cutting Edge Stencils is here to help! We want you to consider using our
stencils to make your own roman shades (no sewing involved, we promise)!
I want you to meet Megan, the crafty blogger behind
Balancing Home. As Megan would tell you herself she's a proud do-it-yourself-er with a passion for pretty spaces. In other words, Megan rocks when it comes to creating things for her home! Here's how it all started... Megan had a home decor problem. Her dining room windows were in desperate need of something but she wasn't sure what to do. The space lacked pattern and color. Not too long ago, Megan stenciled her gorgeous living room curtains with the
Nadya Damask Stencil. That's when the idea hit her. What if she stenciled her own roman shade using her reusable stencil? When it comes to stenciling diy home decor, we have to agree that it's a FAB idea!
Here is what you need to make gorgeous roman shades just like these!
Material Checklist
Here's the 411 on how-to stencil your own Roman Shades...
1. Decide how big your roman shade needs to be. Once you know the basic dimensions, you can cut a drape panel to fit your needs. Megan purchased her panel from Target for $6. Use the iron-on bonding tape to make a no sew hem on the panel. Now you have the perfect sized panel to create your roman shade!
2. Secure the stencil with some painters tape around the edge.
3. Next pour some of the acrylic paint into a paper plate. To get a similar look to Megan's consider Benjamin Moore's
hale navy HC-154. Cover your foam roller with paint and then off-load the excess onto a piece of paper towel.
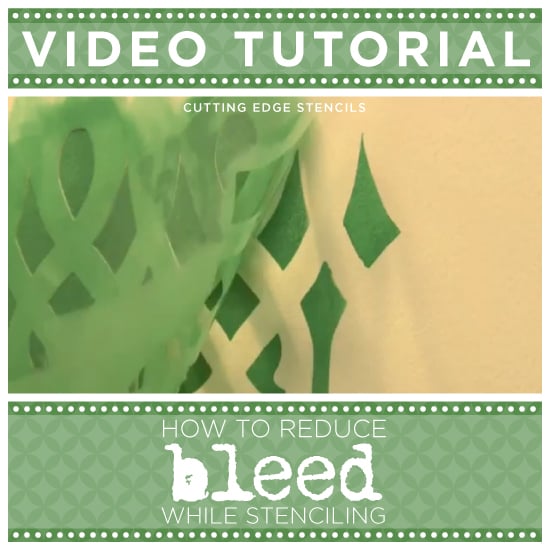
4. Using a foam roller, carefully roll the paint over the stencil putting enough pressure on the roller so the paint adheres to the fabric, but not too much so that it seeps under the stencil.
5. Once the first section was done, wait about 1-2 minutes and then carefully lift the stencil. Then you can use a small paintbrush to touch up any areas. Then reposition the stencil until your entire piece of panel is painted.
6. Now that the stenciling is complete, let the panel dry before you continue making your roman shade.
To see exactly how Megan snipped, pinned, and stapled the whole thing together check out her blog post
Stenciled No Sew Faux Roman Shades
This is what it will look like when it's done- BE-YOU-TIFUL!!! See I told you that would perk you on up!

Don't forget to check out those GORG Nadya Damask stenciled curtains she painted over
here!
Can’t get enough Cutting Edge Stencils action?
- Shop our stencils and find the perfect one for your diy home decor project!
- Follow us on Pinterest to see awesome inspirational photos!
- Have you completed a stencil project? Come share it on Facebook!
Thanks for reading, and happy stenciling!
Michelle and the Cutting Edge Stencils Crew
 Don't forget to check out those GORG Nadya Damask stenciled curtains she painted over here!
Can’t get enough Cutting Edge Stencils action?
Thanks for reading, and happy stenciling!
Michelle and the Cutting Edge Stencils Crew


