

Myriam Furniture Stencil
PRODUCT INFO:
Choose options
PRODUCT INFO:
PRODUCT INFO:
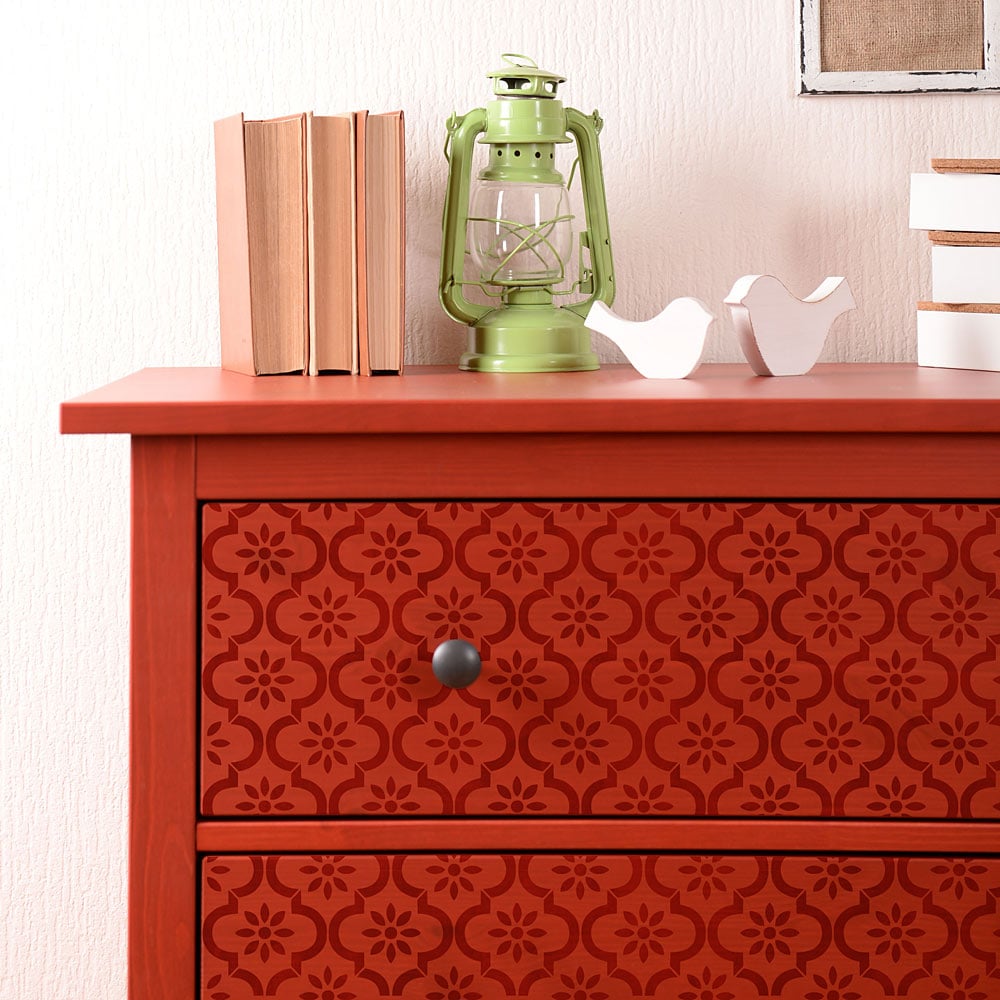
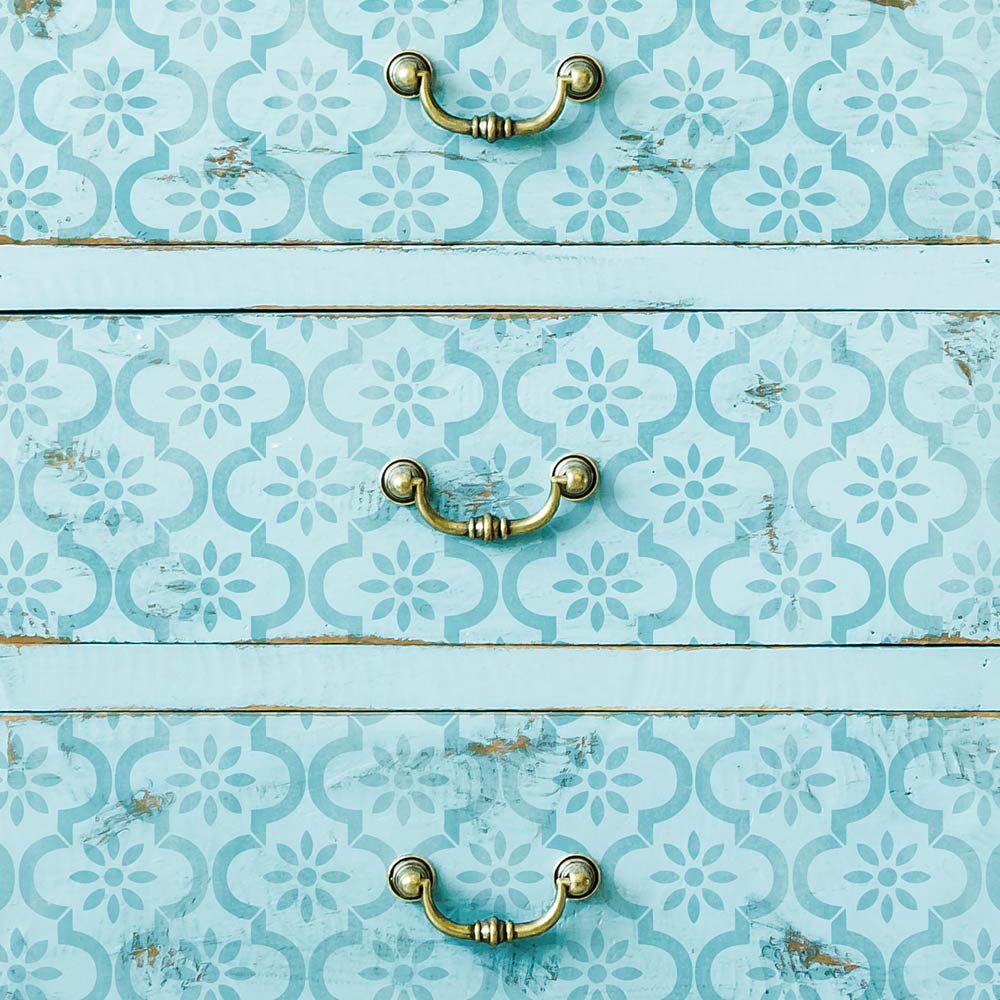
We’re happy to offer this classical Moroccan stencil that we call Myriam. This simple yet so beautiful stencil pattern is perfect for craft and furniture stenciling projects. Learn how to easily stencil furniture, whether it’s an Ikea hack or an old piece that you’ve picked up at the curb. With a stencil, it’s sure going to be a masterpiece!
Did you know you can stencil on fabric too? Yes, you can create custom stenciled curtains, pillows and table cloths with our stencils! When stenciling on fabric, stencil adhesive is very helpful. First, tape your ironed fabric to the surface so it doesn't move around while you stencil. Use stencil brushes, or roller, and add some textile medium (sold in craft stores) to your acrylic paint. You can also get a special fabric paint, but, frankly, good craft acrylics with a dollop of textile medium work just as well, and costs way less too! :) Let the stenciled image dry completely, 24 hours is best, then heat-set it by ironing the fabric for about 20 seconds (more or less) on a LOW setting through the piece of cloth. Heat-setting will cure the paint and prevent it from being washed off in the washing machine. Always experiment with a sample of your fabric first to ensure good results. I've stenciled on silk, cotton, linen and even sheer fabrics with great results. It's always better if your fabric doesn't have too much texture.
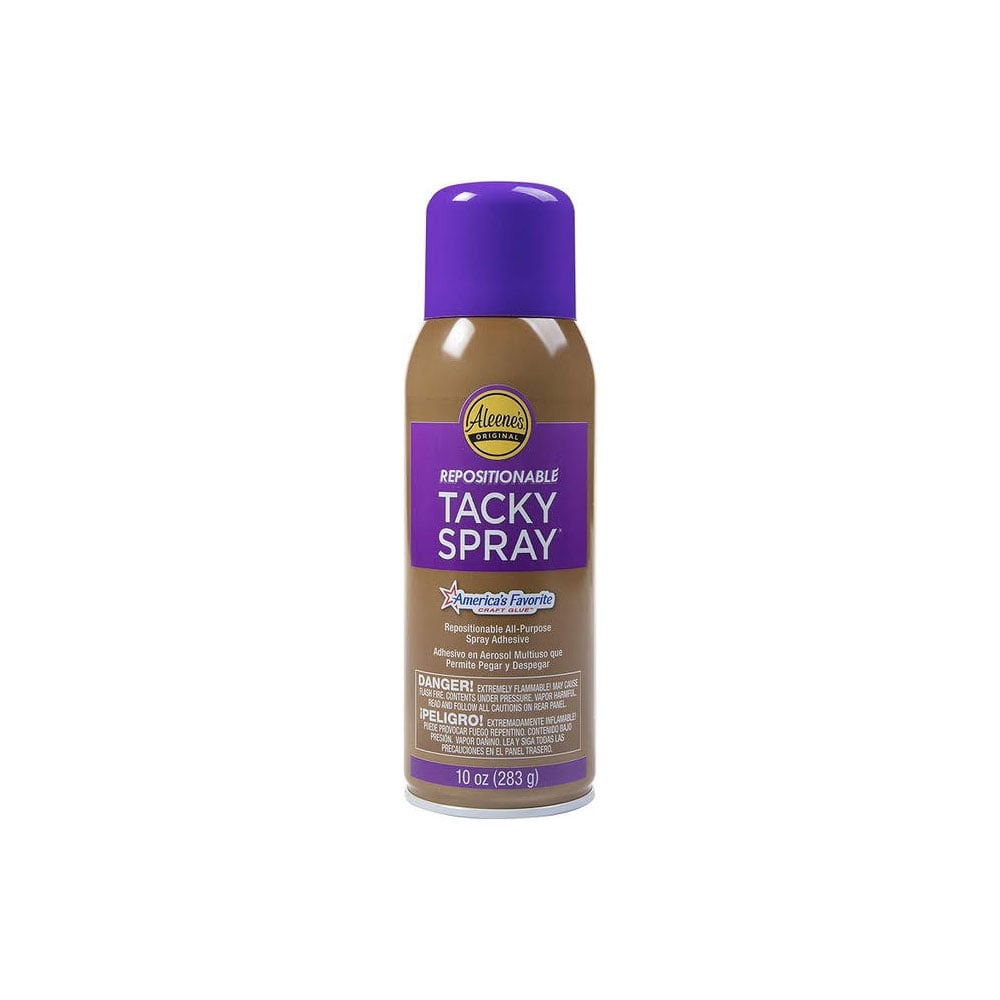
When stenciling on furniture, you want to insure good adhesion. If the piece has a varnish or a glossy finish you'll need to break the sheen. You can do this with a scotch brite pad, steel wool or fine grit sandpaper. Lightly sand the surface and then wipe down the piece with a damp cloth or paper towel. Next, basecoat the piece if you want to change the overall color. Most acrylic and latex paints work well, but to insure good adhesion you may want to use an adhesive primer such as Stix or Zinnser 1*2*3. These primers can even be tinted to the color you want. After your primer/basecoat is dry you can start stenciling with whatever paint you like. FolkArt acrylics and Benjamin Moore paints work great. You can just tape your stencils with pieces of blue painters tape, or use spray adhesive for a crisper look. If you want to protect your artwork, you could then topcoat the table with a clear topcoat (spray or brush-on).
Please make sure you watch our short step-by-step Video Tutorials!You'll find them extremely helpful for your stenciling project. While prior experience is helpful when working with repeat interlocking stencils, even beginners get great results!
Need some stencil inspiration or looking for stencil room ideas? Check our our Stencil Stories Blog it's packed with expert stenciling advice for DIY decor, illustrated step-by-step tutorials, room ideas and style advice and color inspiration.
Decorating in Beach style? Check out our entire Beach Decor Stencil collection for more ideas for that breezy, beach house vibe you're trying to bring to your room!
- Our stencils are expertly designed by decorative painting professionals Janna Makaeva and Greg Swisher, so when you're buying a stencil from Cutting Edge it's backed by our 20+ years of painting and decorating experience.
- Our Sturdy and Reusable stencils can be used again and again. One stencil can produce many images unlike one-time use vinyl decals. Our stencils are laser cut from top quality 10 mil mylar stencil material which is user-friendly and easy to clean.
- If you compare our stencil thickness, size, design quality, prices and the level of customer support, you will be amazed at the value that Cutting Edge Stencils offers!
- Stencils are super economical! Stenciling is more cost effective than wallpaper, decals or faux finishes. Stencils work on walls, even lightly textured ones, also on floors, ceilings, furniture and fabric You are not limited with your color choices. Choose any paint color you want to perfectly match your decor Stencils will never damage your walls. No peeling, no glue residue, no worries.
- Unlike decals or wallpaper, stenciling is easy to touch-up, adjust or re-do. With most decals you only get one chance to install it right. With wallpaper, the splitting seams and messy removal together with high cost makes it a less attractive option.
- We ship our stencils fast using USPS Priority Mail and also offer Expedited shipping options and International shipping at very competitive rates.
- Our large stencil collection is constantly growing reflecting the most current decorating trends, so you have plenty of modern stencil designs to choose from.
- We offer custom scaling of our designs up or down to accommodate your specific project.
- Our customer service is the best and the friendliest! We are here for you to answer your questions, to help you place an order, and to solve any possible issues.
- Cutting Edge Stencils is an established leading brand with a huge social following, actively present on all major social platforms. We offer the best in the industry video tutorials and expert stenciling instructions.
USPS can deliver most domestic packages within 3-5 business days (often sooner). For international packages, the delivery time is appr. 7-14 days. For Expedited shipping please select the options at the Checkout. Allow 1 business day for processing of all expedited orders.
30-DAY RETURNS
You can return your unused items within 30 days with no restocking fee. Questions? Please see our full Shipping and Returns Policy.
If you require custom size stencils, please contact us.


