

Nola Tile Stencil
PRODUCT INFO:
Choose options
PRODUCT INFO:
PRODUCT INFO:
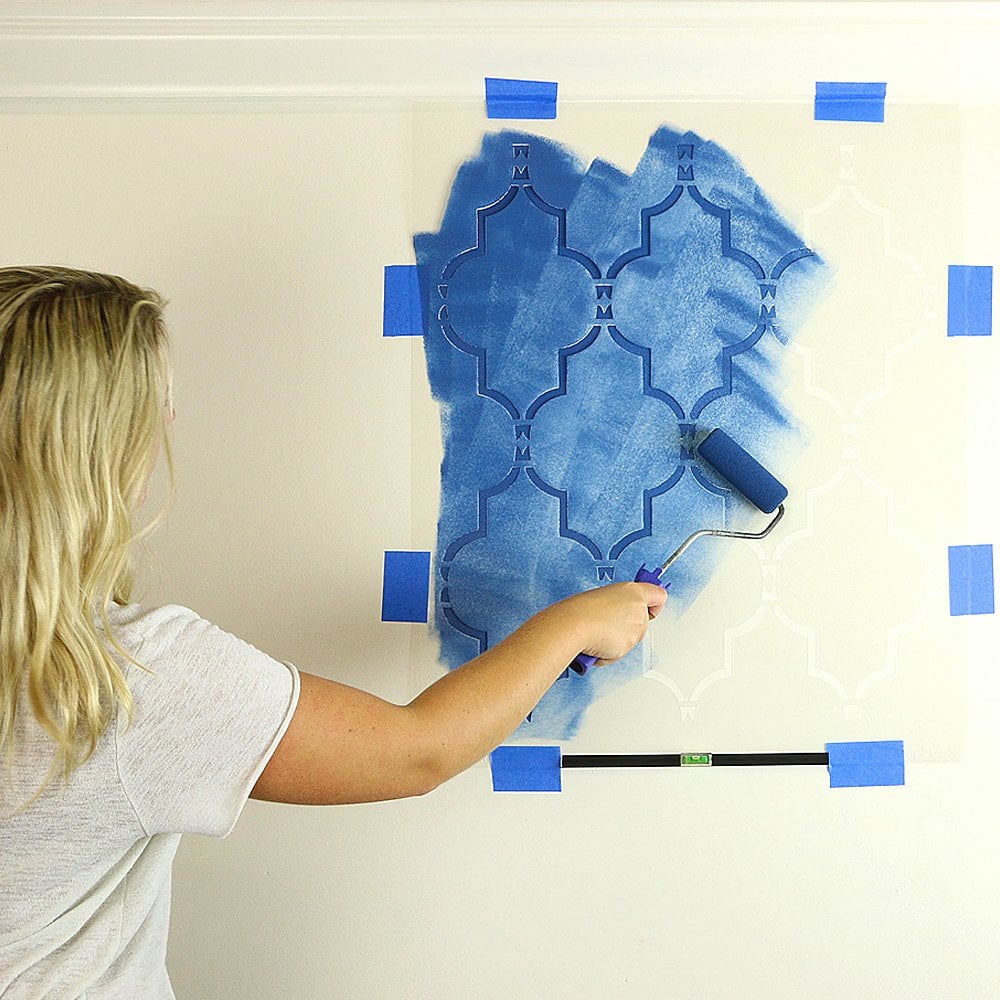
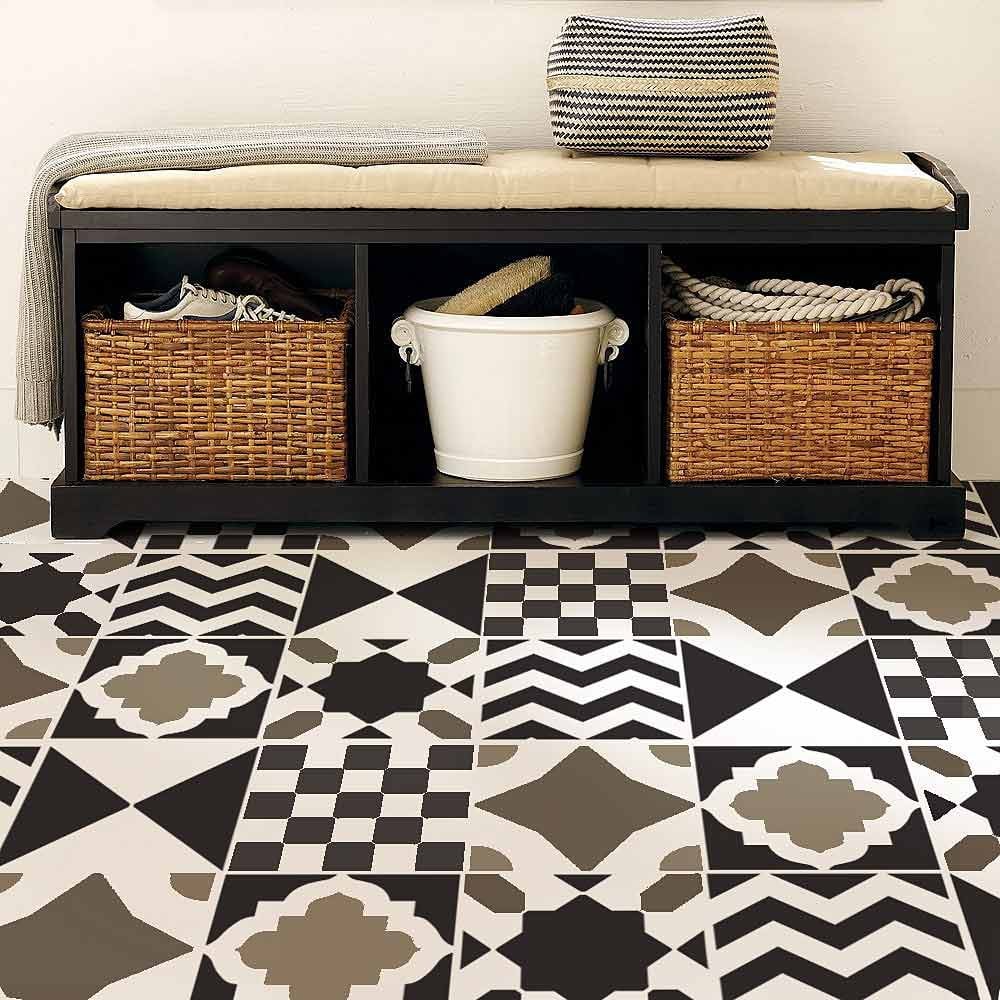
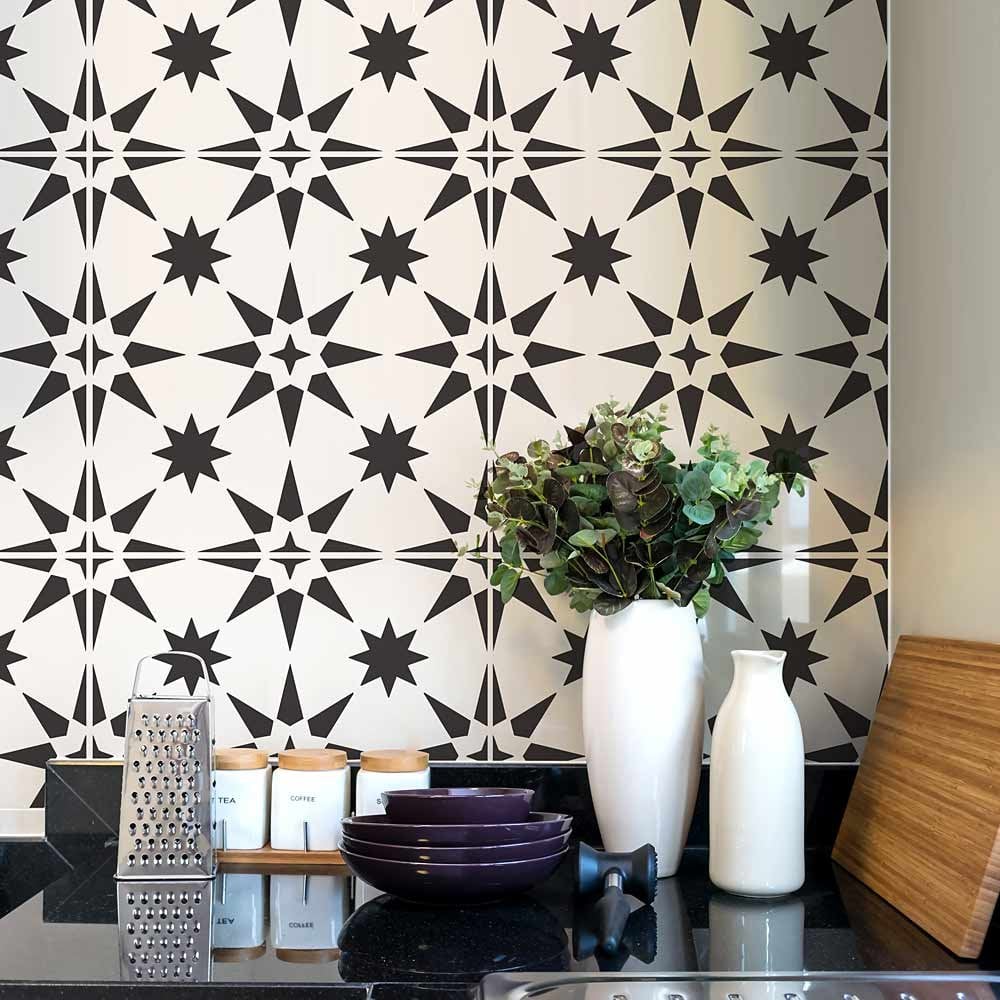
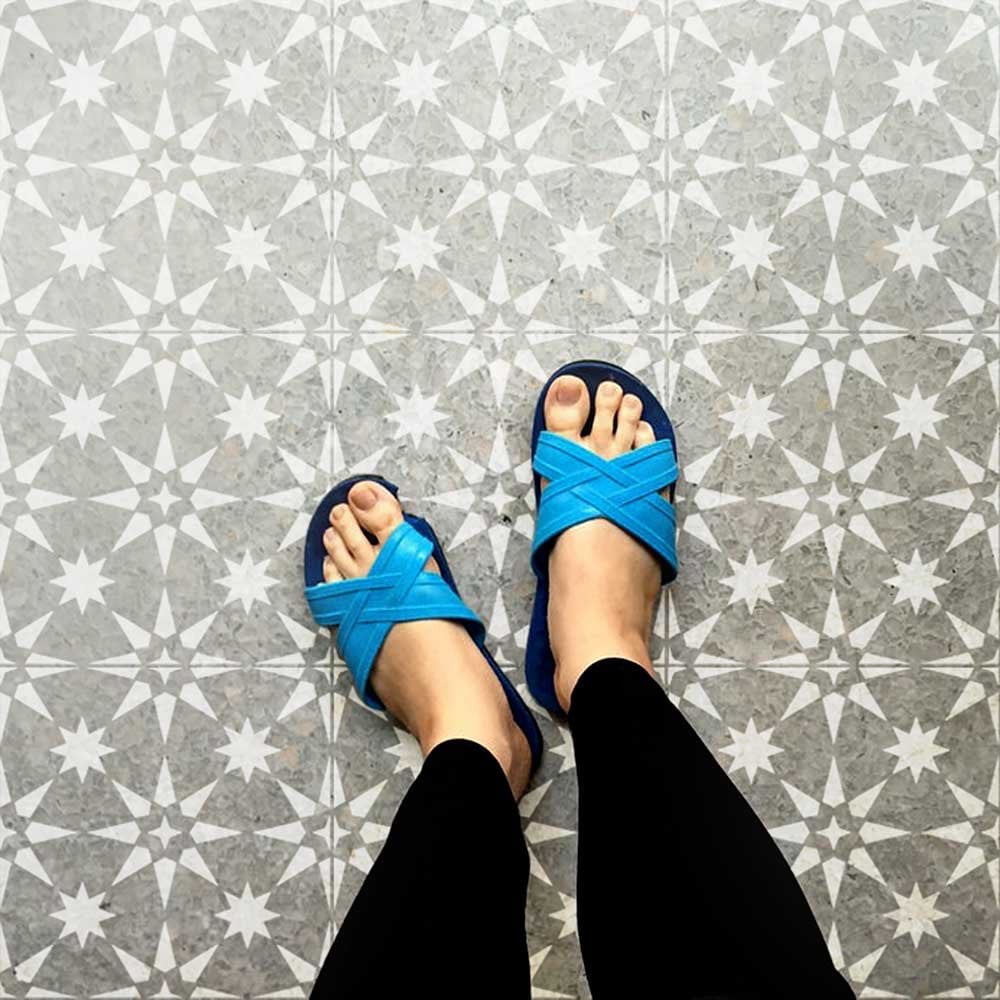
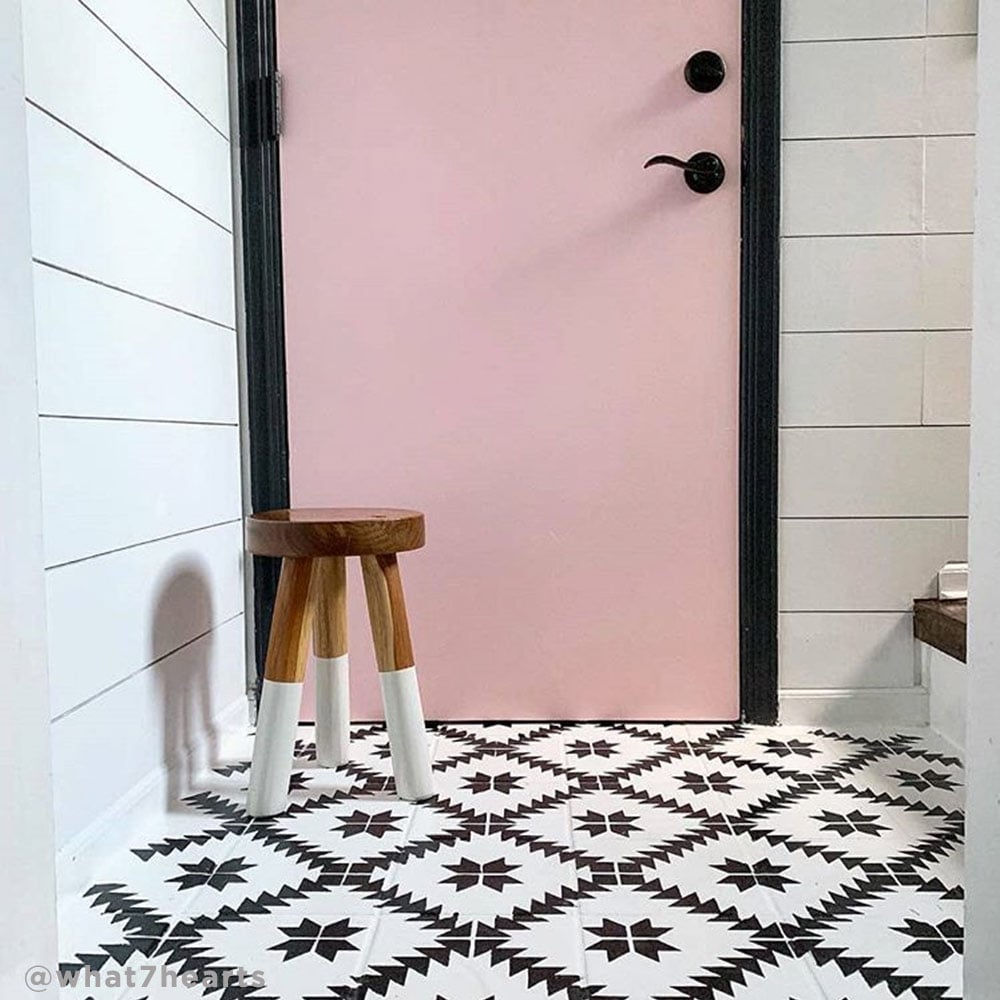
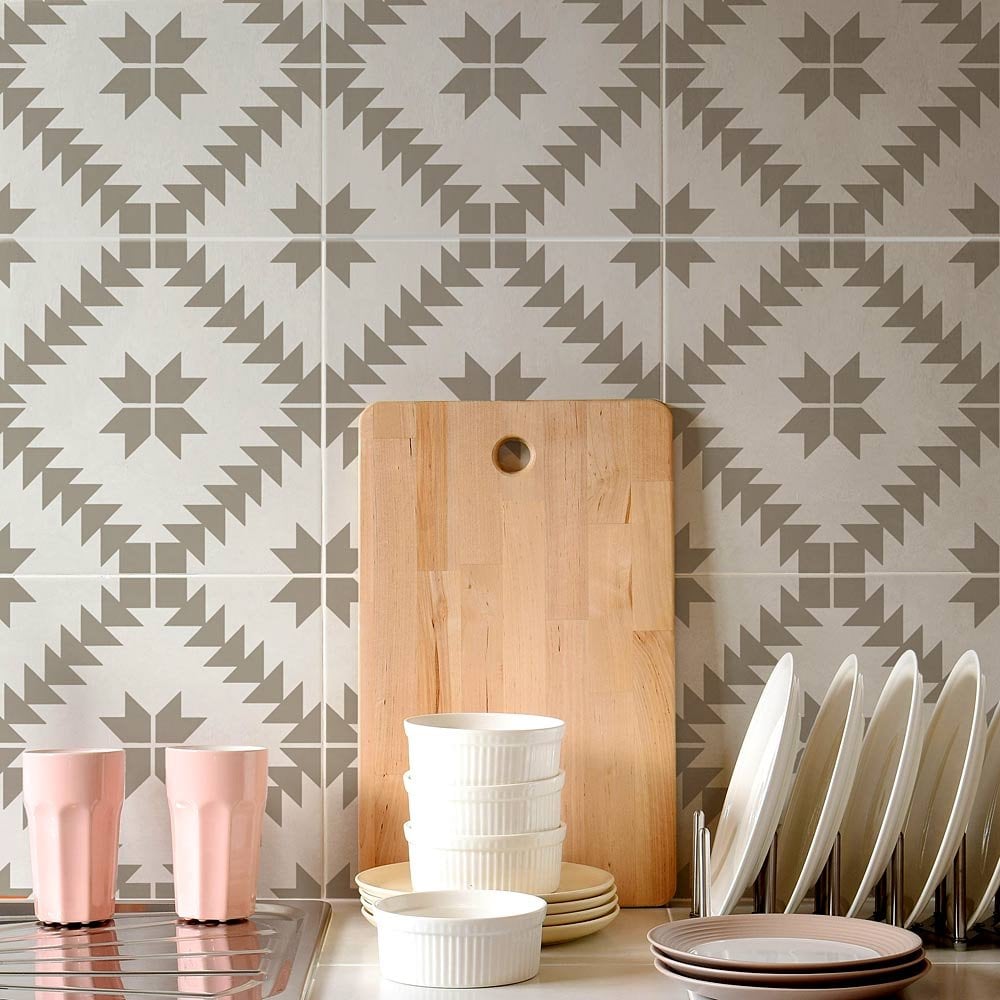
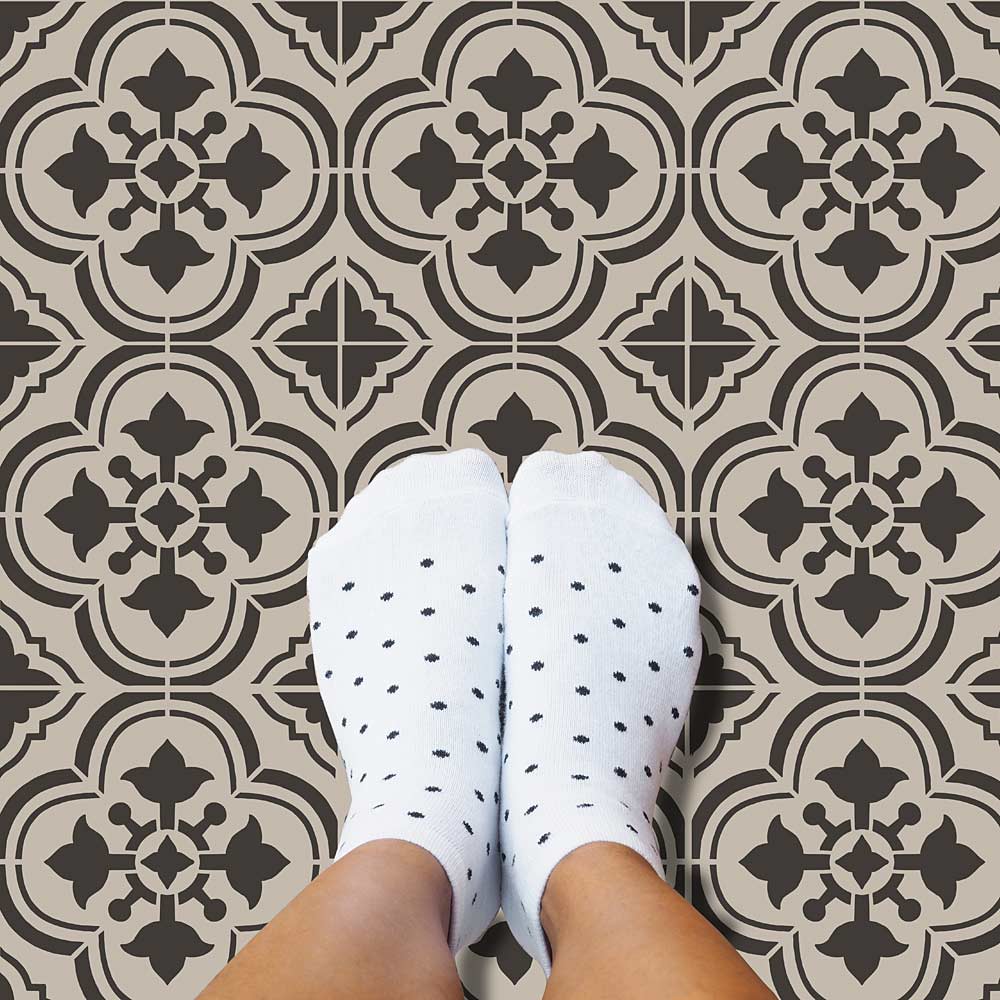
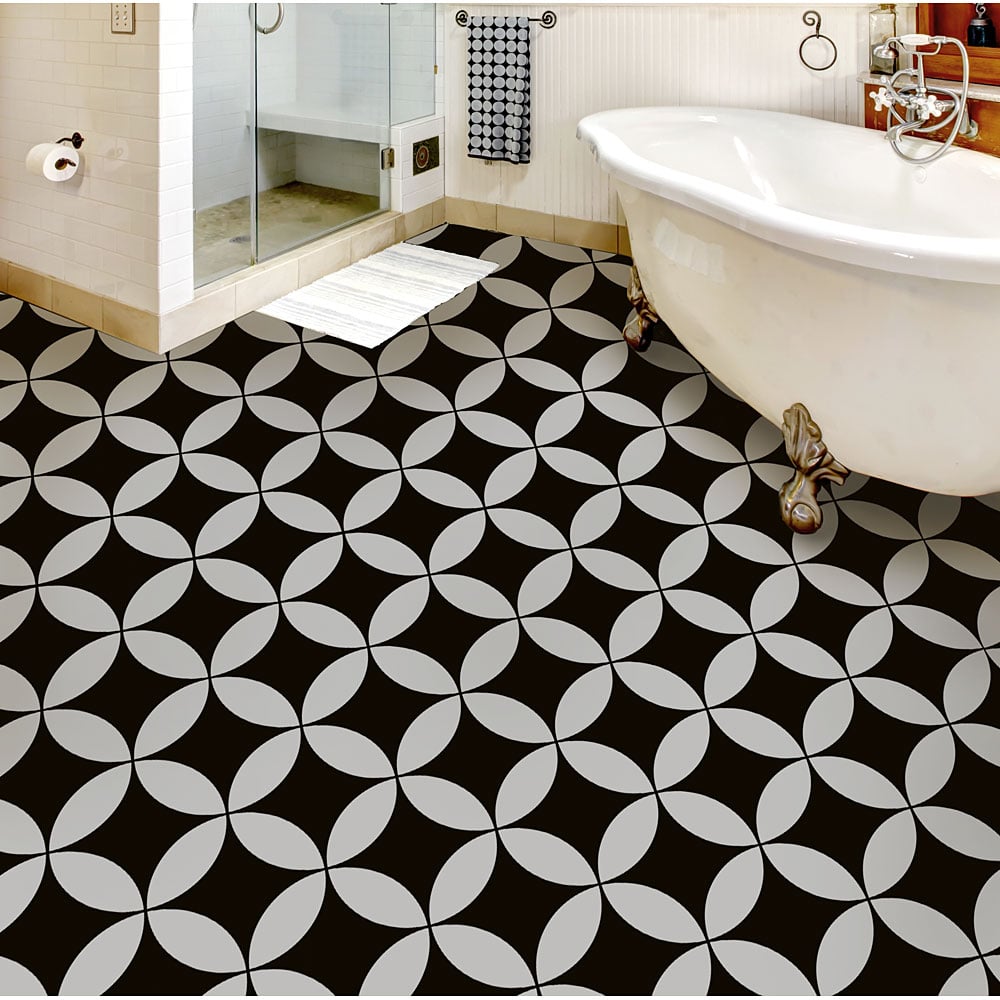
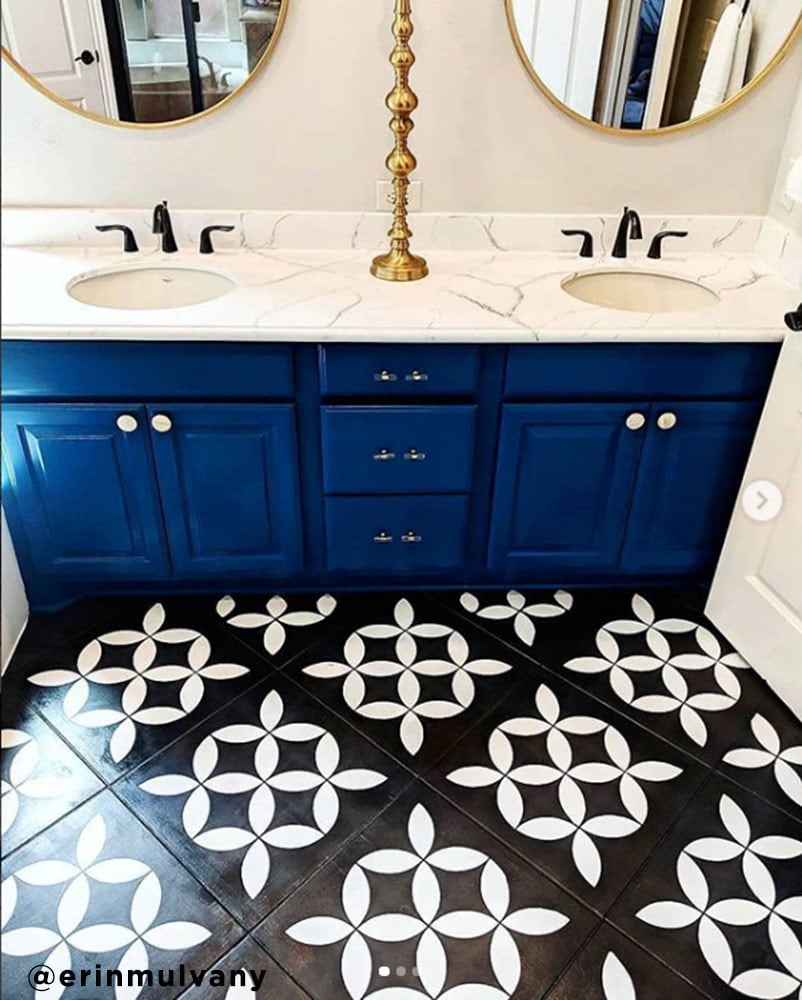
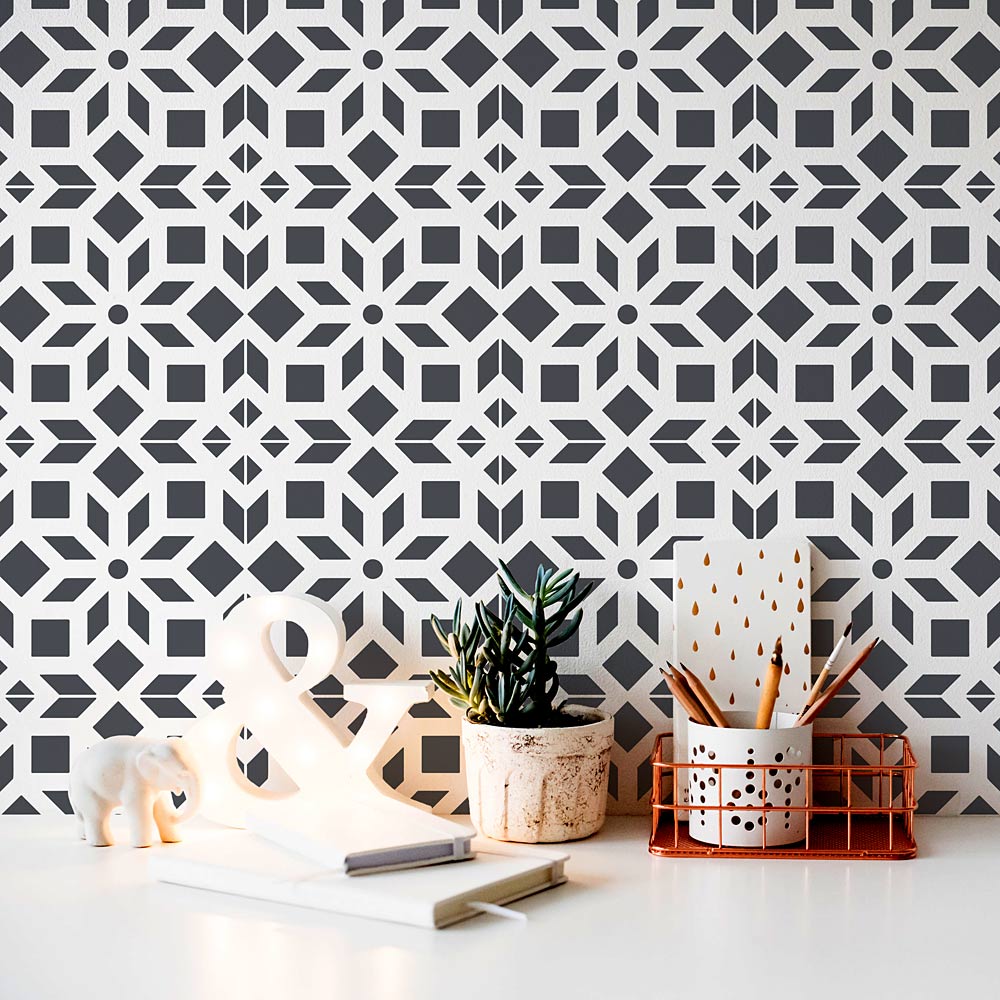
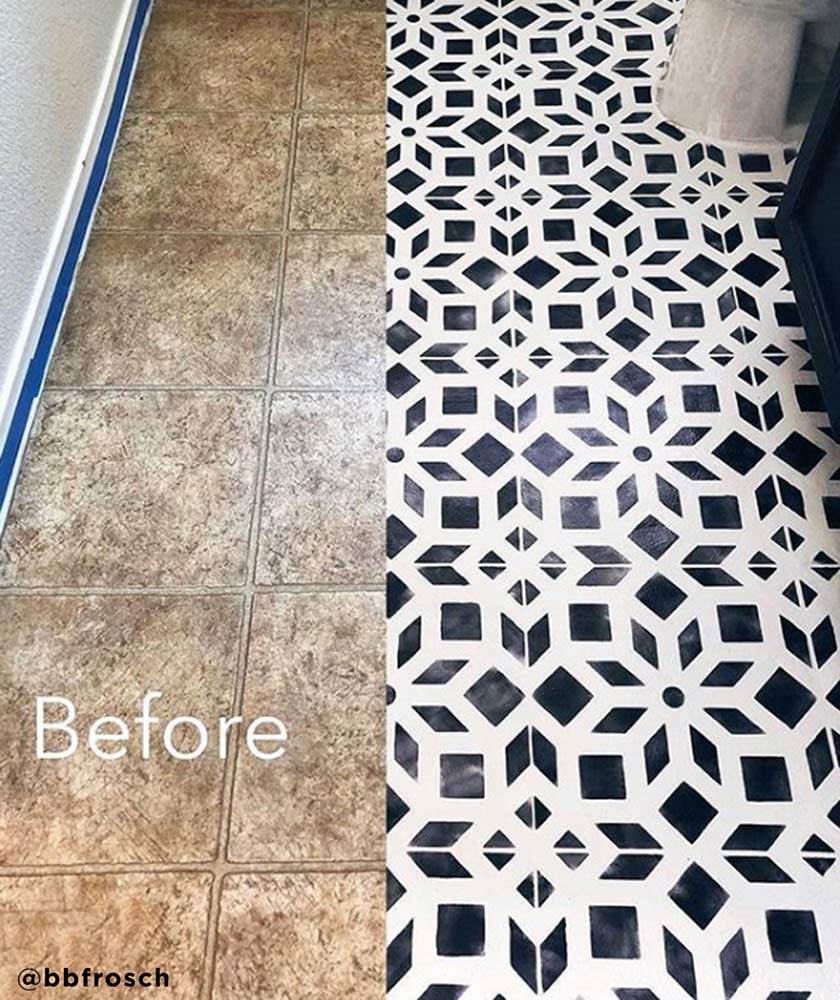
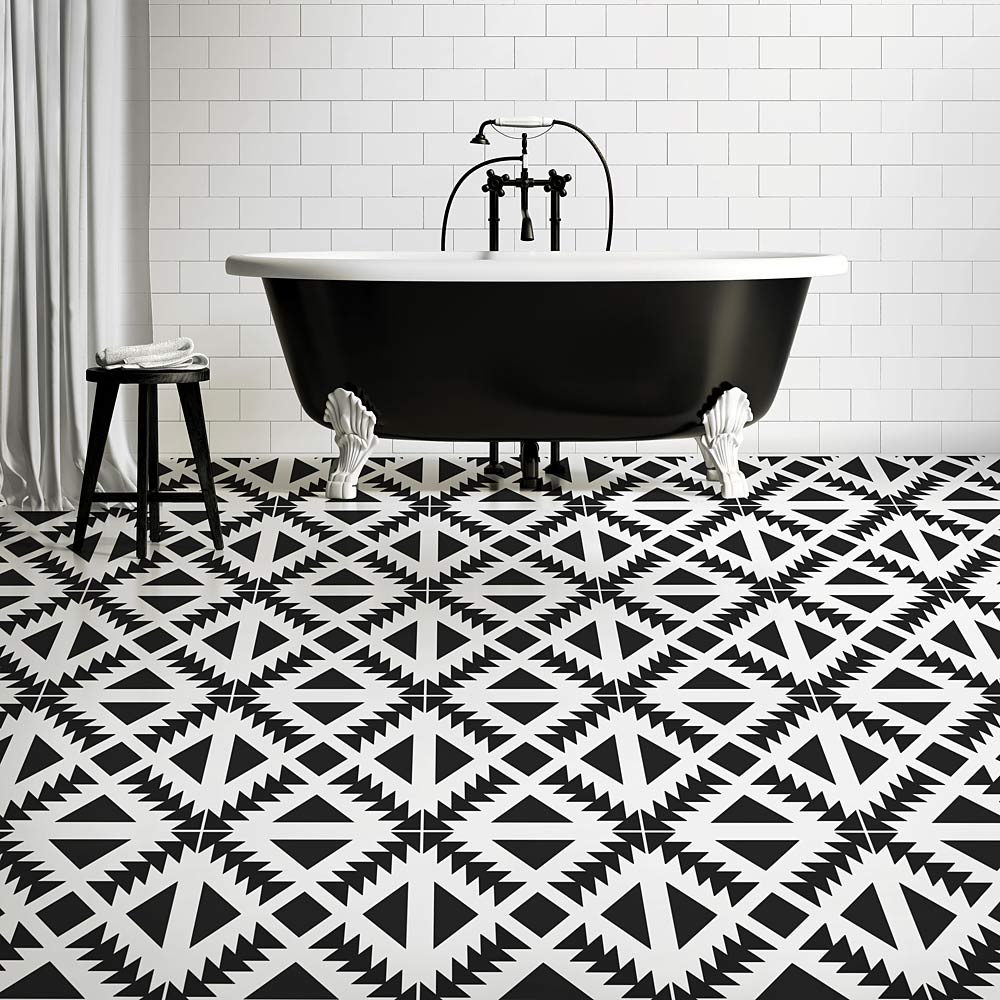
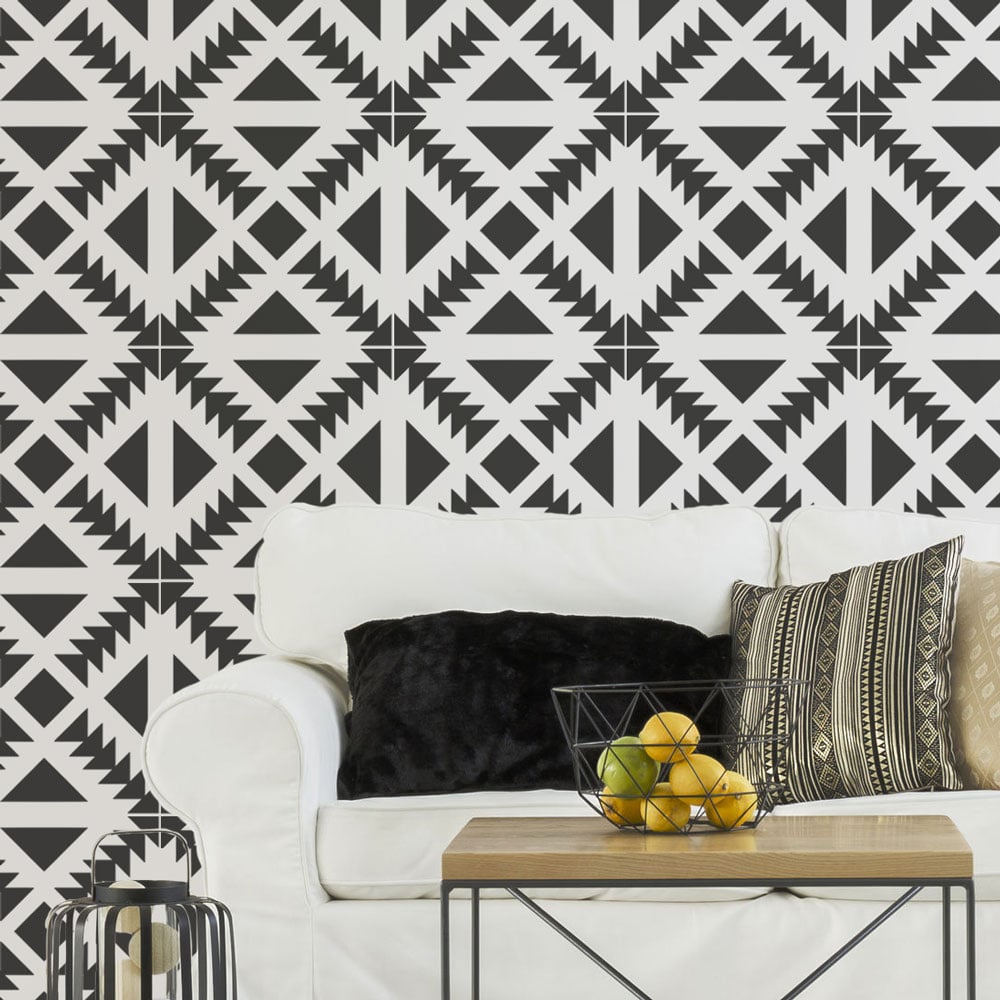
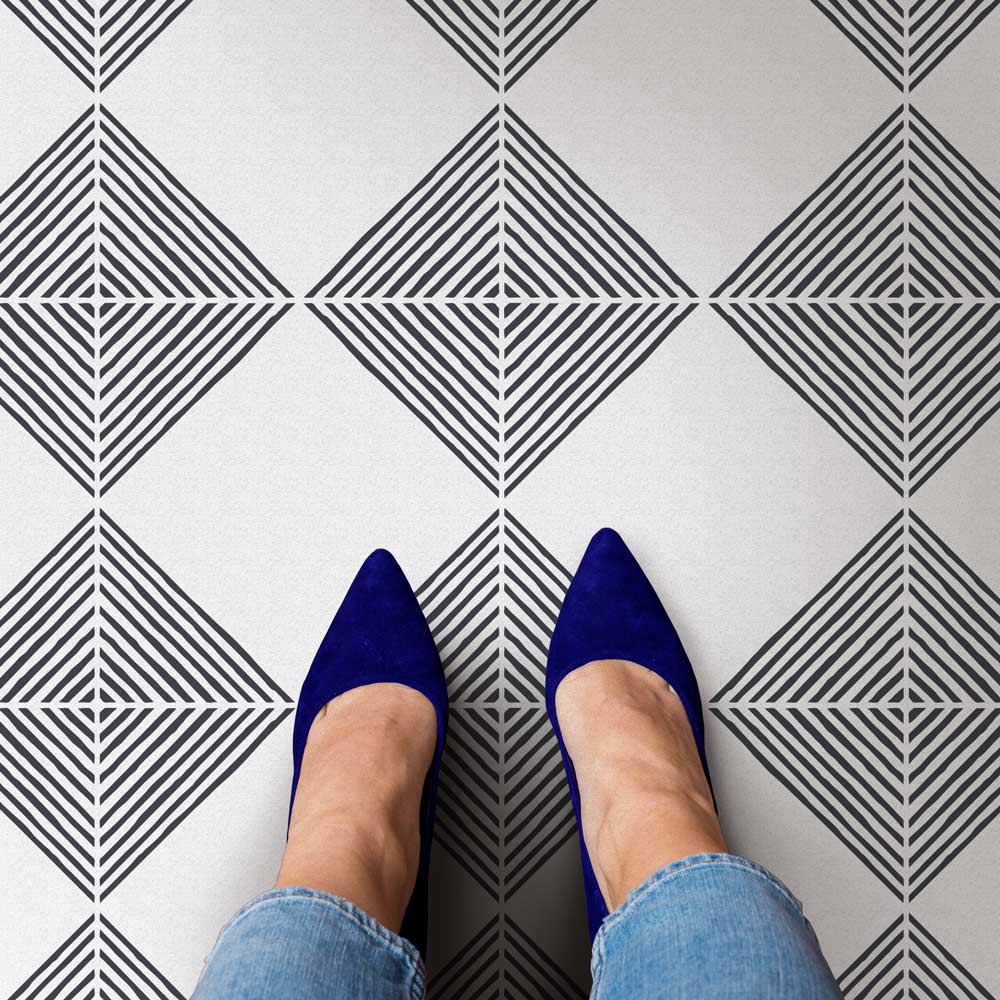
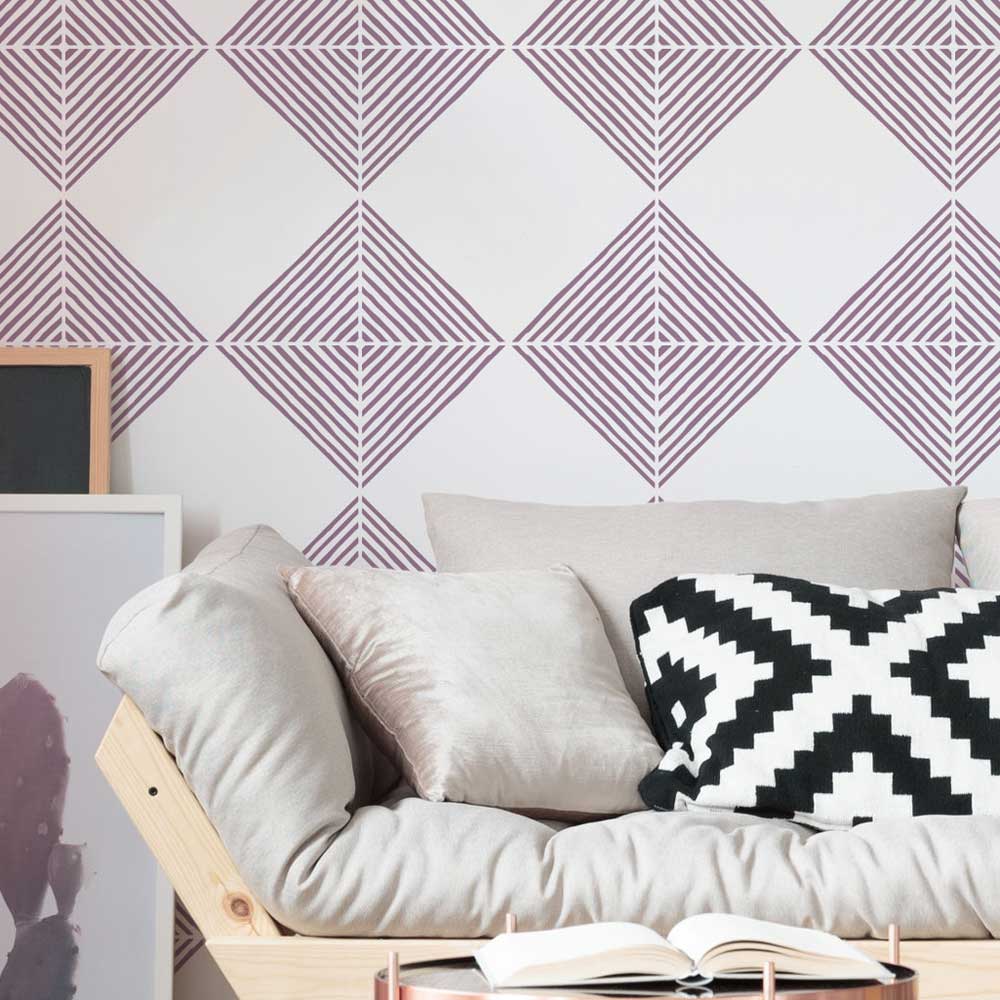
This modern geometric Nola Tile Stencil was inspired by a popular cement tile pattern. Our tile stencils are the perfect money saving alternative to the popular but pricey cement tiles. You can stencil a gorgeous black and white kitchen backsplash, or use this stencil pattern over your existing floor tiles for a dramatic effect.
Learn How to stencil a tile – it’s easy even for beginners!
How to measure your tile: The size of our tile stencil designs are exactly as advertised. We currently offer them in 6", 8", 12", and 16". The grout line is NOT factored into those sizes. Before ordering, please measure your tile from tile edge to tile edge. Do NOT include the grout lines. If your tile is slightly larger/smaller than our listed dimensions, please contact customer service using Contact form.
We also include a free Grout Line stencil to give your stenciled tiles that sharp, clean look!
For expert stenciling tips, please watch our How-to stencil videos! You'll find them extremely helpful for your stenciling project. Even beginners get great results!
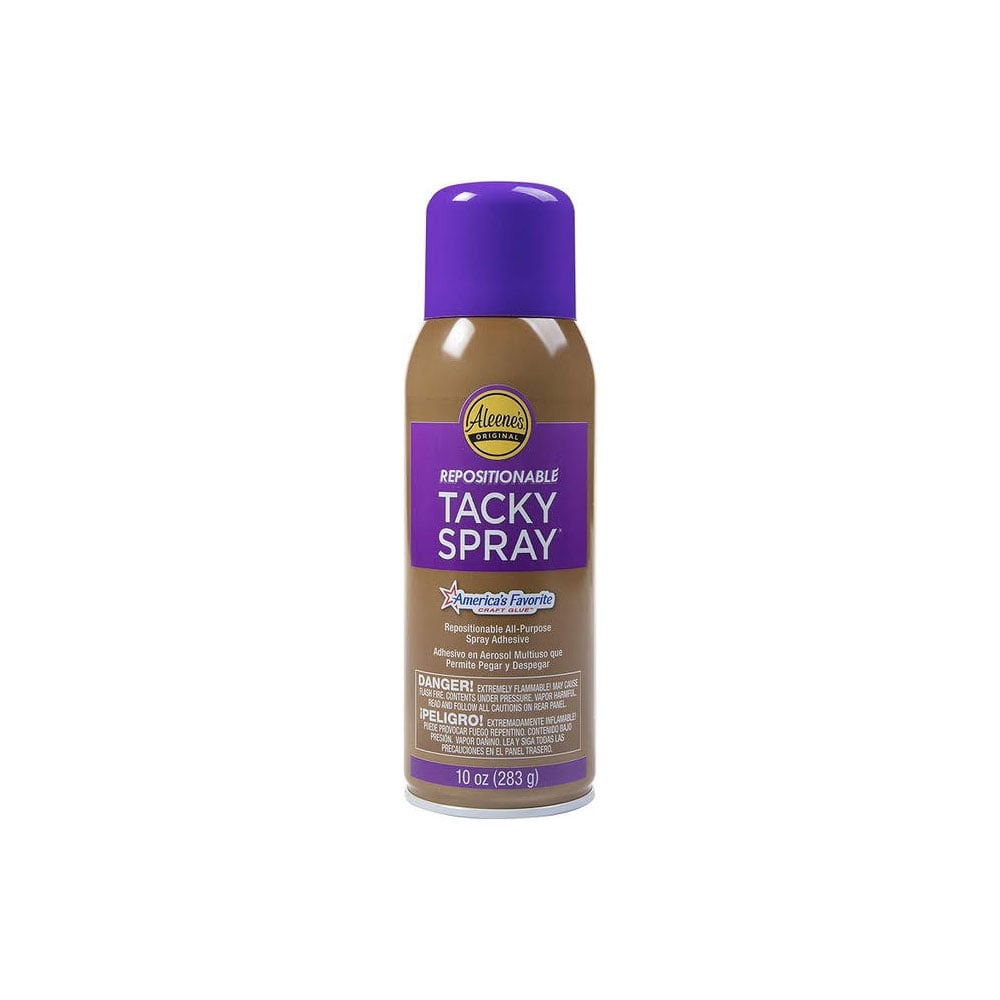
Although most of our stencils do not require the use of spray adhesive, if your walls have a texture to them, it might be a good idea to use spray adhesive to help minimize paint seepage (Elmer's spray adhesive seems to be the best). Make sure you shake the can well and lightly mist (not drench) the stencil, and let it dry for a moment before positioning it on the wall. This step will prevent the adhesive residue transferring to the wall. You'll need to re-mist the stencil after a few repeats. Note: you will still need to hold the stencil in place with a few pieces of blue painters tape! Adhesive by itself is not enough to hold the stencil on the wall. Clean-up tip: Spray the stencil with Simple Green to help to remove adhesive residue and let it sit for a while before cleaning with soap and water. Please note that it is virtually impossible to get rid of all adhesive residue. That's why we personally prefer not to use it and just stick with painter's tape!
Stenciling on rough or textured walls may contribute to increased paint bleed. For more information on stenciling on textured walls, see our F.A.Q. section.
About seepage and imperfections: Even with a proper loaded roller and correct technique you might get some minor paint seepage here and there. In most cases it's not noticeable, especially from a couple of feet away and it can be easily touched up with a small brush. Don't forget that you're creating a "hand-painted wall finish". A few imperfections and some paint seepage here and there are natural and inevitable for this type of work. To avoid seepage, use spray adhesive and less paint on your roller and brush.
Our stencils are made to last and with proper care and storage will serve you for long time.
- Our stencils are expertly designed by decorative painting professionals Janna Makaeva and Greg Swisher, so when you're buying a stencil from Cutting Edge it's backed by our 20+ years of painting and decorating experience.
- Our Sturdy and Reusable stencils can be used again and again. One stencil can produce many images unlike one-time use vinyl decals. Our stencils are laser cut from top quality 10 mil mylar stencil material which is user-friendly and easy to clean.
- If you compare our stencil thickness, size, design quality, prices and the level of customer support, you will be amazed at the value that Cutting Edge Stencils offers!
- Stencils are super economical! Stenciling is more cost effective than wallpaper, decals or faux finishes. Stencils work on walls, even lightly textured ones, also on floors, ceilings, furniture and fabric You are not limited with your color choices. Choose any paint color you want to perfectly match your decor Stencils will never damage your walls. No peeling, no glue residue, no worries.
- Unlike decals or wallpaper, stenciling is easy to touch-up, adjust or re-do. With most decals you only get one chance to install it right. With wallpaper, the splitting seams and messy removal together with high cost makes it a less attractive option.
- We ship our stencils fast using USPS Priority Mail and also offer Expedited shipping options and International shipping at very competitive rates.
- Our large stencil collection is constantly growing reflecting the most current decorating trends, so you have plenty of modern stencil designs to choose from.
- We offer custom scaling of our designs up or down to accommodate your specific project.
- Our customer service is the best and the friendliest! We are here for you to answer your questions, to help you place an order, and to solve any possible issues.
- Cutting Edge Stencils is an established leading brand with a huge social following, actively present on all major social platforms. We offer the best in the industry video tutorials and expert stenciling instructions.
USPS can deliver most domestic packages within 3-5 business days (often sooner). For international packages, the delivery time is appr. 7-14 days. For Expedited shipping please select the options at the Checkout. Allow 1 business day for processing of all expedited orders.
30-DAY RETURNS
You can return your unused items within 30 days with no restocking fee. Questions? Please see our full Shipping and Returns Policy.
If you require custom size stencils, please contact us.


