Vine Stencil DIY For Pinterest-Worthy Faux Hanging Vines
Pinterest-Worthy Faux Hanging Vines Made With Vine Stencil!
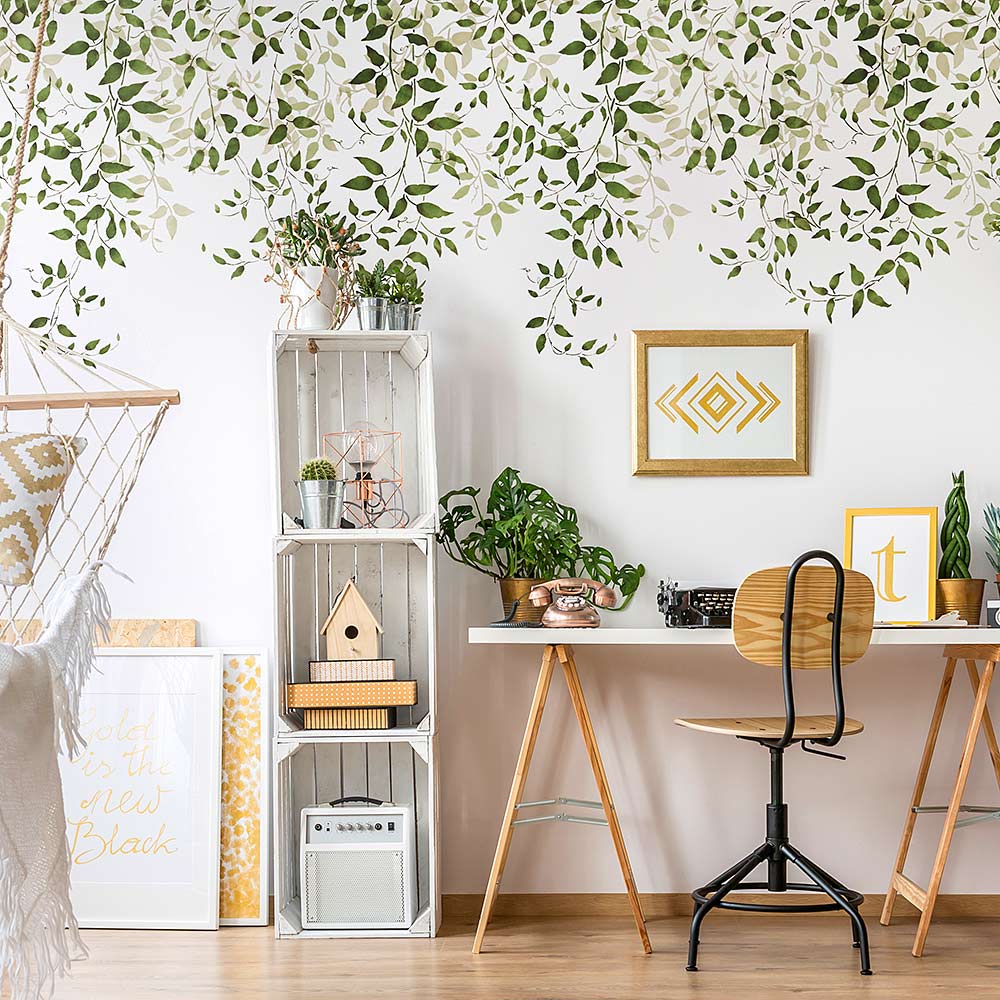
Welcome! Cutting Edge Stencils is excited to teach you how to easy it is to use our Budding Clematis 5-Piece Vine Stencil Kit to achieve aesthetically pleasing, Pinterst-worthy room decor. Skip the cheap plastic vines and the hassle of watering real ones! All you need is a little bit of paint and the right stenciling technique. Let's get started!

What You'll Need For Stenciling Vines:
- Budding Clematis 5-Piece Stencil Kit
- Benjamin Moore Paints
- Wall = Navajo White (Flat)
- Woodland Hills Green (Flat)
- Courtyard Green (Flat)
- Dakota Shadow (Flat)
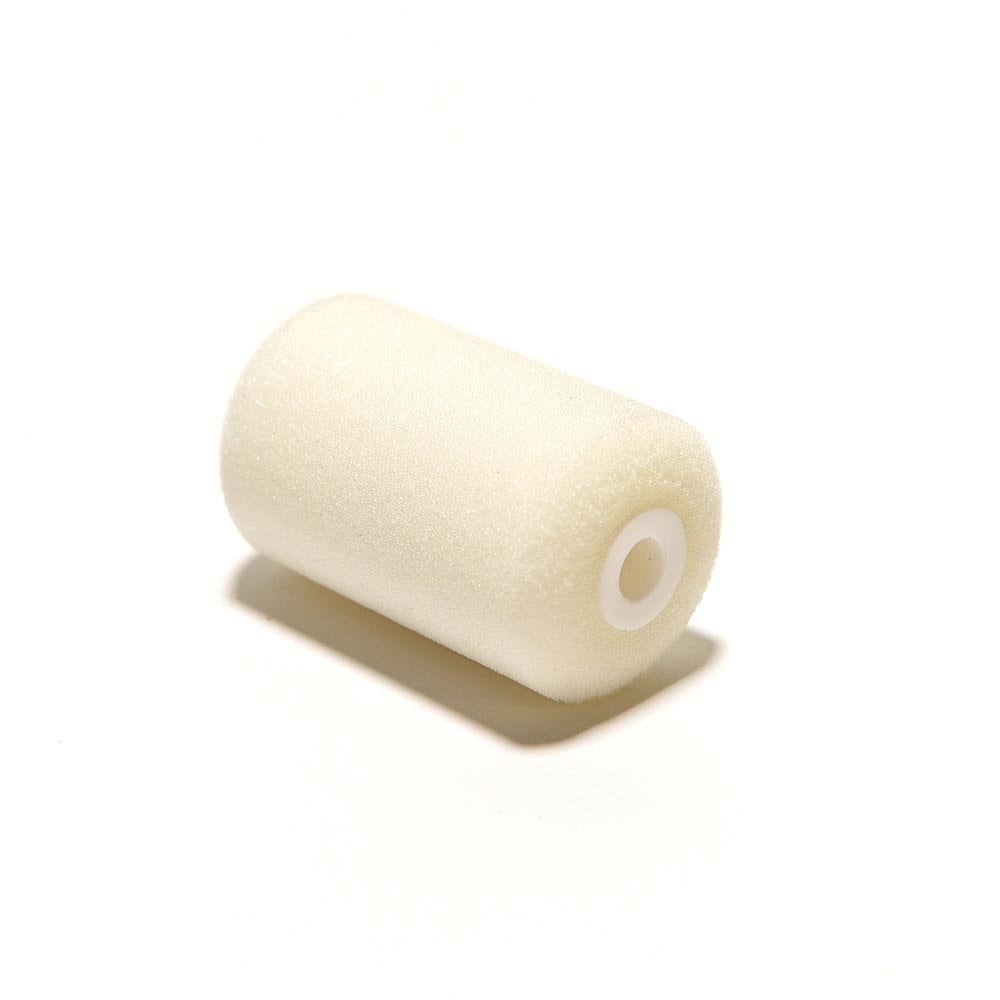
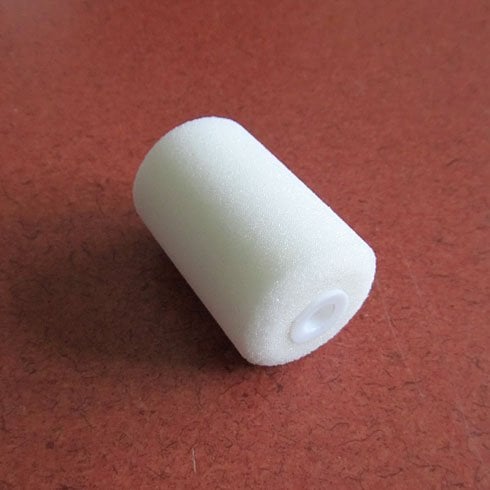
- Two 2” Dense Foam Rollers
- Blue Painter’s Tape
- Paper Towels
- Repostionable Spray Adhesive
- ¾” Professional Stencil Brush
Preparation Before Using a Vine Wall Stencil
 To avoid getting paint on any unwanted areas, use 2-inch low tack blue painter's tape to mask off the crown molding and ceiling. If you are stenciling to the end of the accent wall, make off the corner of the adjacent wall. Mist repositionable spray adhesive to the back of your vine wall stencils before you begin stenciling. Repositionable spray adhesive is great tool when working with wall stencils because it helps the stencil stick to your wall and reduce the chances of paint seepage under the wall stencil.
 You can start stenciling vines on any section of your wall. We decided to start in the middle! Position the vine stencil in a way that flows naturally at the top of your accent wall. Bend the vine wall stencil so the stem extends to the crown molding or ceiling. Make sure the rest of the vine wall stencil is laying flat on the surface.
Layer 1: Ghost Leaves Made With Vine Stencil
 We are going to start with our ghost leaves in the background. Load 2” dense foam roller for stenciling with your lightest color, Woodland Hills Green. Pallet the foam roller back and forth on your paper tray/plate, distributing the paint evenly on the roller. You want very little paint on your foam roller for stenciling, so offload excess paint onto a paper towel.
 Using light application. apply paint in a broken fashion over the vine wall stencil. Your ghost leaves can be a little transparent!
 Time for shading! Load your second 2" dense foam roller for stenciling with Courtyard Green. When shading, concentrate on lightly rolling over the edges, bottom parts of the leaves and the stem! Shading the vine wall stencils will add shadows and dimension to your faux hanging vines!
 While stenciling ghost vines, consciously place different size vine wall stencils next to one another so there appears to be natural variation. This will give the illusion of movement when you start to add the foreground vine stencil leaves over them!
Use these STENCIL HACKS!
Wall stencils are already affordable alternative to wallpaper, but these wall stencil hacks will really get you your moneys worth!
First stencil hack:
 Create MORE variation with the same five vine wall stencils by simply masking off part of your stencil with blue painter's tape.

 This will modify your vine wall stencils in order to achieve a different look each time! You can even reuse the same piece of tape for all your vine stencils!
Second Stencil Hack:
We are going to ditch the tape and do some free form stenciling!

 If you placed two vine wall stencils with a similar look next to each other, take a section of any vine stencil and attach it to a previously painted vine to give it a slightly different look!

Layer 2: Foreground Leaves Made With Vine Stencil
Once you are finished with your ghost leaves, move on to your foreground leaves! You are going to repeat the same, effortless process as the ghost leaves, just with darker paint. Start with medium color Courtyard Green and shade it with your darkest paint color Dakota Shadow.
 We taught you how to shade with a dense foam roller for stenciling, but if you can easily shade your vine stencil pattern with a ¾” brush for stenciling. Dip the tip on the stencil brush into the paint. Pallet the stencil brush by swirling in on your paper plate/tray, really working the paint into the bristles. Offload excess paint onto a paper towel.
 Use your eye and place the vine stencils over the ghost leaves and roll Courtyard Green over the vine stencil.
 Use the ¾” professional stencil brush to shade the tips, edges and stems with Dakota Shadow. Remember to make the vines sparse towards the ends each side of the stenciled accent wall.
Adding The Final Touch!
To achieve a natural look, fill in empty areas where the wall meets the crown molding/ceiling line with ghosts leaves.

 The wall should look lush at the top and get more sparse as it comes down the wall. You will start to see the wall grow before your very eyes!

Can’t get enough of Cutting Edge Stencils:
- Check out our Facebook to see beautiful customer photos and interact with the people who created them!
- Buy our stencils for your next stencil project, and browse our other wonderful NEW stencil collections!
- Follow us on Instagram and Pinterest and share your designs using #CuttingEdgeStencils. We love seeing your projects!
- Feeling inspired? Check out our other Blog posts for more inspo and stencil designs!
Thanks for reading and happy stenciling!


