Mountain Mural Stencils That Look Like Wallpaper!
Easily Stencil A Mountain Mural With Wall Stencils
Welcome! Cutting Edge Stencils is more than excited to teach you how to easily create the look mountain mural wallpaper for half the price with our Mountain Pines 5 pc. Stencil Kit! Mountain mural stencils are an affordable alternative to designer wallpaper and allow you to customize the mountain range in a color scheme that fits your personal style! Greg Swisher, co-founder of Cutting Edge Stencils, will also be sharing painting techniques used by professional painters like himself to help you achieve a realistic mountain mural. Let's get started!

How To Prep Before Stenciling A Mountain Mural
 Before you begin stenciling the mountain mural, mask off the crown molding, adjacent wall, and baseboard with blue painter's tape. We recommend blue painter's tape because it's low-tack and does not damage the trim. PRO TIP: Try to keep your tape in one long piece. This makes the removal process way easier!
 We can't stress enough how helpful it is to make a sample board before stenciling an accent wall! After experimenting with a few different color options, we decided to go with Benjamin Moore's Navajo White (wall color), Harbor Gray, Hearthstone and Ocean Floor. All of our paint colors are in a flat sheen. Stenciling with paint in a flat sheen will allows the paint to dry faster and reduce your chances of stencil seepage.
How To Stencil A Horizon & Body in Your Mural
 Want to know the secret to creating this stenciled mountain mural's horizon lines? It's flex tape! Start by placing this extremely bendable tape a quarter of the way down from your ceiling/crown molding and in the corner of the wall. While making your way across the wall with the tape, start to randomly bend the tape higher and lower in areas. A natural mountainous horizon line will appear before your very eyes! Before beginning to paint and stenciling the mountain mural, take a few steps back and see if you like the horizon line. Make adjustments if necessary.
 This stenciled mountain mural requires a super easy (and fun) color washing technique! We chose to color wash the bodies of the mountains to give the mural a little more depth. For the first color wash, we are going to combine our wall color Navajo White and lightest gray tone Harbor Gray. The lightest mountain range must be painted first and in order to correctly capture the perspective of the farthest mountain range at the horizon line.
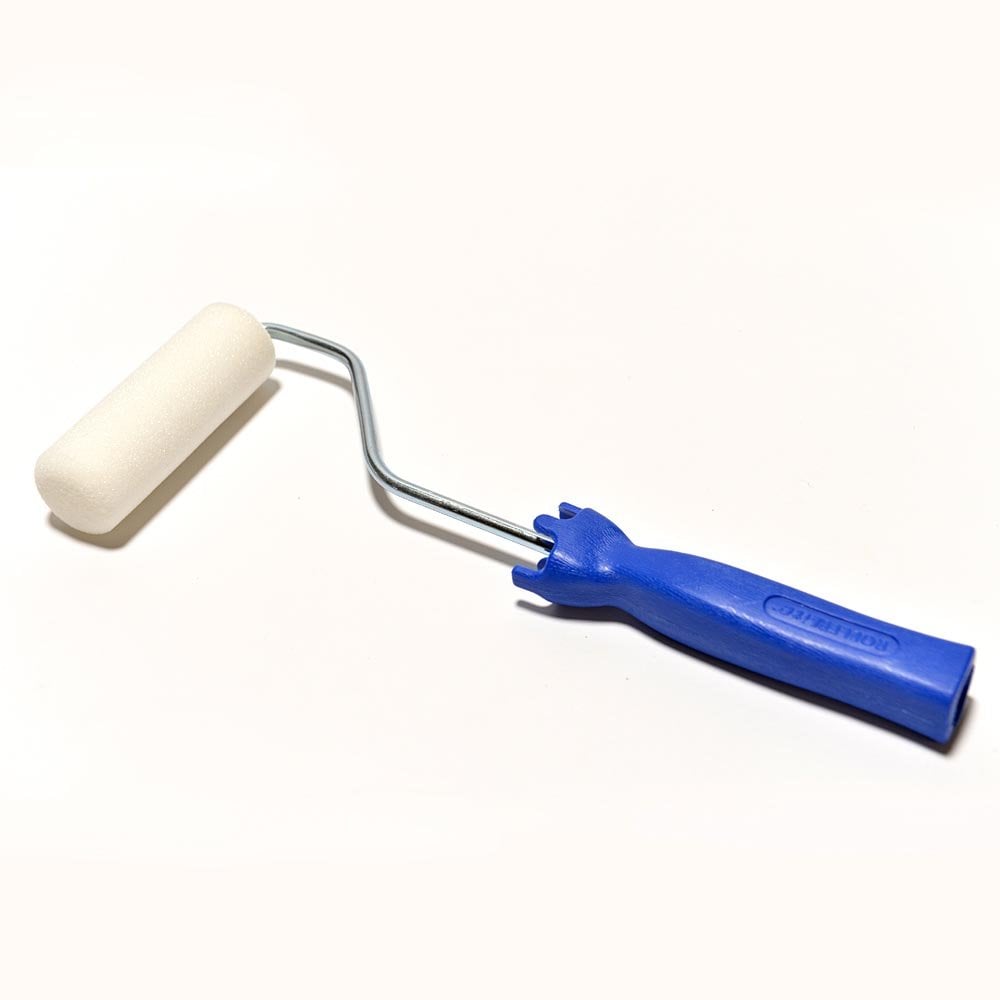
 Load Navajo White onto a 4" dense foam roller for stenciling and apply some right underneath the tape line. Then load the roller for stenciling with Harbor Gray and roll it over the Navajo White. Next, use a cross hatching technique over both colors and you'll start to get a look of natural haze. Cross hatching is simply rolling both colors over each other in different directions for a smooth, blended look.
 Once the color wash has dried, remove the flex tape and you’ll be ready to add tree wall stencils on your mountain mural horizon line!
How To Stencil Pine Trees On Your Mountain Mural
 Apply repostionable spray adhesive to the back of your pine tree wall stencils in your Mountain Pine 5 pc. Stencil Kit. This will allow the stencils to stick to the wall and reduce your chances of stencil seepage.
 In order to give the illusion of the farthest mountain range, we are going to use the two smallest tree stencils in the wall stencil kit. In order to create a realistic looking horizon, break the straight line by stenciling pine trees silhouettes in various heights. Both paint colors from the color wash should still be on your roller!
 Next step is to fill in the body of the color wash with more pine tree stencils! Randomly place your smallest tree stencils throughout the body. Continue to dip the roller into both colors and lightly roll over the wall stencils. Color washing over the tree wall stencils shakes up the value of the tree silhouettes and will give your horizon a layering affect. This realistic painting technique is used by professional painter's in the industry. It's so easy, you'll be a pro in no time!

During our color-wash we painted a “valley” shape by bringing the color-wash down towards the center of the first horizon line. This dip in the center of your stenciled mountain mural is just another realistic feature seen in nature. PRO TIP: Stand 15 feet back after stenciling every couple of trees to evaluate your work. If you stenciled a tree that you don't like, simply stencil over it with another!
Onto The Second Horizon Line!
 Once the first horizon line has dried, grab your flex tape and layout the second horizon line. The bottom of the flex tape is what's giving you the shape, so overlap it with the body of the first color wash. You will do the same color wash technique as the previous horizon line but now you will be using Harbor Gray combined with your next darkest color, Hearthstone. You can even use the same roller!
 For the second horizon, we are going to use the next two largest trees stencils. Like the previous horizon line, place the tree stencils along the flat horizon line the flex tape left to make it look full and luscious!
 Stencil over previously stenciled trees with only parts of the tree stencil so you can get the feeling of overlapping branches and leaves!
Final Horizon Line In Your Stenciled Mountain Mural!
 Onto your final horizon line! This last color wash is going to consist of Hearthstone and your darkest color, Ocean Floor.
 I'm sure you have already guessed it, but you are going to be using the largest tree stencils for this section. When you reach the foreground of the stenciled mountain mural (the baseboard), only stencil the largest trees in Ocean Floor. This will give the illusion of the trees that are closest to you!
Take Your Mural To The Next Level!
 You've just completed a gorgeous, realistic mountain mural with stencils, but doesn't it feel like something is missing? Birds! Stenciling birds over the horizon line with the Flock of Cranes Craft Stencil (size small) only elevates your stenciled accent wall by giving it more depth! Place the Flock of Cranes stencil to the top right of your stenciled mountain range. Just like the pine tree stencils, you can choose to only stencil parts of the siege to customize an interesting and unique shape!
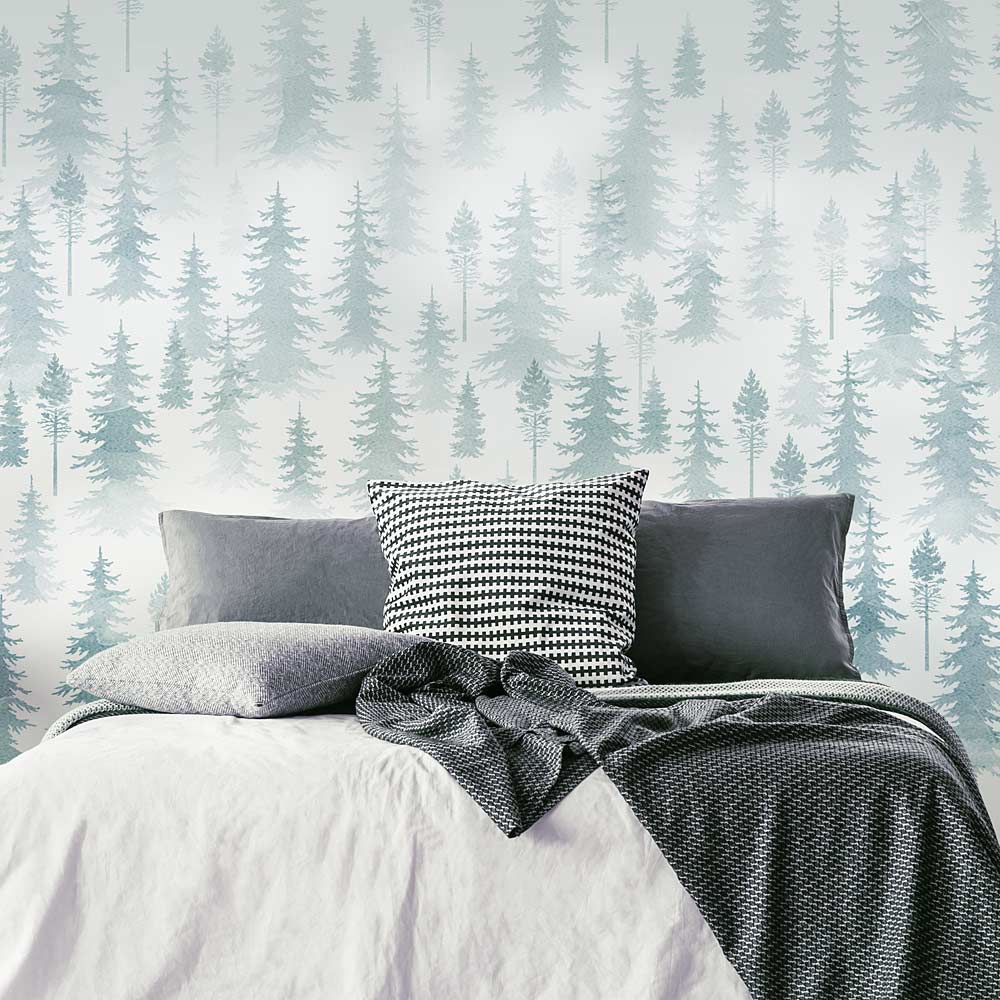
 We are absolutely in love with how this realistic stenciled mountain mural came out! This stenciled accent wall only took one day to complete! You cant even make a mistake while painting and stenciling this mountain wall mural because it’s all about what looks good to you! Here is another version of a misty mountain stenciled accent wall.
- Check out our Facebook to see beautiful customer photos and interact with the people who created them!
- Buy our stencils for your next stencil project, and browse our other wonderful NEW stencil collections!
- Follow us on Instagram and Pinterest and share your designs using #CuttingEdgeStencils. We love seeing your projects!
- Feeling inspired? Check out our other Blog posts for more inspo and stencil designs!


