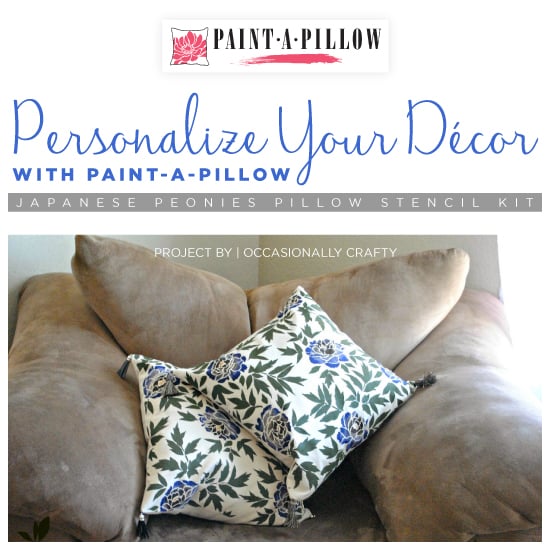
Pillows Are The Perfect Accessory For Any Room
Personalize Your Décor With Custom Accent Pillows From Paint-A-Pillow
Good morning, my craft loving friends. Today
Cutting Edge Stencils wants to welcome back its sister company,
Paint-A-Pillow with a special guest post on stenciling accent pillows. You might remember that Cutting Edge Stencils helped
introduce Paint-A-Pillow not too long ago. Just to give you a quick refresher, it's an innovative stenciling kit that will allow you to create your own designer accent pillows in a snap.

We'd like to introduce Shelley, the clever crafter behind the blog
Crazy Wonderful. Shelley has stenciled several projects using Cutting Edge Stencils, including a set of adorable
Otomi beanbags for her playroom. She jumped at the chance to test Paint-A-Pillow and add pretty accent pillows to kid's play space. Shelley selected two eye-catching patterns, the
Polka Dot Paint-A-Pillow kit and the
Drifting Arrows Paint-A-Pillow kit. She also picked out her paint colors and pillow embellishments. Here is what she created with her kit:

We love it, don't you? We thought you would so we're going to walk you through how you could easily recreate the stylish pillow covers. Shelley opened her box and said, "Here's the kit. Everything comes ready for you to get started. The accessories box has your roller, brush, tray, paints, practice stencil and fabric inside."

Shelley set up her supplies and started stenciling. She was impressed with the way the pillow sat inside the cardboard insert because it kept it flat and helped to prevent bleed.

She decided to use the dense foam roller to paint the pattern in a neutral gray hue. Shelley poured the paint onto a foam tray and then lightly coated the roller. Be careful not to overload the roller with paint. Roll off the excess paint onto a folded paper towel until the roller looks almost dry. The key to stenciling is using as little paint as possible. Too much paint will cause the design to bleed and smudge. Once the roller was evenly coated, Shelley started to paint the pillow cover.

Once the entire pillow cover was painted, Shelley peeled back the metal tabs holding the stencil in place and lifted the stencil. Look at how perfect that pattern looks!

The painted pillow dried quickly and Shelley was ready to stencil the other side. To switch things up a bit, she painted the other side with a black
polka dot pattern. She said, " Makes switching things up fun!"

Shelley admits that these gorgeous pillows will more than likely live on the playroom couch, but her son did enjoy tossing them in his reading nook.


Crazy Wonderful is giving away one free Paint-A-Pillow kit ($45 value). Hop over and
enter!
Tell us: Which side do you prefer, the Drifting Arrows or the Polka Dots? Leave us a comment below!
Looking for more Paint-A-Pillow fun?
- Shop our Paint-A-Pillow kits and find the perfect design for your home!
- Follow us on Pinterest to see awesome inspirational photos!
- Have you completed a pillow project? Come share it on Facebook!
Thanks for reading, and happy stenciling!
 We'd like to introduce Shelley, the clever crafter behind the blog Crazy Wonderful. Shelley has stenciled several projects using Cutting Edge Stencils, including a set of adorable Otomi beanbags for her playroom. She jumped at the chance to test Paint-A-Pillow and add pretty accent pillows to kid's play space. Shelley selected two eye-catching patterns, the Polka Dot Paint-A-Pillow kit and the Drifting Arrows Paint-A-Pillow kit. She also picked out her paint colors and pillow embellishments. Here is what she created with her kit:
  We love it, don't you? We thought you would so we're going to walk you through how you could easily recreate the stylish pillow covers. Shelley opened her box and said, "Here's the kit. Everything comes ready for you to get started. The accessories box has your roller, brush, tray, paints, practice stencil and fabric inside."
  Shelley set up her supplies and started stenciling. She was impressed with the way the pillow sat inside the cardboard insert because it kept it flat and helped to prevent bleed.
  She decided to use the dense foam roller to paint the pattern in a neutral gray hue. Shelley poured the paint onto a foam tray and then lightly coated the roller. Be careful not to overload the roller with paint. Roll off the excess paint onto a folded paper towel until the roller looks almost dry. The key to stenciling is using as little paint as possible. Too much paint will cause the design to bleed and smudge. Once the roller was evenly coated, Shelley started to paint the pillow cover.
  Once the entire pillow cover was painted, Shelley peeled back the metal tabs holding the stencil in place and lifted the stencil. Look at how perfect that pattern looks!
  The painted pillow dried quickly and Shelley was ready to stencil the other side. To switch things up a bit, she painted the other side with a black polka dot pattern. She said, " Makes switching things up fun!"
  Shelley admits that these gorgeous pillows will more than likely live on the playroom couch, but her son did enjoy tossing them in his reading nook.
 Crazy Wonderful is giving away one free Paint-A-Pillow kit ($45 value). Hop over and enter!


