Stencil A Tiled Look In Your Entryway
Stencil Patterns Make Old Floors Look Beautiful and New!
Good morning, my
Cutting Edge Stencils friends! Flooring can easily fall to the bottom of the to-do list because of budget but we're here to share a DIY trick so that doesn't happen to you! Use a
stencil pattern to get your floor looking stylish again.
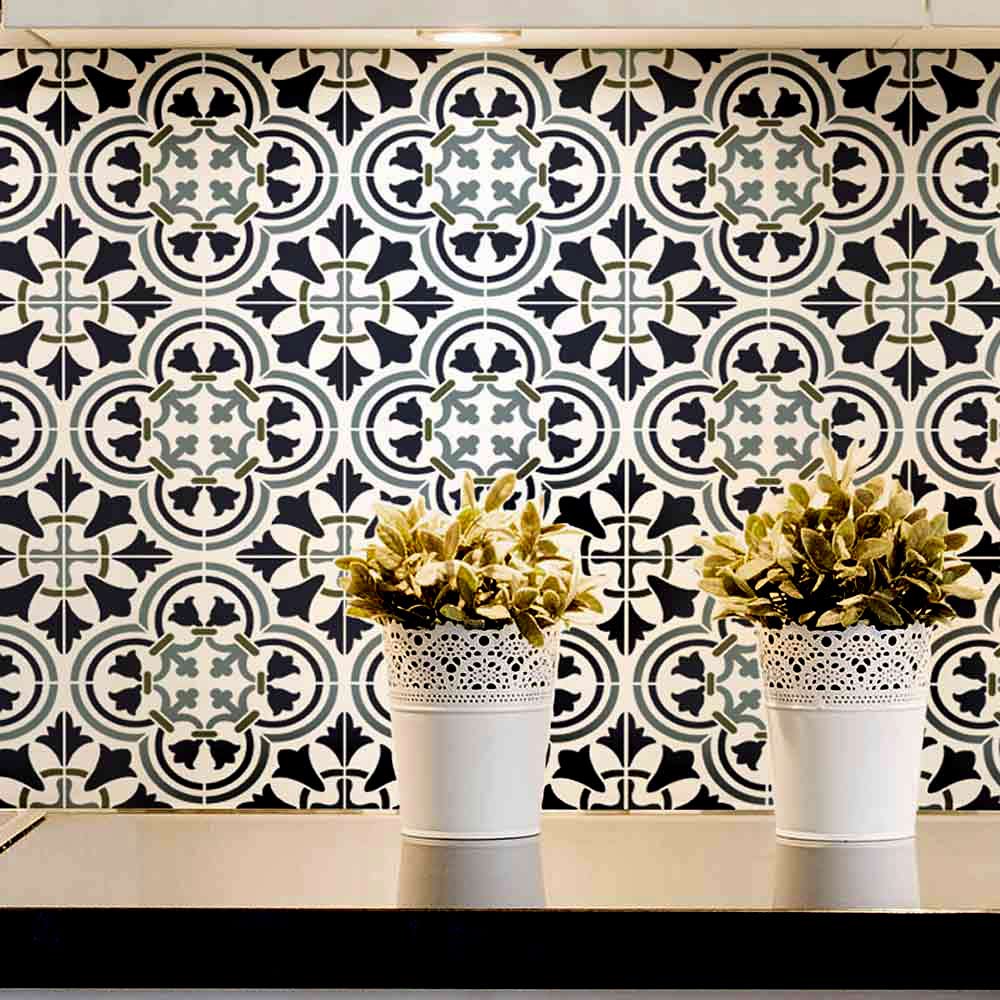
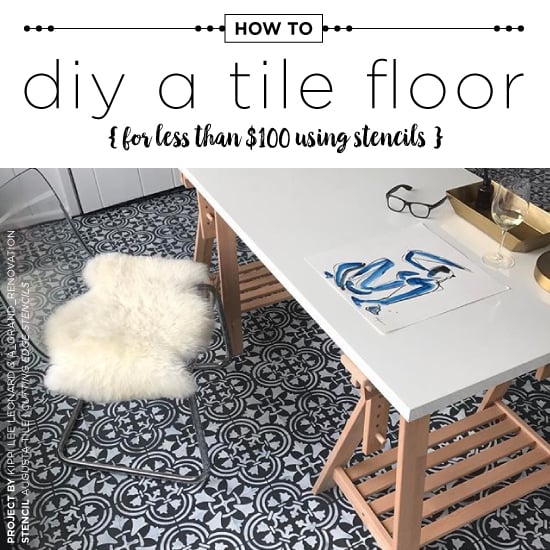
A stencil design can easily add affordable style to any space. Today we’re going to share with you a stenciled entryway floor featuring our
Augusta Tile Stencil. Come take a look...

We'd like to introduce Lindsay, a super creative DIYer and the blogger behind
Aratari At Home. Lindsay was in the midst of a budget-friendly entryway makeover. She had a long list of updates for the space and she was working through them one by one. Lindsay commented, "
We had these big ugly green tiles in our entry way that I was NOT a fan of, however replacing them was just not in the budget right now so I decided to paint them!" Here is what her entryway tiles looked like before:

Painting a
stencil design on a floor is not only affordable but it can create quite the impact especially in an entryway! Floor stencils provide so many design and color options that can be easily tailored to your existing decor. Lindsay browsed our website and selected the
Augusta Stencil. This
Portuguese tile stencil pattern is based on traditional Azulejos tile designs.

The first thing she did was spot clean the floor using M
ethod All Purpose Cleaner. Then she taped off the area she did not plan to paint. Lindsay primed the tiled floor using
Zinsser Bulls Eye 1-2-3 Primer. Next she painted her tile floor using
Rustoleum Linen White chalk paint. Once the paint was base coat was dry she was ready to start
stenciling! Lindsay used blue painter's tape to hold the
Portuguese tile pattern in place. She poured her
Rustoleum Charcoal chalk paint into a foam tray and then painted the pattern using a dense foam roller. If you are recreating this project at home, be sure to roll off any excess paint to eliminate bleed. After each section of the stencil is complete, simply untape it and reposition to finish the pattern on the floor. It can be helpful to clean the stencil in between uses. To complete the project apply a w
ater based Polycrylic. For more information on how to stencil, please check out our
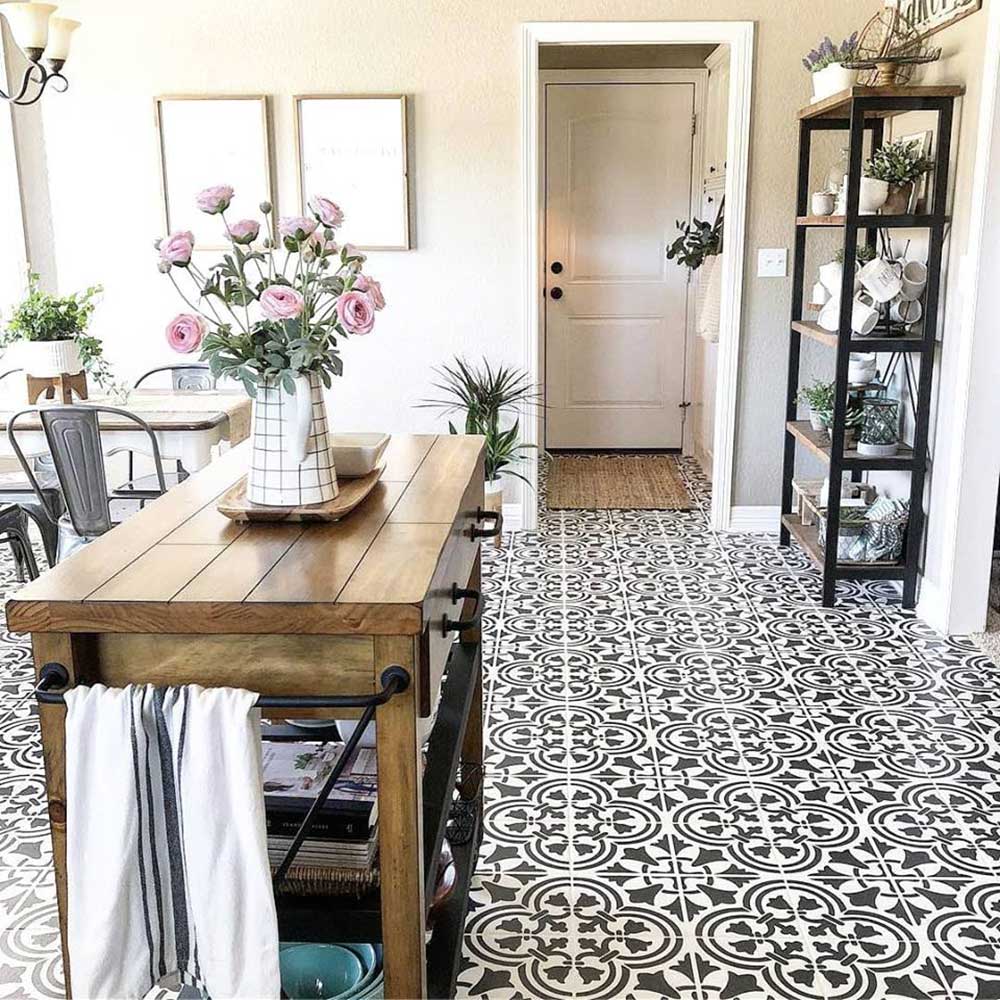
stencil tutorials. Let's get to the fun reveal. Are you ready to see how her stenciled entryway floor turned out? Here it is!

Lindsay had this to say about her stencil project, " " I am so excited to show you all how our painted tile floor turned out!! I am seriously in LOVE "

How awesome does that stenciled entryway look? We love how she greets guests with some stenciled style! Heidi let us know that, "
I truly love how this turned out! It makes such a huge impact & such a big transformation from what was here. It is SO worth it! "

To see more of Lindsay's gorgeous home and read about her DIY projects, check out her blog
Aratari At Home.
Tell us, what stencil pattern would you use on your entryway floor? Leave us your thoughts in the comments below! Haven't had enough stencil fun?
- Buy a stencil online and update your space today!
- Follow us on Pinterest to see awesome inspirational photos!
- Have you completed a stencil project recently? Come share it on Facebook or Instagram using the #cuttingedgestencils. We love seeing our fans’ projects,
Thanks for reading and happy stenciling! Michelle and the Cutting Edge Stencils Crew
 We'd like to introduce Lindsay, a super creative DIYer and the blogger behind Aratari At Home. Lindsay was in the midst of a budget-friendly entryway makeover. She had a long list of updates for the space and she was working through them one by one. Lindsay commented, "We had these big ugly green tiles in our entry way that I was NOT a fan of, however replacing them was just not in the budget right now so I decided to paint them!" Here is what her entryway tiles looked like before:
  Painting a stencil design on a floor is not only affordable but it can create quite the impact especially in an entryway! Floor stencils provide so many design and color options that can be easily tailored to your existing decor. Lindsay browsed our website and selected the Augusta Stencil. This Portuguese tile stencil pattern is based on traditional Azulejos tile designs.
  The first thing she did was spot clean the floor using Method All Purpose Cleaner. Then she taped off the area she did not plan to paint. Lindsay primed the tiled floor using Zinsser Bulls Eye 1-2-3 Primer. Next she painted her tile floor using Rustoleum Linen White chalk paint. Once the paint was base coat was dry she was ready to start stenciling! Lindsay used blue painter's tape to hold the Portuguese tile pattern in place. She poured her Rustoleum Charcoal chalk paint into a foam tray and then painted the pattern using a dense foam roller. If you are recreating this project at home, be sure to roll off any excess paint to eliminate bleed. After each section of the stencil is complete, simply untape it and reposition to finish the pattern on the floor. It can be helpful to clean the stencil in between uses. To complete the project apply a water based Polycrylic. For more information on how to stencil, please check out our stencil tutorials. Let's get to the fun reveal. Are you ready to see how her stenciled entryway floor turned out? Here it is!
  Lindsay had this to say about her stencil project, " " I am so excited to show you all how our painted tile floor turned out!! I am seriously in LOVE "
  How awesome does that stenciled entryway look? We love how she greets guests with some stenciled style! Heidi let us know that, " I truly love how this turned out! It makes such a huge impact & such a big transformation from what was here. It is SO worth it! "
  To see more of Lindsay's gorgeous home and read about her DIY projects, check out her blog Aratari At Home. Tell us, what stencil pattern would you use on your entryway floor? Leave us your thoughts in the comments below! Haven't had enough stencil fun?


