Easily Design a Faux Brick Wall under $35
Welcome back! In this blog,
Cutting Edge Stencils will teach you how to stencil a faux brick wall. We will go into detail about the paint colors, techniques, and pro tips on
how to stencil and accomplish the exposed brick look without having to spend a ton of money!
Stenciling is a great alternative to wallpaper and all of our patterns are great
stencils for painting. It costs less than wallpaper, you can customize the colors, stencils are reusable, and they're super simple to use! Plus, if you decide to change your mind and go with a different design, you can easily paint over it! Let's get started!

Remove all your switch blades and tape over any area you do not want covered in paint! You can use blue painter's tape.


Don't forget to tape off your baseboards and crown moldings.

First step is to base coat the wall that you will be using for the grout line color. For this project we used two different shades of gray, along with 2
dense foam rollers, and a large staining brush!

Roll both your colors onto the wall, slightly overlapping each other.

Blend the colors in most areas but ultimately you want a variation of both light and dark wall tones.

You can blend both of your colors together with a sponge or by using cross hatch techniques with your staining brush.

Once the base coat is completely dry it is time to move on to your
brick stencil. Start at the very top of the wall. We recommend buying a
clip-on stencil level to make sure your entire stencil sits straight on the wall.

Now we will apply our three paint colors to the wall using 6"
dense foam rollers. For this accent wall we used Benjamin Moore flat latex paint.

Apply the colors Moroccan Red, Satchel, and black. Blend your colors together with your roller or slightly damp rag.


Align your stencil with the previously painted registration marks and check your level to make sure your stencil is straight.


Then, repeat the
stenciling process! The great part about
stenciling is that you have the freedom to adjust the colors to your liking.


We also decided to go with a weathered look around the bricks. We did that by dry brushing our grout line colors lightly over the pattern. To make this project go way faster we always recommend ordering a second stencil so you can work on one while the other dries! We understand your time is valuable and with multiple stencils on your accent wall, it will be done in half the time! Our
Brick Allover Stencil also comes with a FREE Top Edge Stencil and a FREE extra Single Brick stencil to make your stenciling experience as painless as possible!

Once you reach the base board you will use a
professional stencil brush and pounce downwards. This way when you remove the tape, you'll have a super crisp line.

Align the free top edge stencil and fill in the empty space above your brick. Use a 1" professional stencil brush to apply all three colors and then blend it!

If there is only a little space left and you don't wanna use your allover stencil, you can fill it in with your single free brick stencil. You can leave the stencil as a whole brick or you can adjust the size by cutting it with a pair of scissors.

Fill in the stencil with the same professional stencil brush as the top edge!

We are going to stencil the wall plate to match the pattern of the brick wall. We painted the plate gray to match our grout line. Then we covered the outlets with tape.

Place the stencil over the wall plate and fill in the bricks! Look how easy!

Once the wall is completely dry, remove the tape!

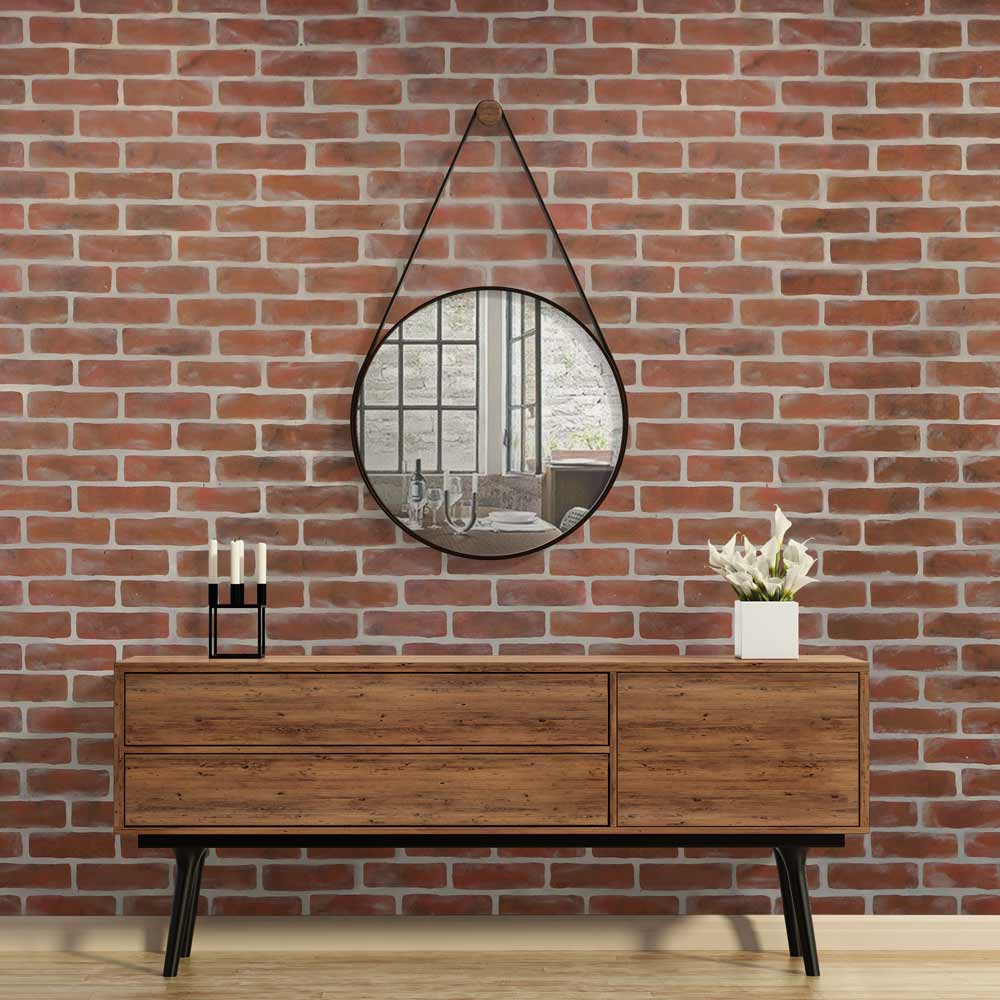
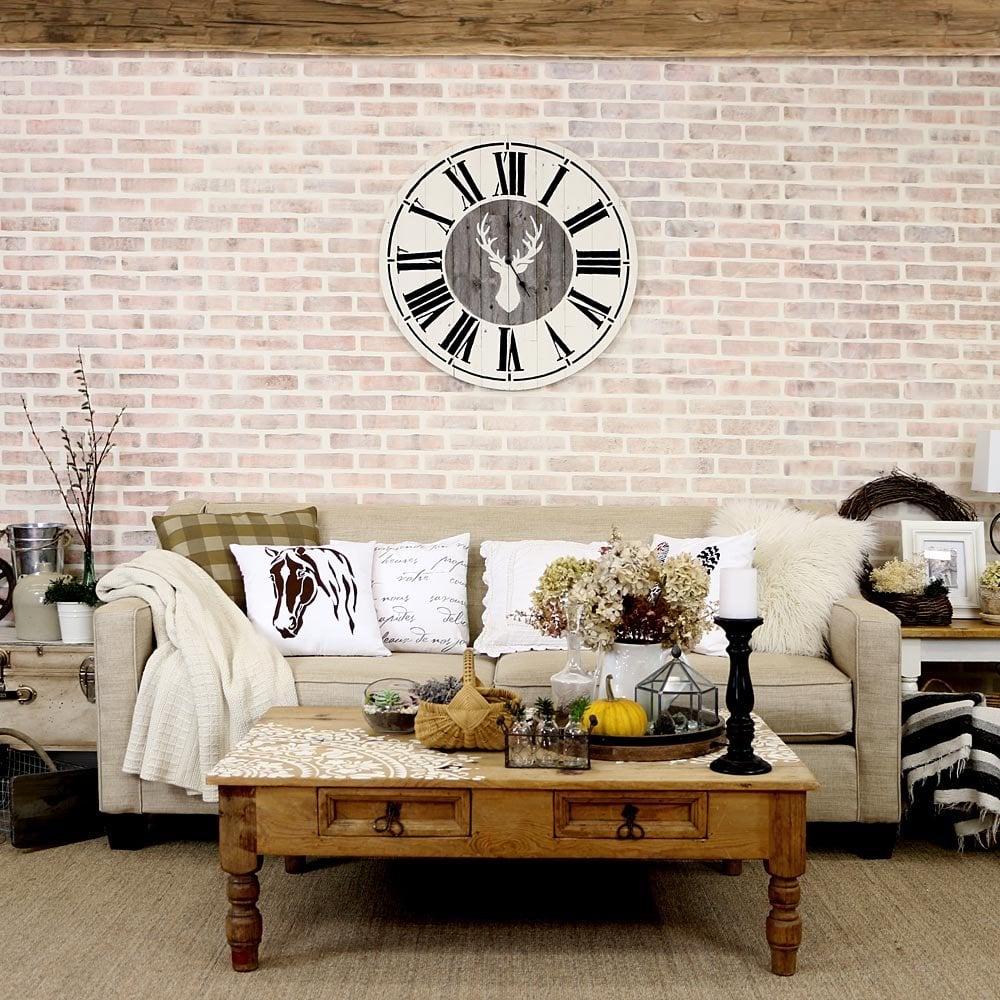
WOW! We are obsessed with how this faux exposed brick came out! This design is perfect for a bedroom accent wall, hallway, entryway, or anywhere! Comment below and let us know what you think!

Can’t get enough of Cutting Edge Stencils:
Thanks for reading and happy stenciling!
Karli & The Cutting Edge Stencils Crew
 Remove all your switch blades and tape over any area you do not want covered in paint! You can use blue painter's tape.

 Don't forget to tape off your baseboards and crown moldings.
 First step is to base coat the wall that you will be using for the grout line color. For this project we used two different shades of gray, along with 2 dense foam rollers, and a large staining brush!
 Roll both your colors onto the wall, slightly overlapping each other.
 Blend the colors in most areas but ultimately you want a variation of both light and dark wall tones.
 You can blend both of your colors together with a sponge or by using cross hatch techniques with your staining brush.
 Once the base coat is completely dry it is time to move on to your brick stencil. Start at the very top of the wall. We recommend buying a clip-on stencil level to make sure your entire stencil sits straight on the wall.
 Now we will apply our three paint colors to the wall using 6" dense foam rollers. For this accent wall we used Benjamin Moore flat latex paint.
 Apply the colors Moroccan Red, Satchel, and black. Blend your colors together with your roller or slightly damp rag.

 Align your stencil with the previously painted registration marks and check your level to make sure your stencil is straight.
 Then, repeat the stenciling process! The great part about stenciling is that you have the freedom to adjust the colors to your liking.

 We also decided to go with a weathered look around the bricks. We did that by dry brushing our grout line colors lightly over the pattern. To make this project go way faster we always recommend ordering a second stencil so you can work on one while the other dries! We understand your time is valuable and with multiple stencils on your accent wall, it will be done in half the time! Our Brick Allover Stencil also comes with a FREE Top Edge Stencil and a FREE extra Single Brick stencil to make your stenciling experience as painless as possible!
  Once you reach the base board you will use a professional stencil brush and pounce downwards. This way when you remove the tape, you'll have a super crisp line.
 Align the free top edge stencil and fill in the empty space above your brick. Use a 1" professional stencil brush to apply all three colors and then blend it!
 If there is only a little space left and you don't wanna use your allover stencil, you can fill it in with your single free brick stencil. You can leave the stencil as a whole brick or you can adjust the size by cutting it with a pair of scissors.
 Fill in the stencil with the same professional stencil brush as the top edge!
 We are going to stencil the wall plate to match the pattern of the brick wall. We painted the plate gray to match our grout line. Then we covered the outlets with tape.
 Place the stencil over the wall plate and fill in the bricks! Look how easy!
 Once the wall is completely dry, remove the tape!
 WOW! We are obsessed with how this faux exposed brick came out! This design is perfect for a bedroom accent wall, hallway, entryway, or anywhere! Comment below and let us know what you think!
 Can’t get enough of Cutting Edge Stencils:


