Accessibility Statement
Our Commitment to Accessibility
We are committed to ensuring digital accessibility for people with disabilities. We are continually improving the user experience for everyone, and applying the relevant accessibility standards to help users with various disabilities access our website effectively.
Compliance Status
Our website strives to conform to the Web Content Accessibility Guidelines (WCAG) 2.1 Level AA standards. We also aim to be compliant with the Americans with Disabilities Act (ADA) and the European Accessibility Act requirements. These guidelines and regulations explain how to make web content more accessible to people with a wide range of disabilities. We acknowledge that some aspects of our website may not yet achieve full compliance, and we are actively working to address these areas.
Accessibility Features Available
Our website implements the Accessibly App, which provides a variety of tools to enhance website accessibility:
Visual Adjustments
- Bigger Text: Increase text size up to 3x for better readability (WCAG 2.1/1.4.4)
- Bigger Cursor: Enhanced cursor visibility for easier navigation
- Color Adjustments: Invert colors, adjust contrast, brightness, and saturation
- Grayscale Mode: Convert website to grayscale for users with visual impairments
- Hide Images: Reduce visual distractions for easier reading
Reading and Navigation Aids
- Reading Line: Adds a guide line to help follow text
- Reading Mask: Places a mask over text to isolate lines and enhance focus
- Readable Fonts: Converts to highly legible fonts for better comprehension
- Highlight Links: Makes links more prominent for easier navigation
- Dyslexic Fonts: Special typography for users with dyslexia
- Page Structure: Simplified layout options for easier navigation
Assistive Technologies
- Keyboard Navigation: Full website control using keyboard (Tab, Shift+Tab, Enter)
- Alt Text for Images: AI-generated image descriptions where manual ones aren't provided
- Read Page Aloud: Text-to-speech functionality
- Stop Animations: Pause motion content for users with vestibular disorders
Limitations and Feedback
Despite our best efforts to ensure accessibility, there may be some limitations. Content provided by third parties, user-generated content, or certain legacy pages may not be fully accessible. We are continuously working to improve our website's accessibility.
We welcome your feedback on the accessibility of our website. If you encounter any barriers or have suggestions for improvement, please contact us. We are committed to addressing these issues promptly.
Technical Information
The accessibility features on this website are provided through the Accessibly App, which utilizes several technologies including HTML, CSS, JavaScript, and various frameworks to enhance accessibility. Our implementation strives to be compatible with major screen readers and assistive technologies.
Legal Disclaimer
While we strive to adhere to WCAG 2.1 Level AA standards and provide accessible content, we cannot guarantee that our website will be accessible to all users under all circumstances. This website is provided 'as is' without any representations or warranties, express or implied.
In no event shall we be liable for any damages arising from or related to:
- Inability to access or use the website
- Any alleged non-compliance with accessibility laws or regulations
- Any disruption or errors in the functionality of accessibility features
By using this website, you agree to hold us harmless from any claims related to website accessibility issues. We are committed to addressing accessibility barriers in good faith but cannot guarantee immediate resolution in all cases.
Contact Us
If you have any questions about our accessibility efforts or encounter any barriers while using our website, please contact us.
 In this video, we will teach you how shading your stencils in the right areas can change the look of your stencil in dramatic way! Once you get the hang of how to shade within your wall stencils for painting, this new skill can be used with a variety of Cutting Edge's stencils!
Apply spray adhesive to the back of your stencil and hang it with blue painters tape on your wall! Roll on Deco Art's Forest Green acrylic paint over stencil number 1, covering the entire stem.
 Align your stencil to add height to the flower design!
 Then take Folkart's Raw Umber acrylic paint and shade only one side of the stem! Then, do the same thing for both of the leaves.
 Now take Anita's Powder Green acrylic paint and dry brush the opposite side of the stem. This will give it great dimension!
 Position stencil number 2 on the wall! Apply white latex paint. (Pro Tip: Latex paint is more opaque than acrylic)
 Once dried, shade the bottom and tips of the flower with your Raw Umber color. It is very important to use a dry brushing technique while shading. The brush should have little be paint and should basically be dry.
 Now take stencil number 3 (aka the overlay) and place it ontop of the white once it is dry. With either a dense foam roller or a three to quarter inch professional stencil brush, fill in the design with Folkart's Cardinal Red acrylic paint.

 Then, shade the bottom and tips again with Raw Umber.
 Last but not least, place your masking stencil over the flower. Go back in and shade with your Raw Umber color. Use the dry brushing technique again for the perfect shadow.

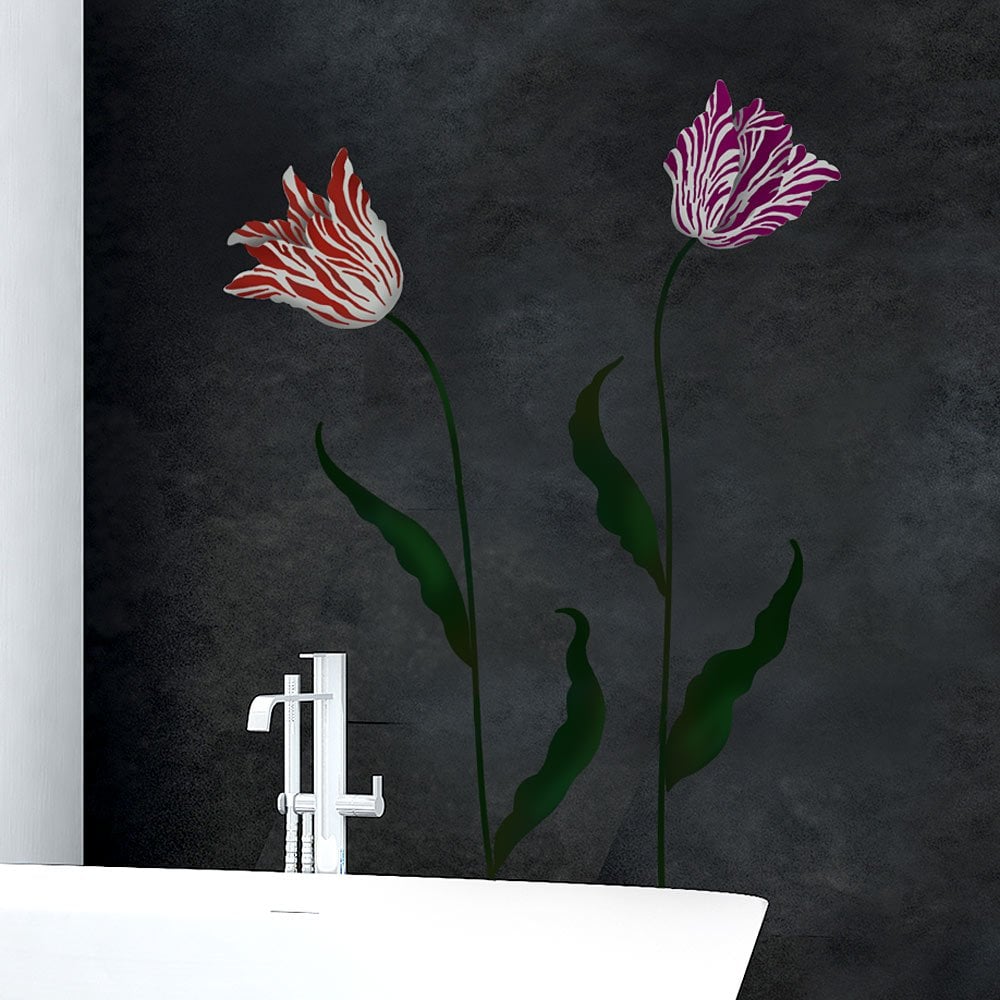
 Repeat the same process for your next Flemish Tulip Stencil. You can repeat as many times as you would like to complete your entire accent wall! Look how gorgeous this 3D Flemish Tulip Accent wall came out!
 Can’t get enough of Cutting Edge Stencils:


