How To Stencil An Inlay Stencil Pattern On An Ikea Mirror
Ikea Hack: How To Stencil An Inlay Stencil Pattern On A Mirror
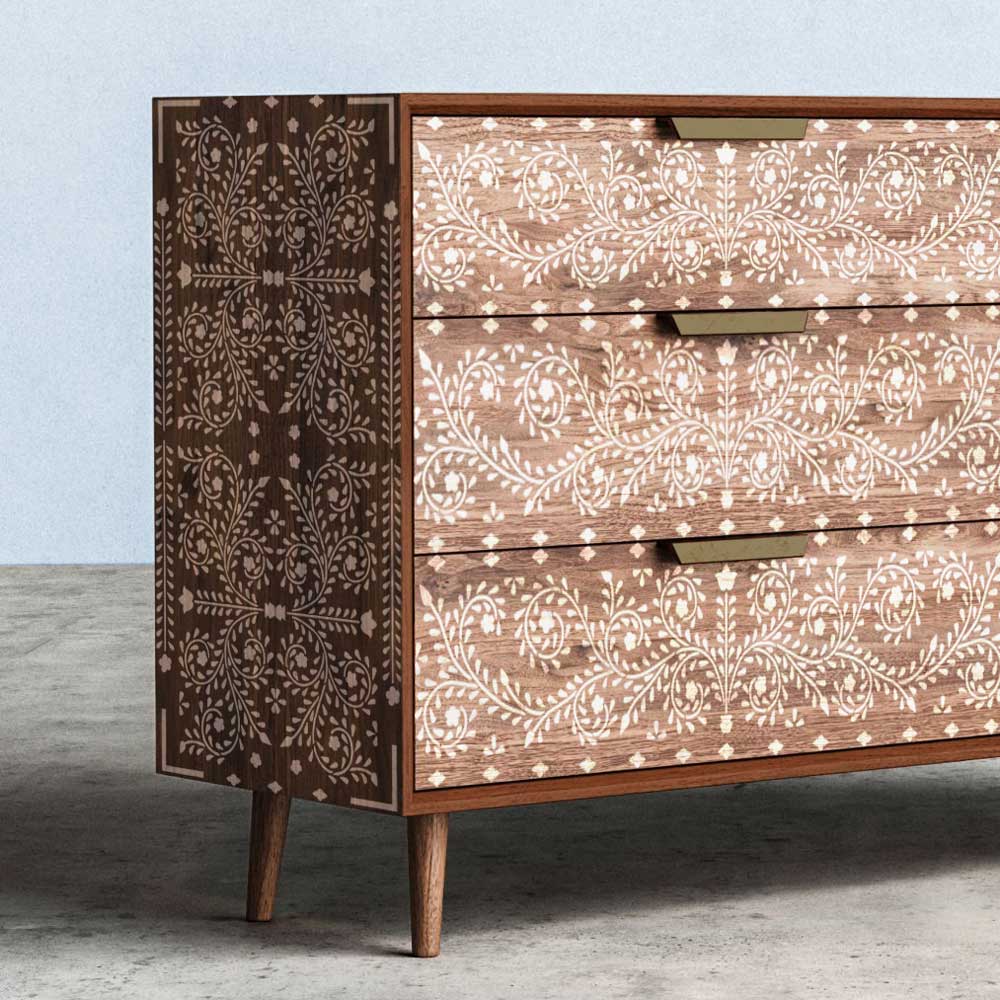
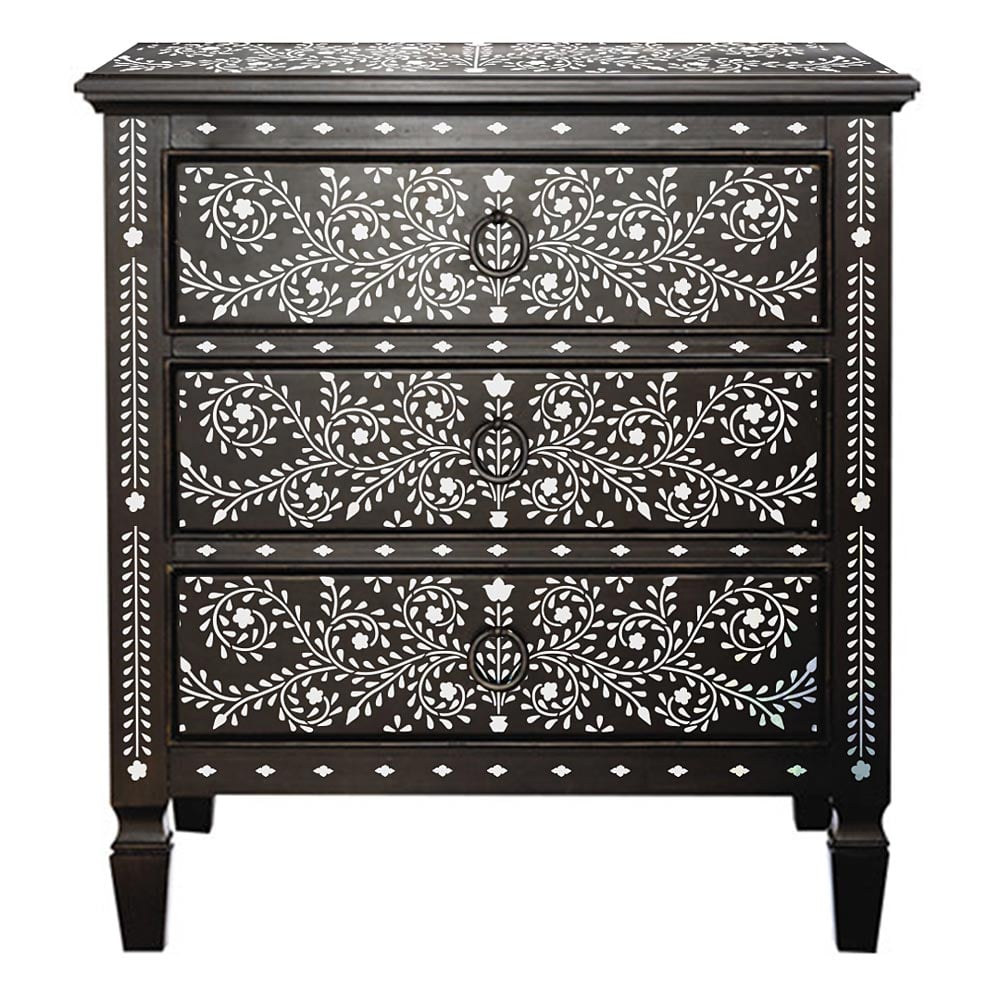
Welcome! This week Cutting Edge Stencils wants to show you how to stencil a full-length mirror from Ikea with our fabulous Raja Bone Inlay Furniture Stencil Kit! Real bone inlay mirrors can cost thousands of dollars. Our easy-to-use and affordable inlay stencil pattern gives this inexpensive, basic Ikea mirror a rich and dramatic look for under $200!
 How To Prep Your Mirror Before Stenciling
The Mongstad Full Length Mirror from Ikea is coated with very thin paper laminate. Creating adhesion is very important in order for the inlay stencil design to stick! Before stenciling the inlay stencil pattern, wipe down the mirror with Denatured Alcohol to make sure it is wax and dirt free.
Make Sure To Measure Correctly
The Raja Bone Inlay Furniture Stencil Kit has a center motif the eye is immediately drawn to. So, measure to find the center of the frame and make reference points on the mirror before stenciling.
How To Reduce Stencil Bleed
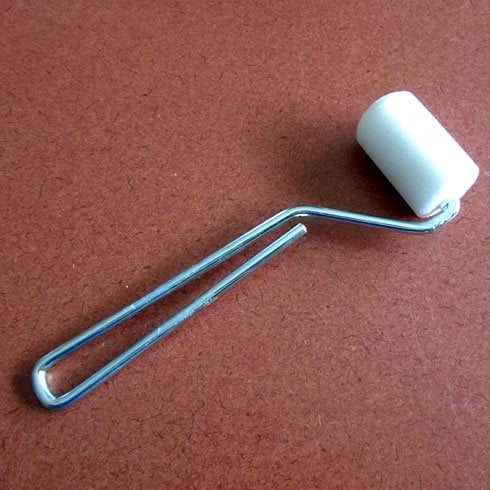
Before stenciling the inlay stencil pattern, apply a light coat of repositionable spray adhesive to the back of the stencil. This will help the stencil stick to the mirror and reduce your chances of stencil seepage/bleed. Evenly load a 2” dense foam roller for stenciling for the best coverage. A dense foam roller is perfect for stenciling because the texture will give you a smooth finish and it is less prone to stencil bleed!

How To Stencil An Inlay Pattern
Place the bone inlay stencil on the mirror so the middle floret design is aligned with the center of the frame. Once the inlay stencil is on the mirror, roll paint on with light to medium pressure. You’ll want to lightly build up paint, so try not to over roll or add too much pressure.
 Pro Tip: To achieve an authentic bone inlay look, make areas opaquer than others. If everything was the same exact tonality, it wouldn’t look so real. You want the same variation as actual bone inlay.

Aligning The Stencils
The inlay stencil pattern kits do not have registration marks like wall stencils. Place the inlay stencil next to the small half starburst design and space it a quarter inch away to the left and right sides.

Tackling The Corners
To avoid getting paint over your previously stenciled inlay pattern, miter the corner with blue painters tape. This will also help you get a crisp, even edge.

How To Stencil The Border
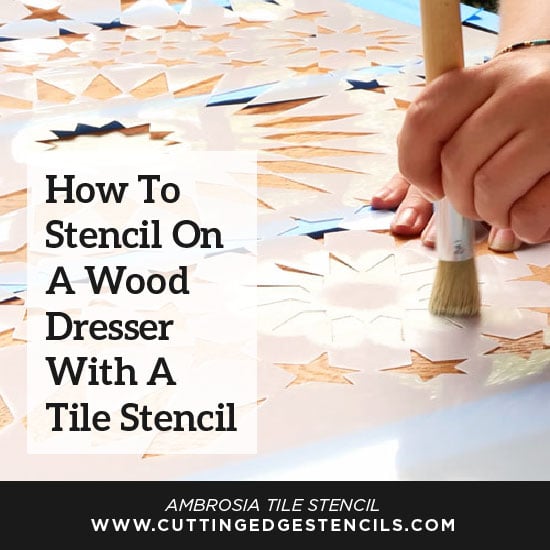
We are going to use a professional stencil brush for stenciling for the border stencil. A brush has more control over small stencils sizes. Dip just the tip of the stencil brush into the paint and swirl it on a paper plate to evenly distribute the paint into the bristles. Take stencil #4 of your bone inlay stencil kit and use the floret as the centerpiece and work your way out to each side. Use a stippling or pouncing technique over the inlay stencil border in a vertical motion.

Look How Gorgeous It Turned Out!

Here is a Full Video Tutorial
Can’t get enough of Cutting Edge Stencils:- Check out our Facebook to see beautiful customer photos and interact with the people who created them!
- Buy our stencils for your next stencil project, and browse our other wonderful NEW stencil collections!
- Follow us on Instagram and Pinterest and share your designs using #CuttingEdgeStencils. We love seeing your projects!
- Feeling inspired? Check out our other Blog posts for more inspo and stencil designs!


