How a Multi-Color Tile Wall With A Spanish Tile Stencil
Spanish Tile Stencil Patterns That Look Exactly Like Wallpaper!
Are Spanish
tile stencils becoming the new wall stencil trend in 2020?
Cutting Edge Stencils has seen the popularity of tile stencils grow this past year, especially when it comes to home improvement
tile floor makeovers. Recently, stenciled tile walls have been covering laundry room and bathroom walls in DIYer’s homes across the world! Cutting Edge Stencils wants to show you how to stencil our
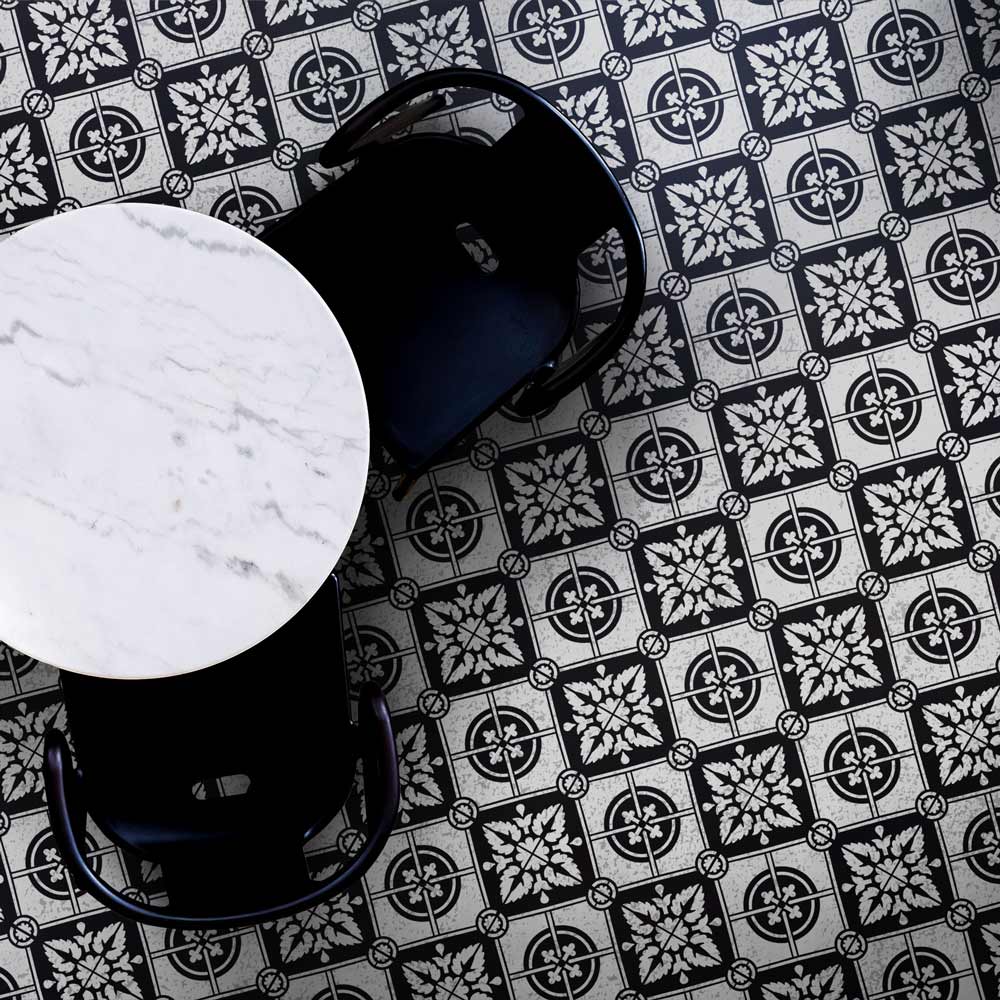
Basilica Tile Stencil, a gorgeous Spanish tile stencil design, in two different colors.

When we saw Behr's
Script Ink on a color swatch, it was a no brainer that we wanted it to be the base coat color for our
stenciled accent wall! When working with wall and tile stencils, always use paint in a flat latex finish! This will
reduce your chances of stencil bleed.

There are two steps MUST take before you begin stenciling your Spanish tile wall. Attach a
Clip-On-Stencil Level to your Spanish tile stencil and apply repositionable spray adhesive to the back of your
stencil. These two important stencil steps will help your tile stencil hang straight on your wall every time and reduce your chances of stencil bleed. You can rere-apply spray adhesive every 2-3 repeats if necessary.

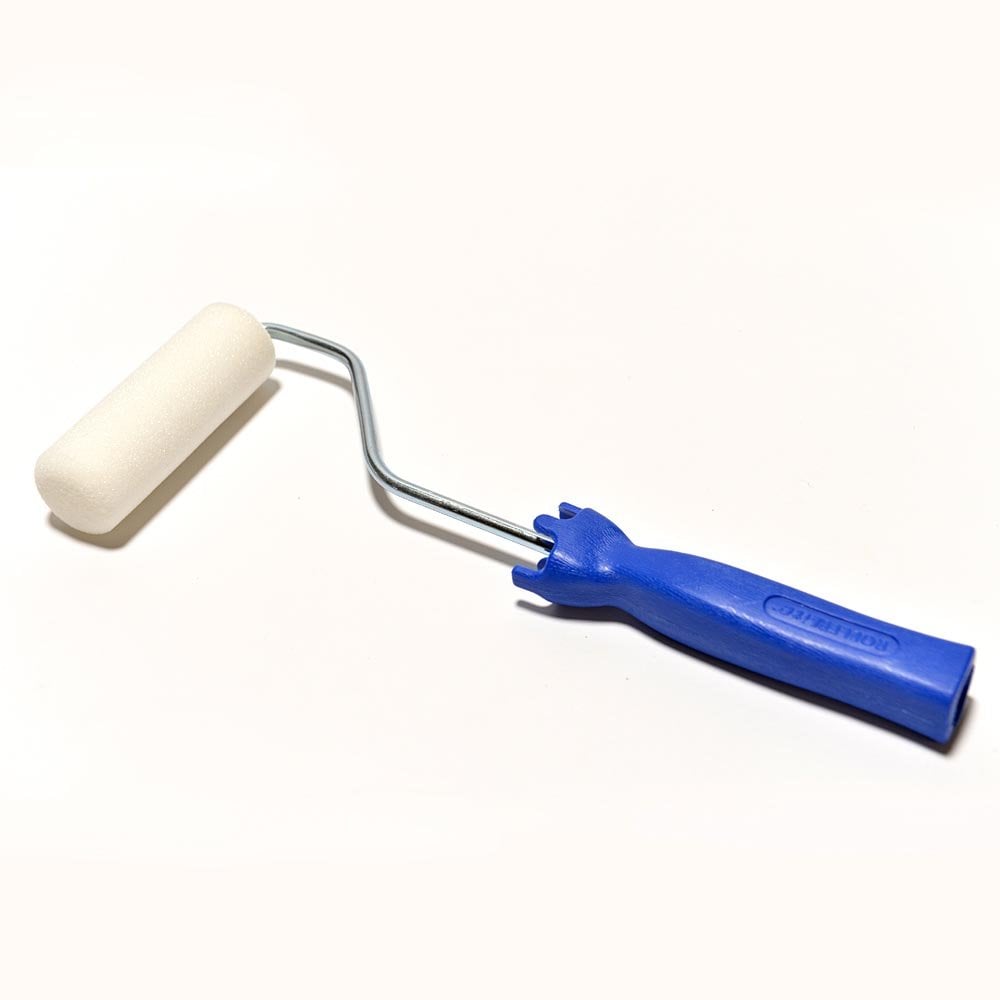
Evenly load a 4” dense foam
roller for stenciling with Benjamin Moore’s
White Water in a flat latex finish. You don’t need a lot of paint on your
roller for stenciling, so if there is too much, offload the excess paint onto a paper towel.

Now it’s time for the fun part! Place your Spanish
tile stencil on the wall and roll over it, covering the entire Spansih tile stencil design in White Water. Gently roll the paint over the stencil in light layers.
Light layers of paint also allow the paint to dry faster!

Adding accent details to a Spanish
tile stencil pattern is super easy!
Cutting Edge Stencils has a large variety of
stenciling supplies, including professional stencil brushes in all the sizes you’ll need for your DIY stencil project! For this 12” x 12”
tile stencil design, we used a ½” Professional
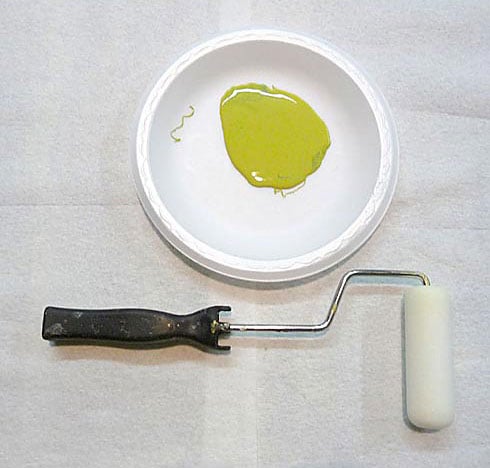
Brush for stenciling. All you have to do is dip the tip of the brush into the paint, work the paint into the bristles (in a swirling motion) onto the paper plate and offload any excess paint onto a paper towel.

Once your paint is dry, fill in desired areas of the Spanish
tile stencil with your accent color.
PRO TIP: Make sample boards! Sample boards are great for multi-color
stenciling DIY projects because you can see what color combinations work best without stenciling your wall first!


Cutting Edge Stencil’s
wall stencils and tile stencils are perfect for beginners! The stencils have registration marks which are used to easily align the stencil with the previously painted area, continuing the stencil design. With the
Clip-On Stencil Level, your repeats will be straight every time!


Thanks for reading and happy stenciling!
Erika Lee and the Cutting Edge Stencils Crew
 When we saw Behr's Script Ink on a color swatch, it was a no brainer that we wanted it to be the base coat color for our stenciled accent wall! When working with wall and tile stencils, always use paint in a flat latex finish! This will reduce your chances of stencil bleed.
 There are two steps MUST take before you begin stenciling your Spanish tile wall. Attach a Clip-On-Stencil Level to your Spanish tile stencil and apply repositionable spray adhesive to the back of your stencil. These two important stencil steps will help your tile stencil hang straight on your wall every time and reduce your chances of stencil bleed. You can rere-apply spray adhesive every 2-3 repeats if necessary.
 Evenly load a 4” dense foam roller for stenciling with Benjamin Moore’s White Water in a flat latex finish. You don’t need a lot of paint on your roller for stenciling, so if there is too much, offload the excess paint onto a paper towel.
 Now it’s time for the fun part! Place your Spanish tile stencil on the wall and roll over it, covering the entire Spansih tile stencil design in White Water. Gently roll the paint over the stencil in light layers. Light layers of paint also allow the paint to dry faster!
 Adding accent details to a Spanish tile stencil pattern is super easy! Cutting Edge Stencils has a large variety of stenciling supplies, including professional stencil brushes in all the sizes you’ll need for your DIY stencil project! For this 12” x 12” tile stencil design, we used a ½” Professional Brush for stenciling. All you have to do is dip the tip of the brush into the paint, work the paint into the bristles (in a swirling motion) onto the paper plate and offload any excess paint onto a paper towel.
 Once your paint is dry, fill in desired areas of the Spanish tile stencil with your accent color. PRO TIP: Make sample boards! Sample boards are great for multi-color stenciling DIY projects because you can see what color combinations work best without stenciling your wall first!

 Cutting Edge Stencil’s wall stencils and tile stencils are perfect for beginners! The stencils have registration marks which are used to easily align the stencil with the previously painted area, continuing the stencil design. With the Clip-On Stencil Level, your repeats will be straight every time!


